
ESLint and Prettier with Vite and Vue.js 3

Part of the series: How to Structure a Large Scale Vue.js Application
In the previous article of the "How to Structure a Large Scale Vue Application" series, we explored standards for keeping your Vue.js codebase predictable and maintainable. In this article, we’ll focus on setting up ESLint and Prettier with your Vite-powered Vue project to automate code linting and formatting, making collaboration and code quality better than ever.
Why Linting and Formatting Matter
If you’re new to linting and formatting, this section will briefly cover the "what and why" of tools like ESLint and Prettier before diving into setting them up in your Vite Vue project. Already familiar? Feel free to skip ahead to the configuration steps.
Most of the steps outlined for setting up ESLint and Prettier here will also apply outside of a Vite project, such as with Laravel + Vue applications.
Linting with ESLint
Linting is an automated process that statically analyzes your code to detect potential errors and enforce best practices. For example, it can catch syntax issues, such as missing commas, or unused variables. While linting doesn’t address business logic flaws, it ensures your code is syntactically accurate and consistent across your project.
Why Use ESLint for Vue.js Projects?
When it comes to JavaScript and Vue.js projects, ESLint is the most widely used linting tool. ESLint not only identifies code issues but can also automatically fix many of them, saving developers significant time and effort.
ESLint IDE Integration Benefits
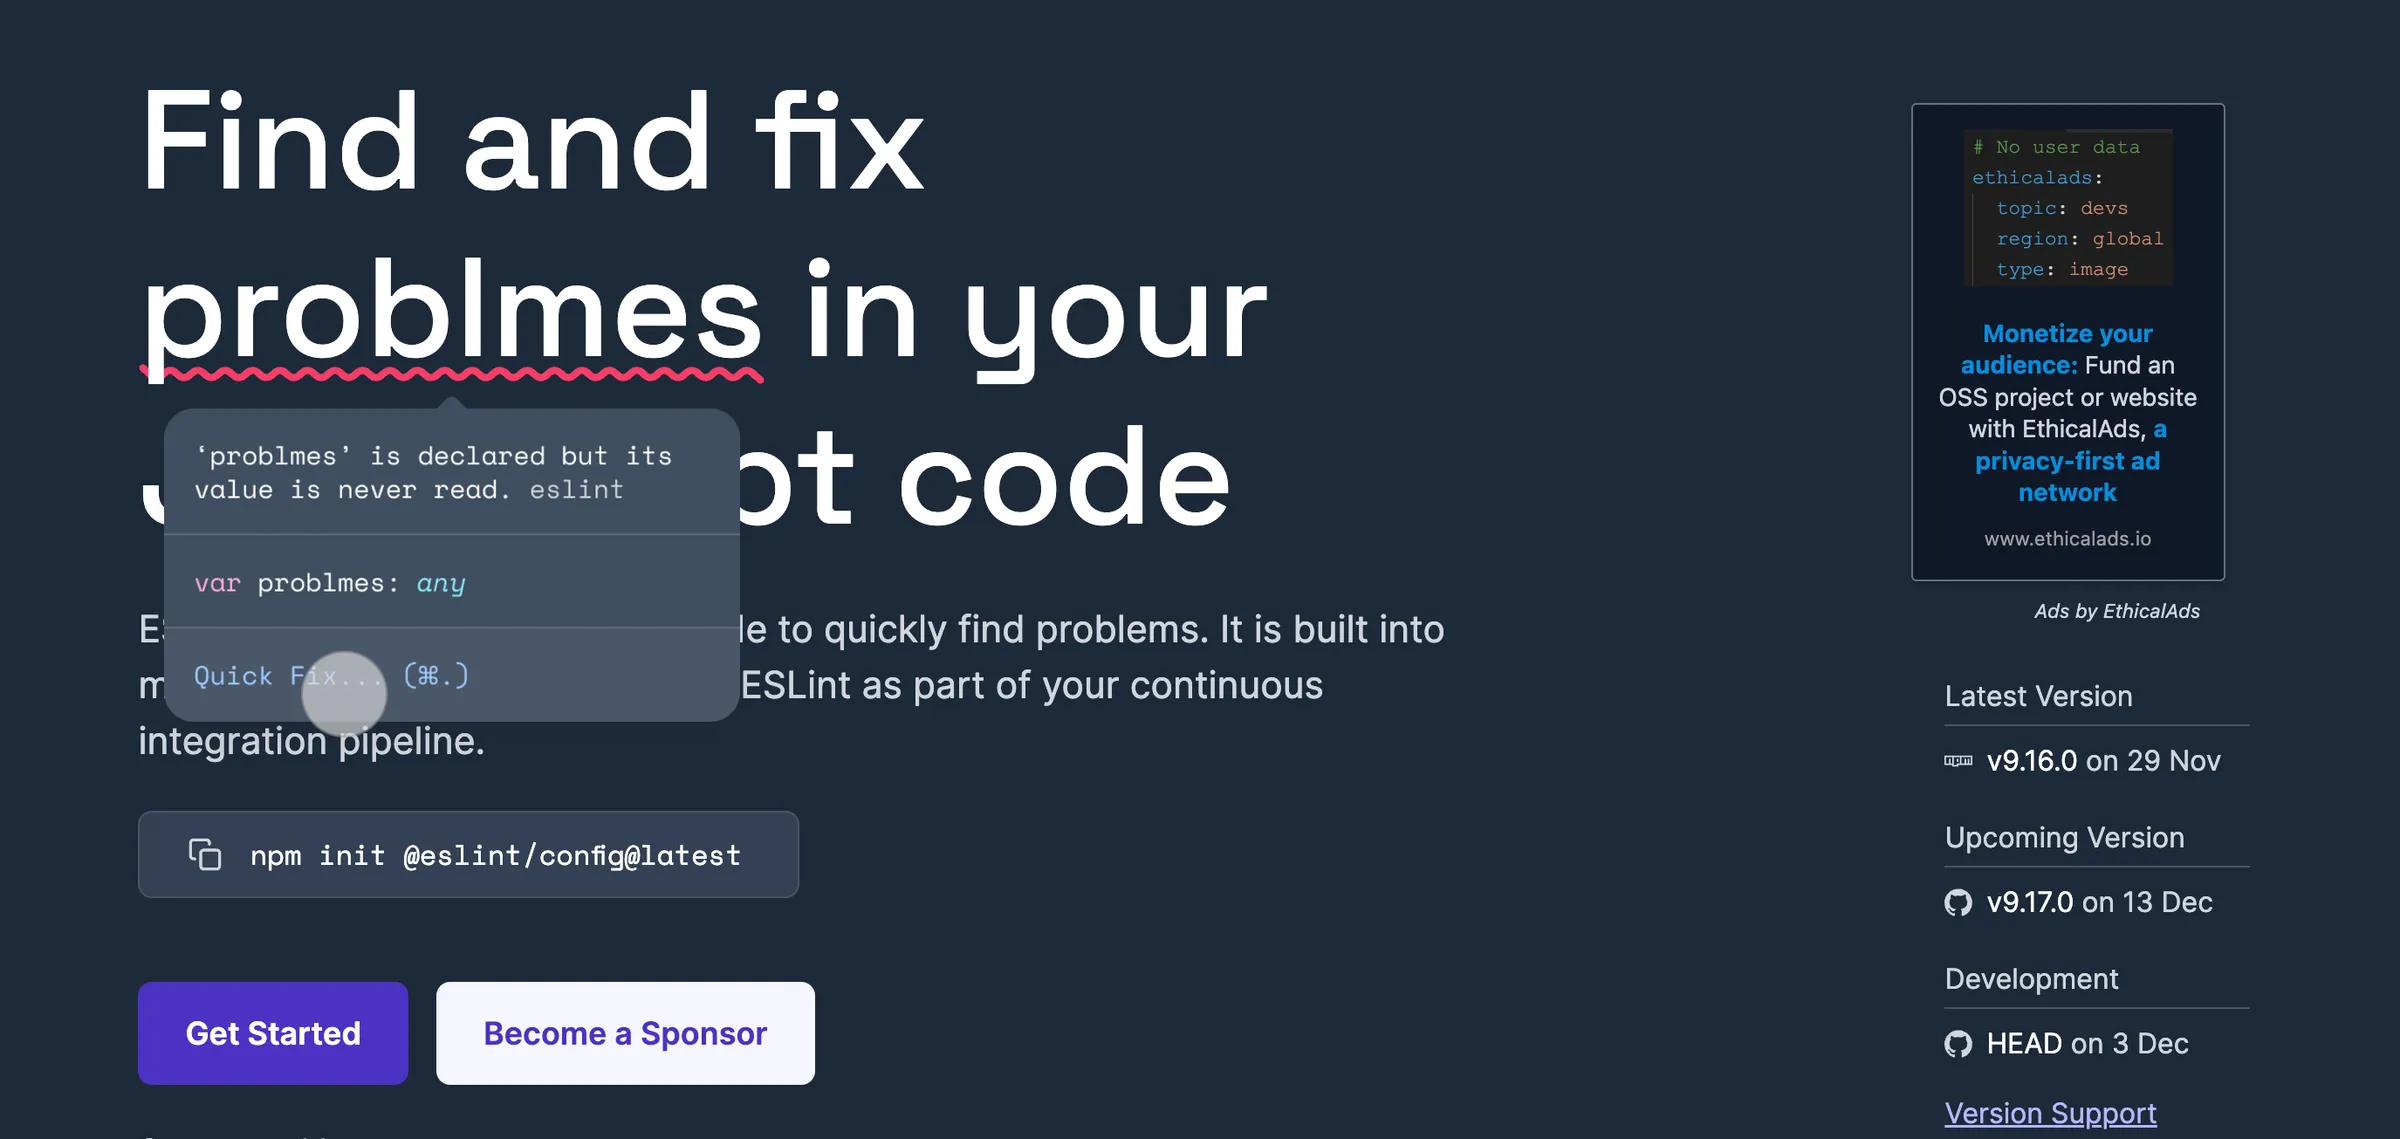
ESLint integrates seamlessly with most popular IDEs, providing real-time feedback as you code. Errors appear directly in your editor as squiggly red lines under problematic code—just like spellcheck but for JavaScript and Vue.js! This makes it easy to spot and address issues without breaking your workflow.

Additionally, IDE integrations often enable quick fixes through keyboard shortcuts or automatic corrections on file save. These features streamline development and ensure your code adheres to consistent standards across your project, especially in team environments.
Code Formatting with Prettier
Code formatting ensures your code follows consistent rules, such as using single or double quotes, defining tab widths, trailing commas, and whether to include semicolons. Unlike linting, which focuses on detecting errors, formatting is about maintaining visual and structural consistency in your codebase.
Why Code Formatting Matters
Consistent formatting is essential when working with teams or multiple IDEs. It ensures your code looks the same regardless of who writes it. With a formatter, you don't need to decide whether to include a semicolon or use tabs over spaces—the tool handles it for you, letting you focus on writing code.
Prettier: The Code Formatting Standard
While ESLint offers basic formatting capabilities, Prettier is the go-to tool for comprehensive code formatting. Prettier pairs seamlessly with ESLint, creating a powerful combination for all your linting and formatting needs. Together, they enforce consistent coding standards across your project.
Why Prettier Stands Out
Prettier is intentionally opinionated, meaning you spend less time configuring and more time coding. It eliminates debates about formatting choices, automatically applying standardized rules to your code. This design philosophy helps maintain productivity and simplifies collaboration.
Prettier IDE Integration
Like ESLint, Prettier integrates with most popular IDEs, providing features like real-time formatting on file save or with a simple keyboard shortcut. This integration streamlines your workflow and ensures your code adheres to formatting standards without additional effort.
Setting up with a Vite Project
Now that we know what ESLint and Prettier are and what advantages they provide let's get them setup in a shiny new Vue.js project powered by Vite. Unlike Vue-CLI, Vite does not have these tools auto configurable for us via the command line setup process, so we'll have to get them installed and configured ourself. But, not to worry, I'll walk you through the whole process step by step.
Create Vite Project
If you don't already have a project created by Vite you can run this command:
npm create vue@latestFollow the prompts and then change into the directory of the newly created project.
✔ Project name: …
✔ Add TypeScript? … No / Yes
✔ Add JSX Support? … No / Yes
✔ Add Vue Router for Single Page Application development? … No / Yes
✔ Add Pinia for state management? … No / Yes
✔ Add Vitest for Unit testing? … No / Yes
✔ Add an End-to-End Testing Solution? … No / Cypress / Nightwatch / Playwright
✔ Add ESLint for code quality? … No / Yes
✔ Add Prettier for code formatting? … No / Yes
✔ Add Vue DevTools 7 extension for debugging? (experimental) … No / Yes
During setup, you’ll be prompted to install Prettier for code formatting. Simply select "Yes," and Vue will handle the installation for you. Alternatively, if you prefer a manual setup, follow the steps outlined below.
Installing Prettier
We'll start by installing prettier. We can do this with the following command:
npm install --save-dev --save-exact prettierNext we'll create a config file for prettier. Since, prettier aims to be configuration free out of the box, the content of that config file can just be an empty object. We're only adding it, as some IDEs use it's presence to detect prettier. If you want to configure one of the few options that Prettier does provide see the Prettier docs for config options.
echo {}> .prettierrc.jsonNice, that should do it for prettier. Now let's setup ESLint.
Installing ESLint
Update: ESLint 9 introduces a new configuration structure called the 'flat config,' which simplifies and modernizes setup. If you're looking to upgrade to ESLint 9 and want guidance on the process, explore this article for a step-by-step upgrade guide for Eslint 9.
We can install ESLint and the vue plugin for ESLint with the following command:
npm install --save-dev eslint eslint-plugin-vueNext, we'll configure ESLint by creating a .eslintrc.js file with the following configuration so that it's configured to use the ESLint recommend rules as well as the recommended rules for Vue 3.
module.exports = {
  env: {
    node: true,
  },
  extends: [
    'eslint:recommended',
    'plugin:vue/vue3-recommended',
  ],
  rules: {
    // override/add rules settings here, such as:
    // 'vue/no-unused-vars': 'error'
  }
}
Visit the eslint-plugin-vue docs to see the other configurations available for use with Vue 3 for less strict options if desired. The different configurations correspond to the 3 different priorities in the Vue.js 3 style guide.
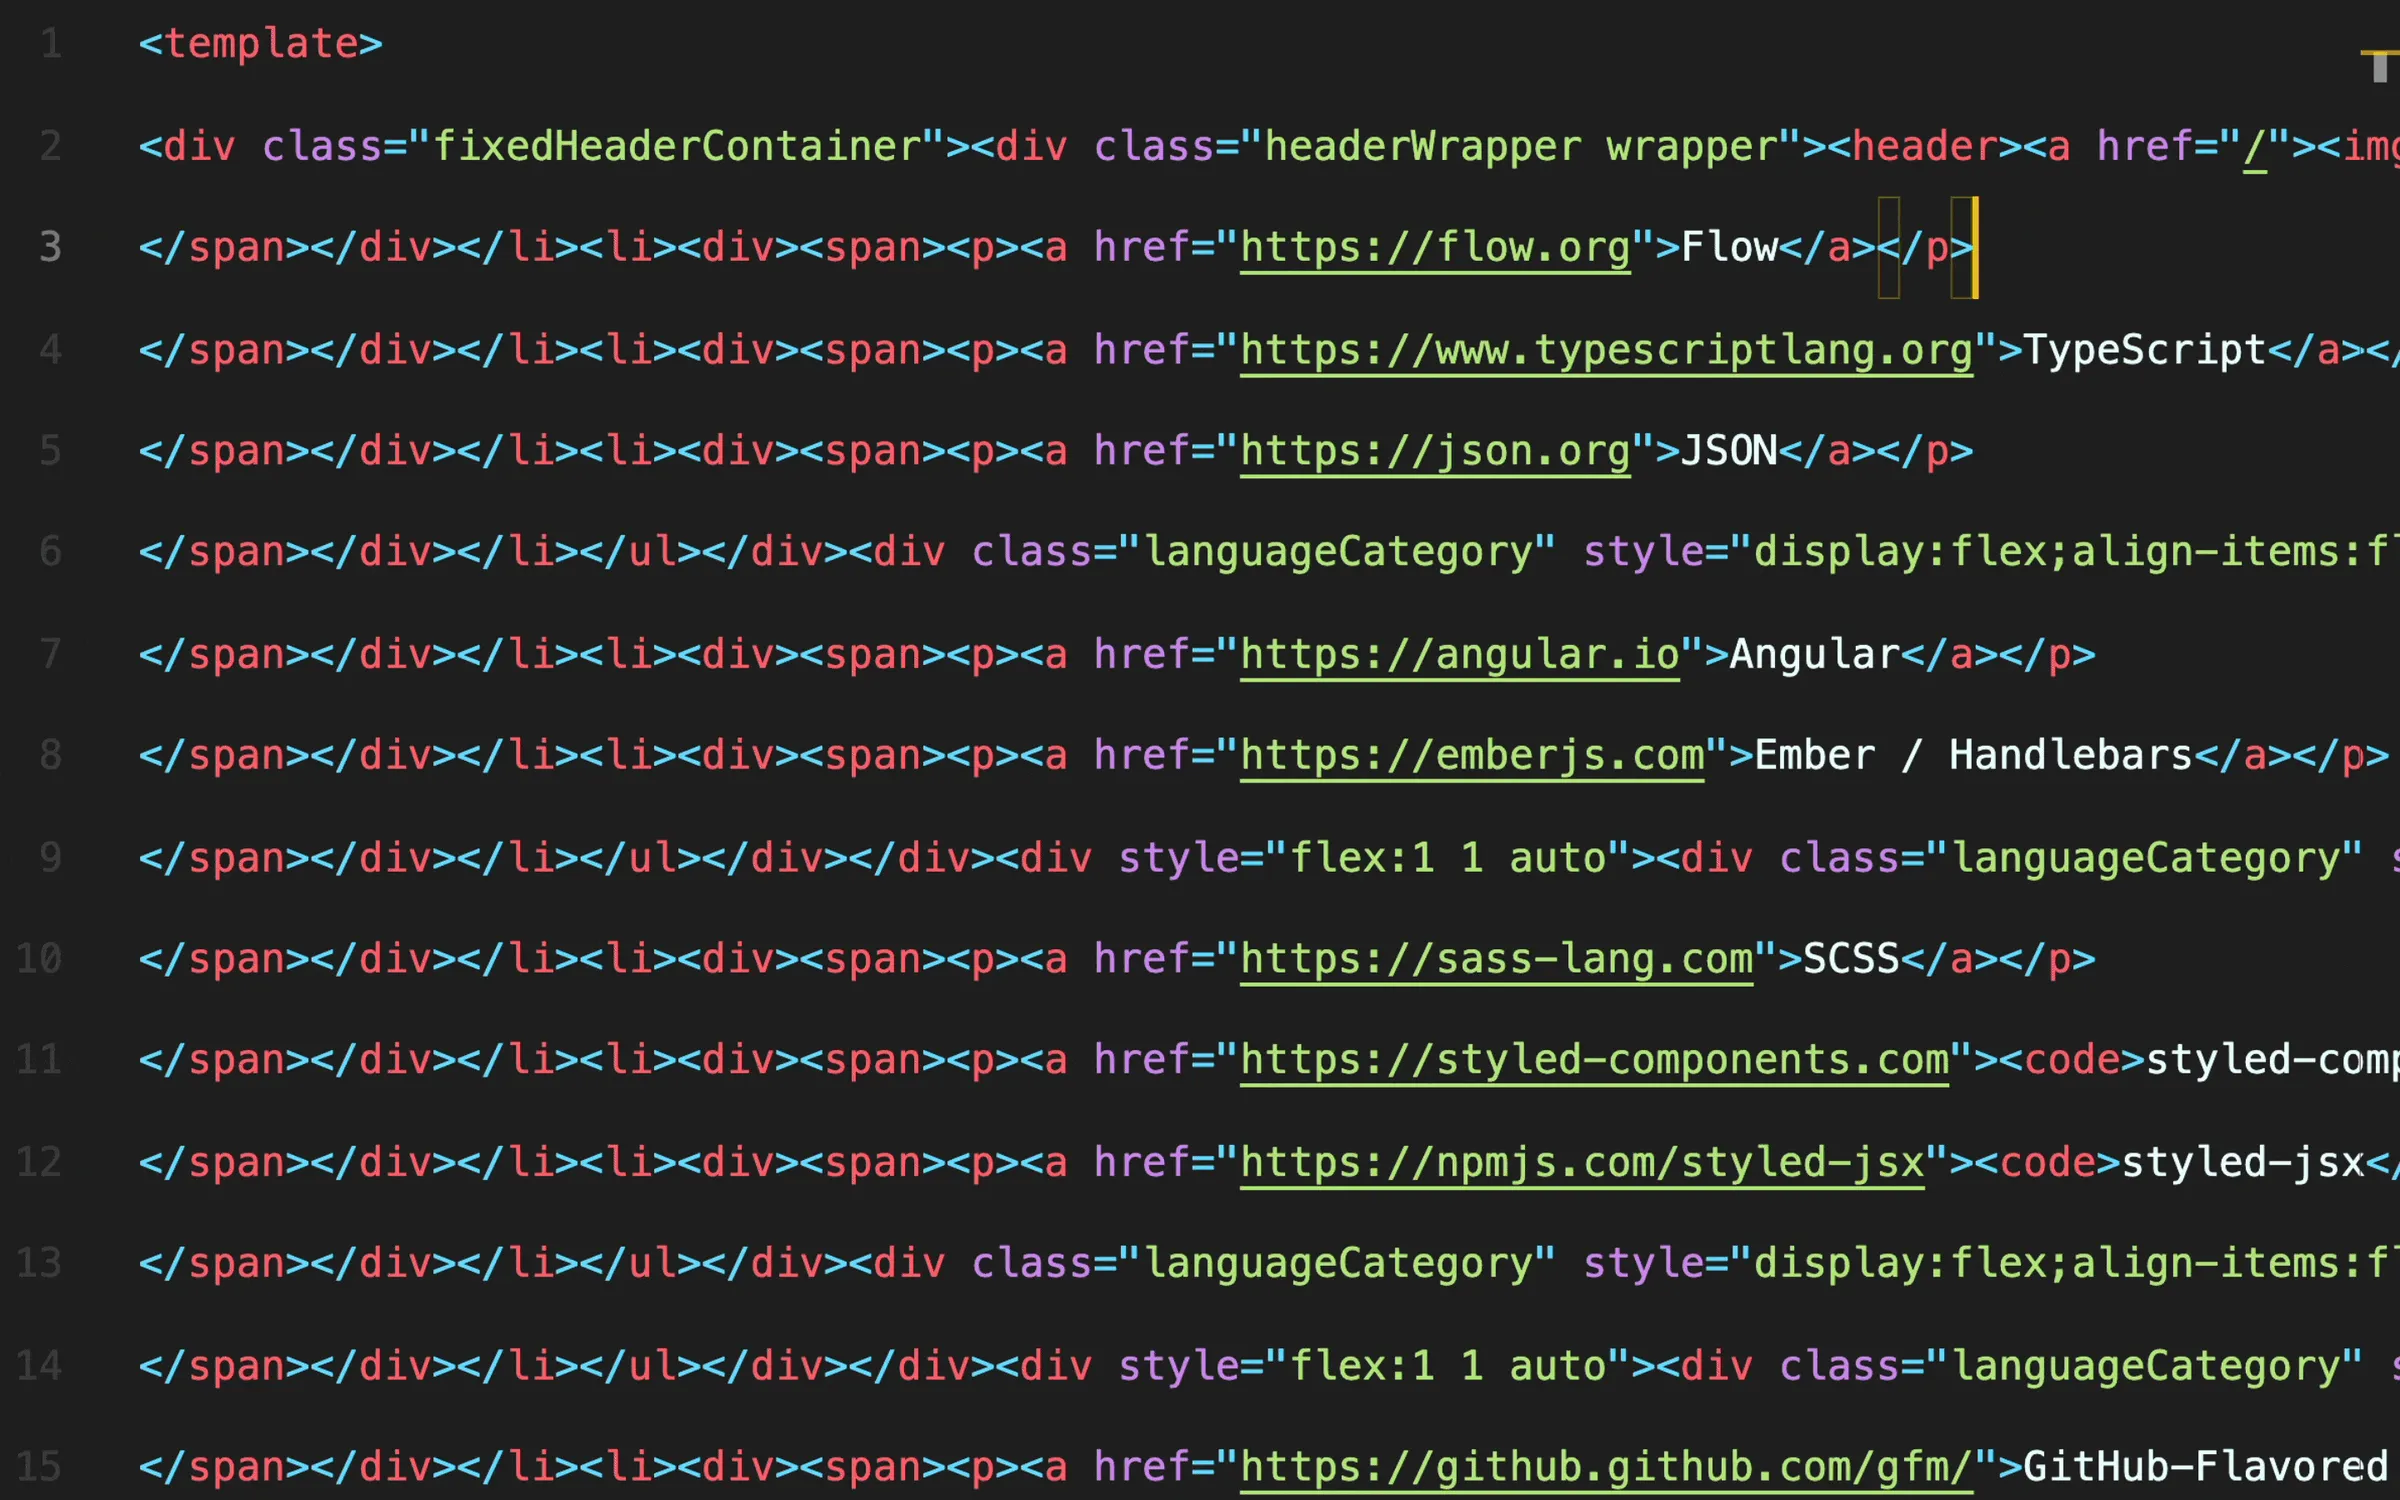
Finally, we'll turn off ESLint's formatting rules that would conflict with Prettier. If we didn't do this step, we'd have a never ending death match between the 2 that looks something like this:
If you've skipped this step before you know what a headache it can be. If you weren't aware of this step when setting up Prettier and ESLint before you'd likely never want to use either of the tools again! Luckily it's easily fixable.
We just need to install the eslint-config-prettier config. This disables the formatting rules in ESLint that Prettier is going to be responsible for handling.
npm install eslint-config-prettier --save-devAnd register the config in .eslintrc.js file under extends. Make sure it's the last config defined in the extends array as the order of the configs determine duplicate rules in different configs are handled (later configs override previous ones)!
//.eslintrc.js
extends: [
  'eslint:recommended',
  "plugin:vue/vue3-recommended",
  "prettier"
],
Running from the Command Line
At this point we should be set to have ESLint report on and correct fixable errors and have Prettier reformat our source code. Let's add the following two items to the scripts section of the package.json.
"scripts":{
  //...
  "lint": "eslint --ext .js,.vue --ignore-path .gitignore --fix src",
  "format": "prettier .  --write"
}
The lint command defined here would be great for running linting in your CI/CD pipeline or just for testing manually in the terminal. You can see either work quickly by running the respective commands, however this is not necessarily how you want to continually use them throughout the development process.
Setting up ESLint and Prettier with VS Code for Vue 3
To streamline your workflow you'll want to integrate the 2 tools with your IDE. Doing so will allow you to have errors underlined for you in real time and also provide automatic fixing of ESLint errors and prettier formatting on file save. Talk about a time saver! Since VS Code is a free and popular IDE and the IDE I use, let's take a look at how to integrate ESLint and Prettier with VS Code for your Vite powered Vue.js 3 project.
First you'll need to install the 2 corresponding plugins for Prettier and ESLint. You'll also want to install Vetur if you haven't already, as it provides syntax highlighting and more for .vue files.
Next, in your VS code settings you should provide the following to turn off Vetur's validation of the template and let ESLint handle it based off of the rules in the .eslintrc.js file.
// Code/User/settings.json
"vetur.validation.template": false
Important Update: Vue - Official is now the recommended VS Code extension for working with Vue 3. As far as I can tell, there are no special configs to get it working properly with ESLint and Prettier. Just install it and go ?
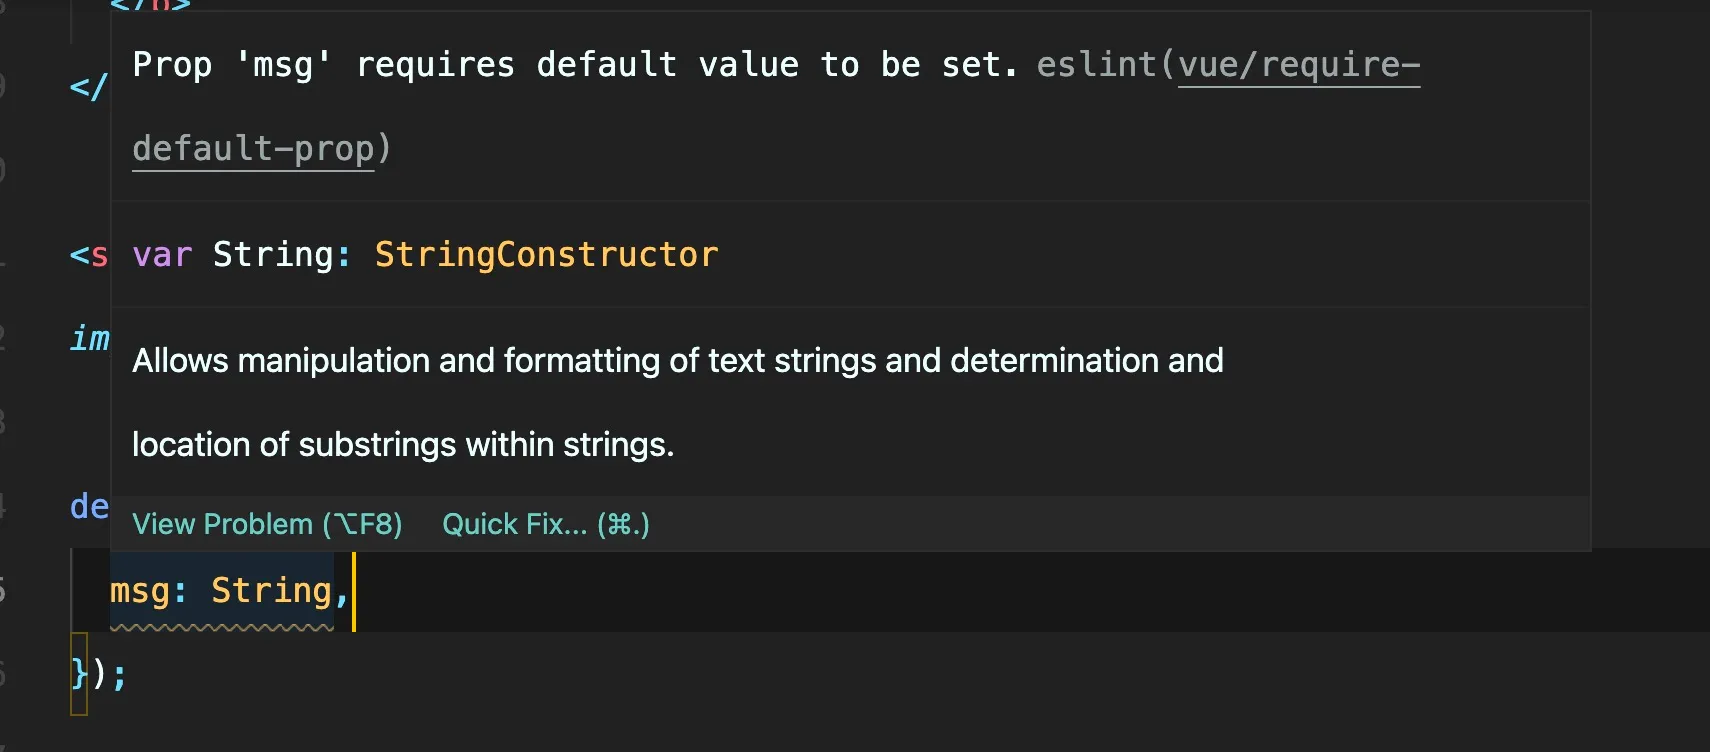
Now if you open the HelloWorld component you can see ESLint in action. You can see the yellow squiggly line underneath msg: String and if you hover over it you'll see more info about why ESLint is warning you about it. In this case, it's because of the rule vue/require-default-prop.
And so to fix the issue we can do one of 2 things.
- We could turn the
vue/require-default-proprule off in the.eslintrc.jsfile if we want to allow props without default values.
// .eslintrc.js
rules: {
  //...
  "vue/require-default-prop": "off",
},- Or we change the code to adhere to the rule by providing a default value and the squiggly line disappears! Very nice!

Now we've got ESLint reporting the errors directly in the file but we don't have any automation setup for Prettier to reformat the code or for ESLint to auto correct fixable issues. We can tell VS code to do both of these things on save by adding the following to our VS code settings.
// Code/User/settings.json
{
  "editor.formatOnSave": true,
  "editor.codeActionsOnSave": {
    "source.fixAll.eslint": true
  },
}
We should also ensure that our vue and js files have prettier configured as the default formatter with the following settings:
// Code/User/settings.json
"[vue]": {
"editor.defaultFormatter": "esbenp.prettier-vscode"
},
"[javascript]": {
"editor.defaultFormatter": "esbenp.prettier-vscode"
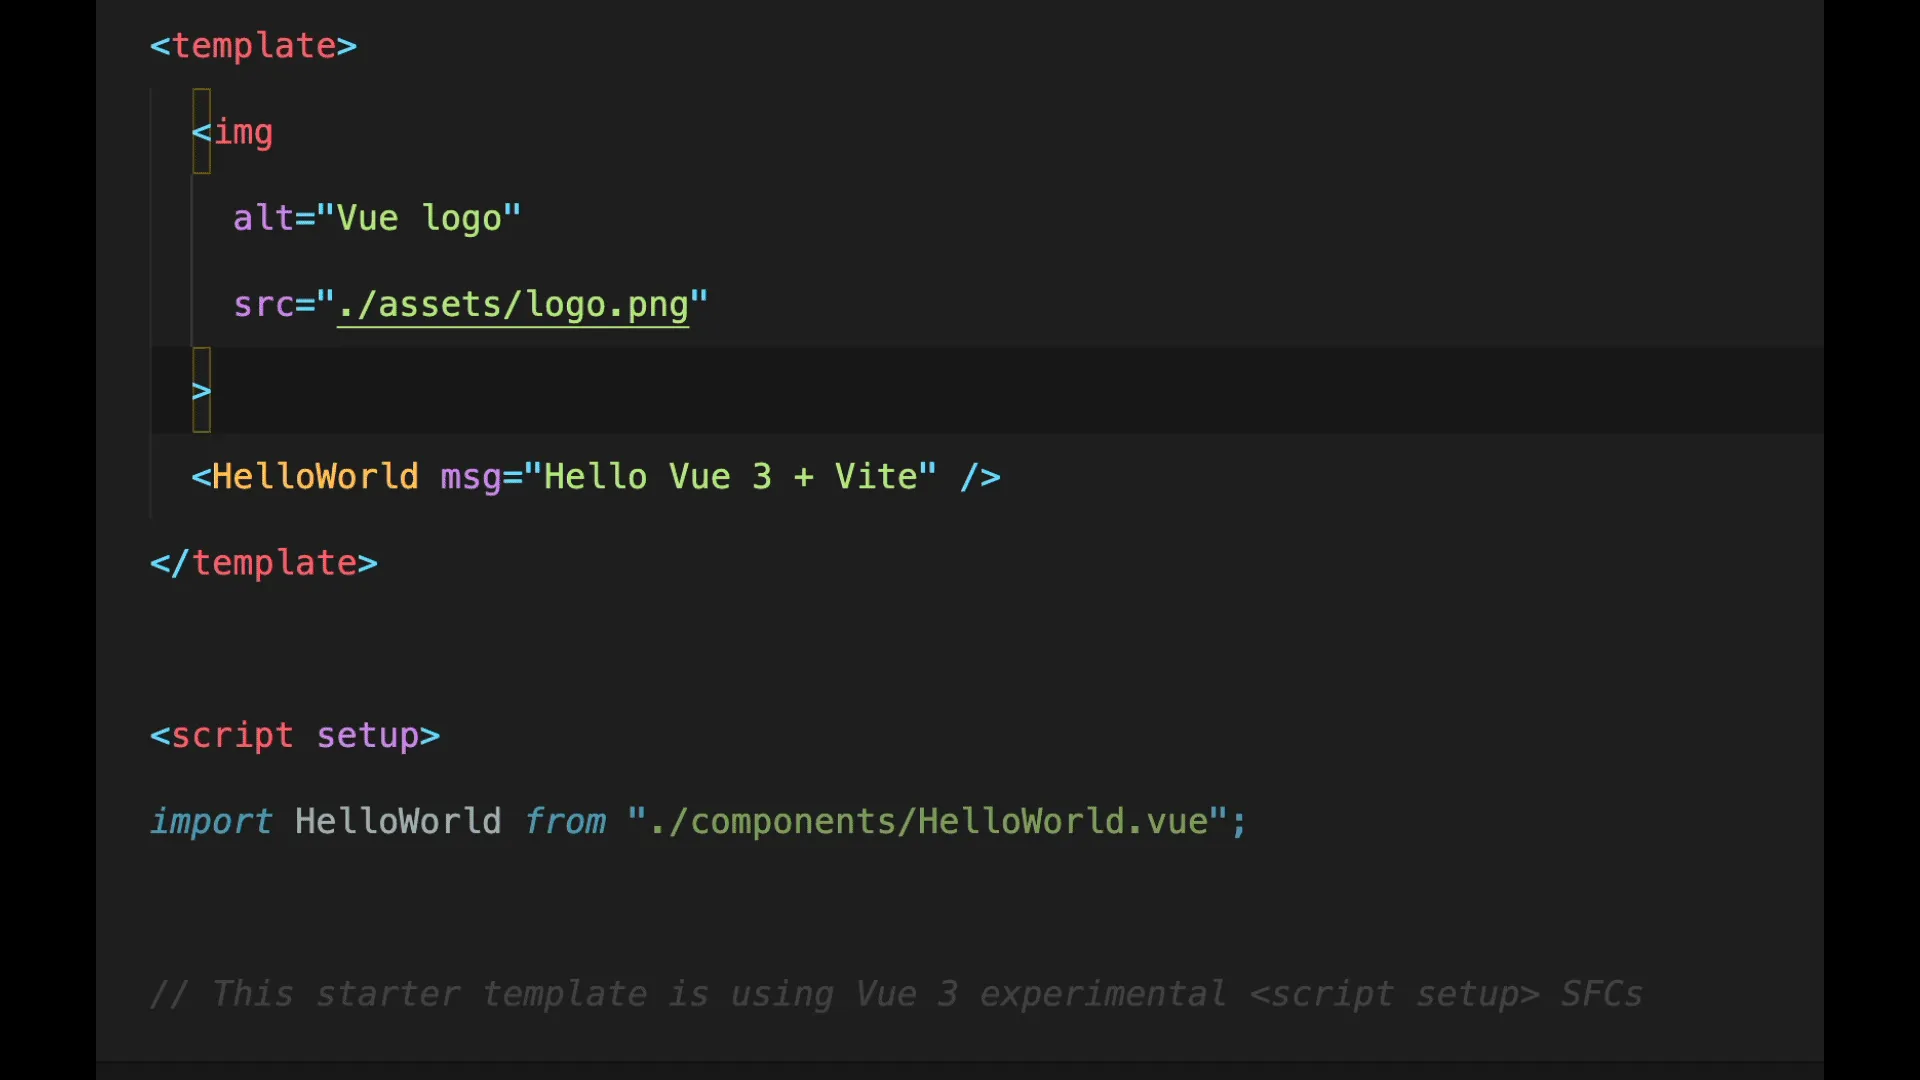
},Now if you open up App.vue, and tab the image over one and save it'll automatically pop back to where it should be! That's Prettier at work!

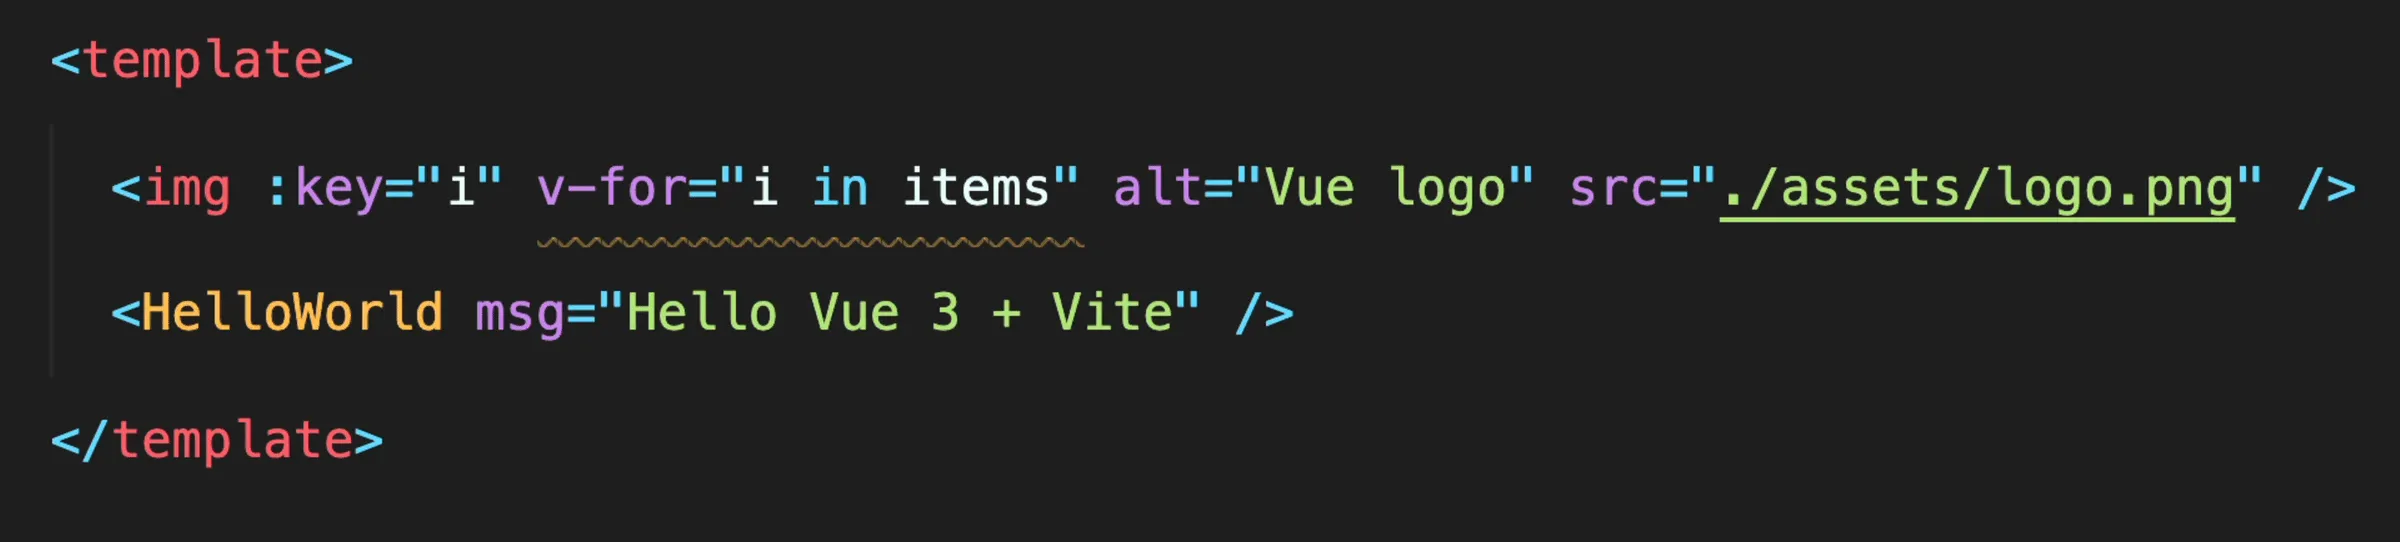
If you change the image to loop over an imaginary items array placing the key before the v-for like so:
<img :key="i" v-for="i in items" alt="Vue logo" src="./assets/logo.png" />you'll see that ESLint kicks the vue/attributes-order rule into action automatically fixes the issue on save. That's so handy!
ESLint Errors in the Browser
For most developers and teams, the setup that we have at this point is probably enough to be productive. However, if you want to take it one step further you can install the Vite ESLint plugin to see your ESLint issues overlayed over your application in the browser.
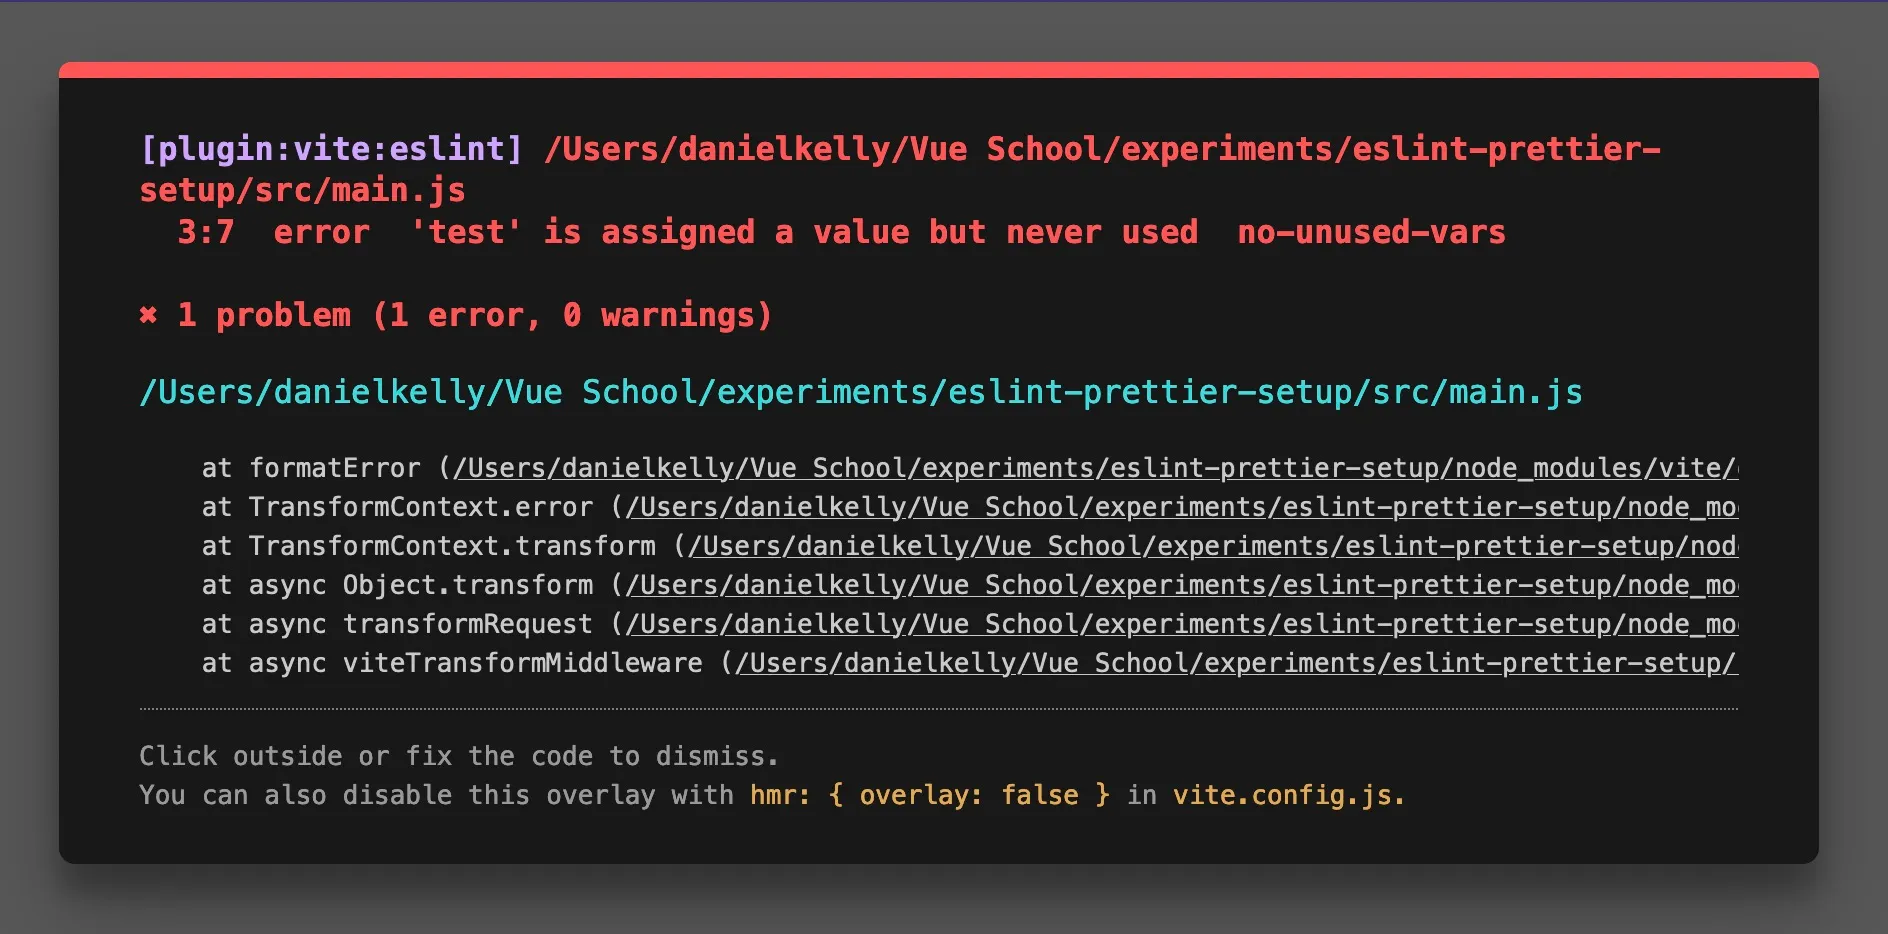
This makes those ESLint errors that aren't automatically fixable impossible to ignore. I know some developers who love this and others who find it super annoying, so install it if you want, otherwise just make sure you pay extra attention to those red squiggles in your IDE.
Install vite-plugin-eslint by running
npm install vite-plugin-eslint --save-devThen register the plugin by importing it and and adding it as a plugin in vite.config.js
import { defineConfig } from 'vite';
import eslintPlugin from 'vite-plugin-eslint';

export default defineConfig({
  plugins: [eslintPlugin()],
});
And that's it, any ESLint error will now be reported in the browser! If it doesn't for you, try restarting the development server.
Resources
Lastly, I know that following all the different plugins, configs, tools, etc when it comes to setting up linting and formatting can be a little intimidating so here's a list of all the different resources with links to their docs and a short description of the benefit they provide.
- ESLint docs - Industry standard linting tool
- Prettier docs - Industry standard formatting tool
- eslint-plugin-vue - ESLint config that provides rules specific to Vue
- eslint-config-prettier repo - ESLint config to disable rules that would conflict with Prettier
- Vetur- Legacy VS Code extension to provide syntax highlighting for .vue files and more
- Volar - VS Code extension to provide syntax highlighting for .vue files and more
- ESLint VS Code Extension
- Prettier VS Code Extension
- Vite - Super fast modern build tool
- vite-plugin-eslint repo - Vite plugin to show ESLint errors in the browser
- Vue - Official - The official extension for VS Code
Conclusion
When creating any large scale project in Vue, it's always a good idea to setup an automated process for linting and formatting so that code is consistent and error free. While Vue-CLI provides a way to set this up out of the box, the faster and more modern build tool Vite does not. ESLint and Prettier can be a little intimidating to setup especially due to all the different environments they should ideally run in (terminal, IDE, browser) but with a little patience you can set them up one and done for your Vite powered Vue.js projects and reap the benefits throughout the life of the project.
Start learning Vue.js for free

Comments
Latest Vue School Articles

5 Component Design Patterns to Boost Your Vue.js Applications

Vibe Coding a Collaborative Editor with Comment Support with Nuxt UI and Jazz
Our goal is to be the number one source of Vue.js knowledge for all skill levels. We offer the knowledge of our industry leaders through awesome video courses for a ridiculously low price.
More than 200.000 users have already joined us. You are welcome too!
© All rights reserved. Made with ❤️ by BitterBrains, Inc.