How to Install JetBrains Mono Font in Visual Studio Code

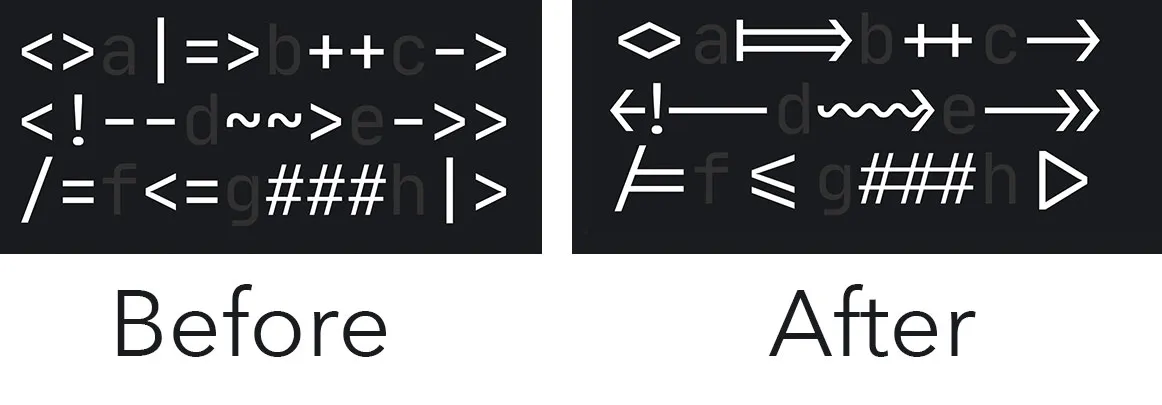
JetBrains Mono is a sleek, monospaced font designed for coding and presenting code in IDEs and code editors like Visual Studio Code (VSCode). With its increased x-height for improved readability, optimized letter shapes for clear alignment, and a developer-friendly set of ligatures that enhance multi-character operators, it’s a favorite among developers. Installing JetBrains Mono in VSCode can significantly elevate your coding environment, making it both functional and visually appealing.
These qualities, and more, make it a great choice for use when developing Vue.js applications in Visual Studio code. In this article, I’ll break down the steps of how to install it for the officially recommended IDE for Vue.js development: VS Code on MacOS.
Why Use JetBrains Mono in Visual Studio Code?
Visual Studio Code (VSCode) is one of the most popular code editors among developers, known for its flexibility, helpful extensions, and performance. By adding JetBrains Mono, a font designed specifically for coding, you can enhance both readability and aesthetics in your editor. Whether you're debugging, writing code, or reviewing scripts, JetBrains Mono in VSCode provides a smoother, more visually appealing experience.
Step 1: Chuckle a little at the irony
Yes, JetBrains Mono is a font produced by the company responsible for the awesome IDEs PHPStorm and WebStorm among other softwares. And we’re installing it in VS Code... aren’t we the rebelious type? ? But that’s ok, JetBrains has generously open sourced the font to the world and we are free to use it in any program we’d like. So, thank you, thank you, thank you Jetbrains!
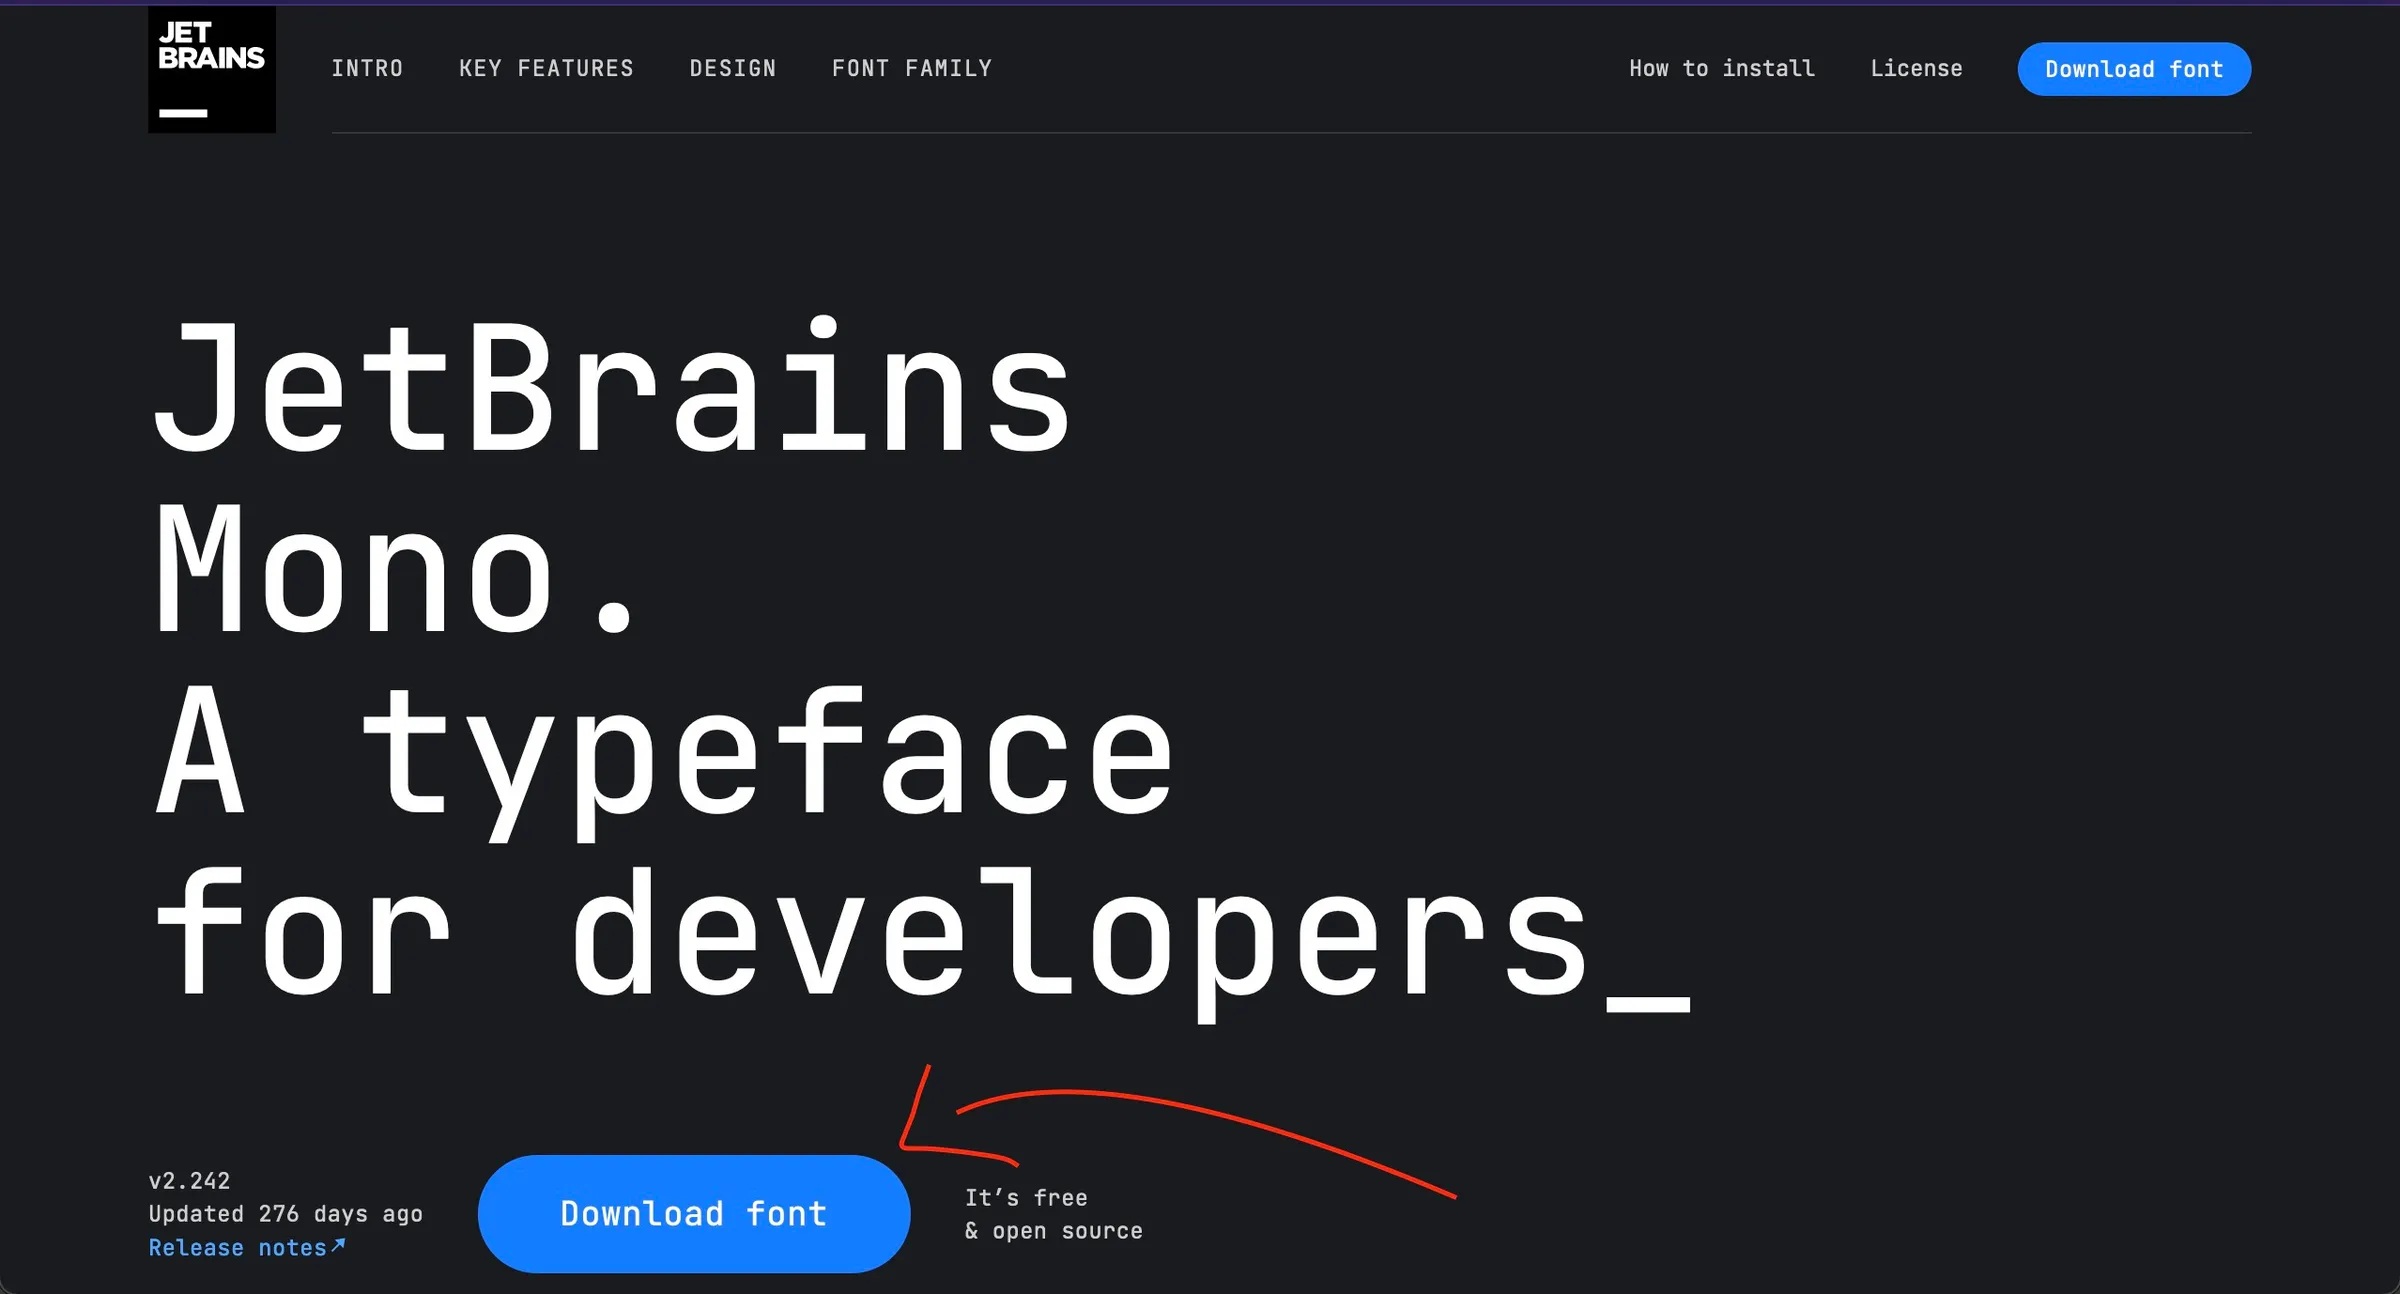
Step 2: Download the font
Next, before installing JetBrains Mono in VSCode, you’ll need to head on over to jetbrains.com/lp/mono/ to download the font files.
Step #3: Move the Font Files to the System Fonts Library
Once the files are downloaded you can find them zipped up in your downloads directory. Unzip them copy all the ttf files to your clipboard.
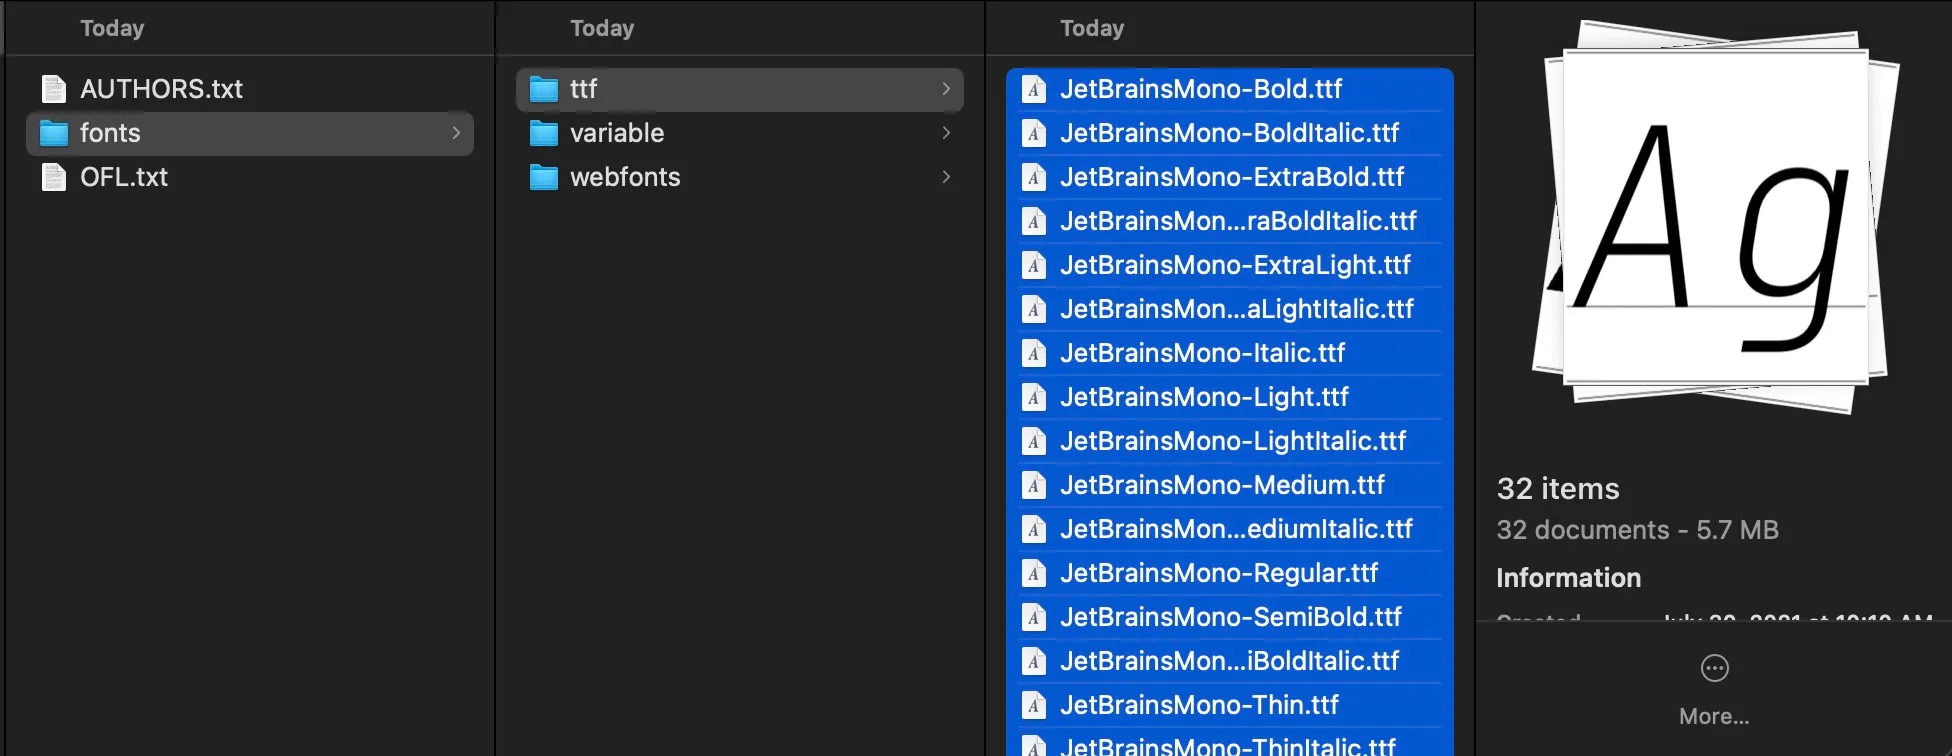
Then, use the Finder command “Go to Folder” (in the top menu under Go > Go to Folder or keyboard shortcut cmd+shift+G) to open the /Library/Fonts directory
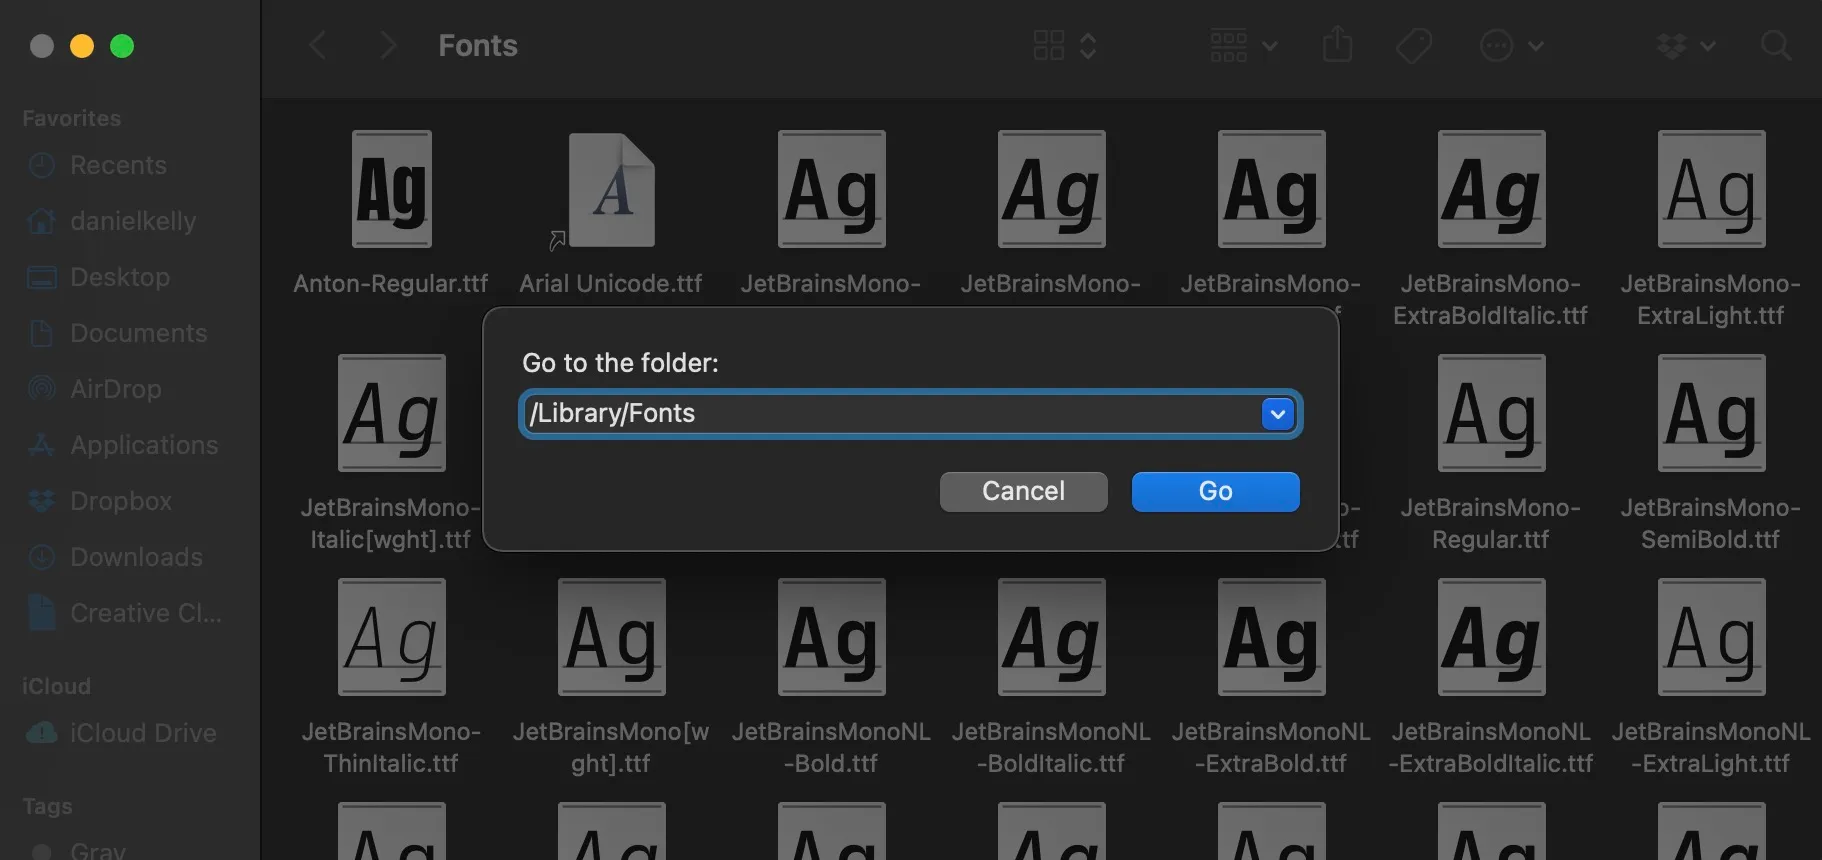
Finally, paste the copied .ttf font files into the /Library/Fonts directory.
Step #4: Set Jetbrain Mono Font in VSCode
Ready to install the JetBrains Mono font in Visual Studio Code (VSCode)? Open the command palette (cmd + shift + p) in VSCode and access the JSON settings editor to get started.
Then, set the editor.fontFamily setting to JetBrains Mono and if you want the awesome ligatures as well, set editor.fontLigatures to true. Save the file.
"editor.fontFamily": "JetBrains Mono",
"editor.fontLigatures": true,
At this point, don’t worry if your text turns to Times New Roman or some other totally inapproriate font for coding.
Step #5: Quit VS Code and Restart
To get the font to register properly with Visual Studio Code, you’ll need to quit the program completely (cmd+q) and re-open it. (I tried the “Reload Window” command as an alternative but it didn’t work for me.) After that you should be good to go.
Step #6: Verify JetBrains Mono Works
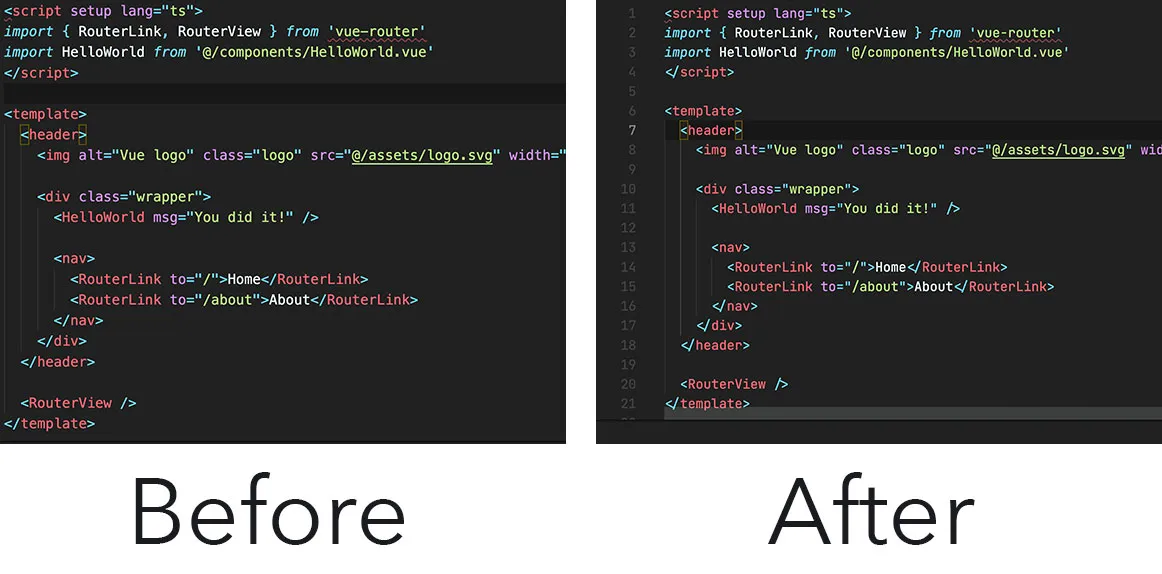
You should be able to tell a difference as soon as you re-open a file in the editor. It definitely won’t be Times New Romans anymore and you’ll have characters that are narrower and taller than those with the default font.
To be extra sure though, you can try out a strict inequality operator (≠=) to see it’s distinctive ligature in action.

An that’s all there is to it! Enjoy this awesome free and open source font in Visual Studio Code and if you’d like more tips and tricks for working with Visual Stuidio Code for be sure to checkout our course Visual Studio Code for Vue.js Developers. In it, I’ll share loads of inspiration for VS code extensions, themes, keyboard shortcuts, and more that you can use to supercharge your Vue.js development workflow!
Related Courses
Start learning Vue.js for free

Comments
Latest Vue School Articles

5 Component Design Patterns to Boost Your Vue.js Applications

Vibe Coding a Collaborative Editor with Comment Support with Nuxt UI and Jazz
Our goal is to be the number one source of Vue.js knowledge for all skill levels. We offer the knowledge of our industry leaders through awesome video courses for a ridiculously low price.
More than 200.000 users have already joined us. You are welcome too!
© All rights reserved. Made with ❤️ by BitterBrains, Inc.