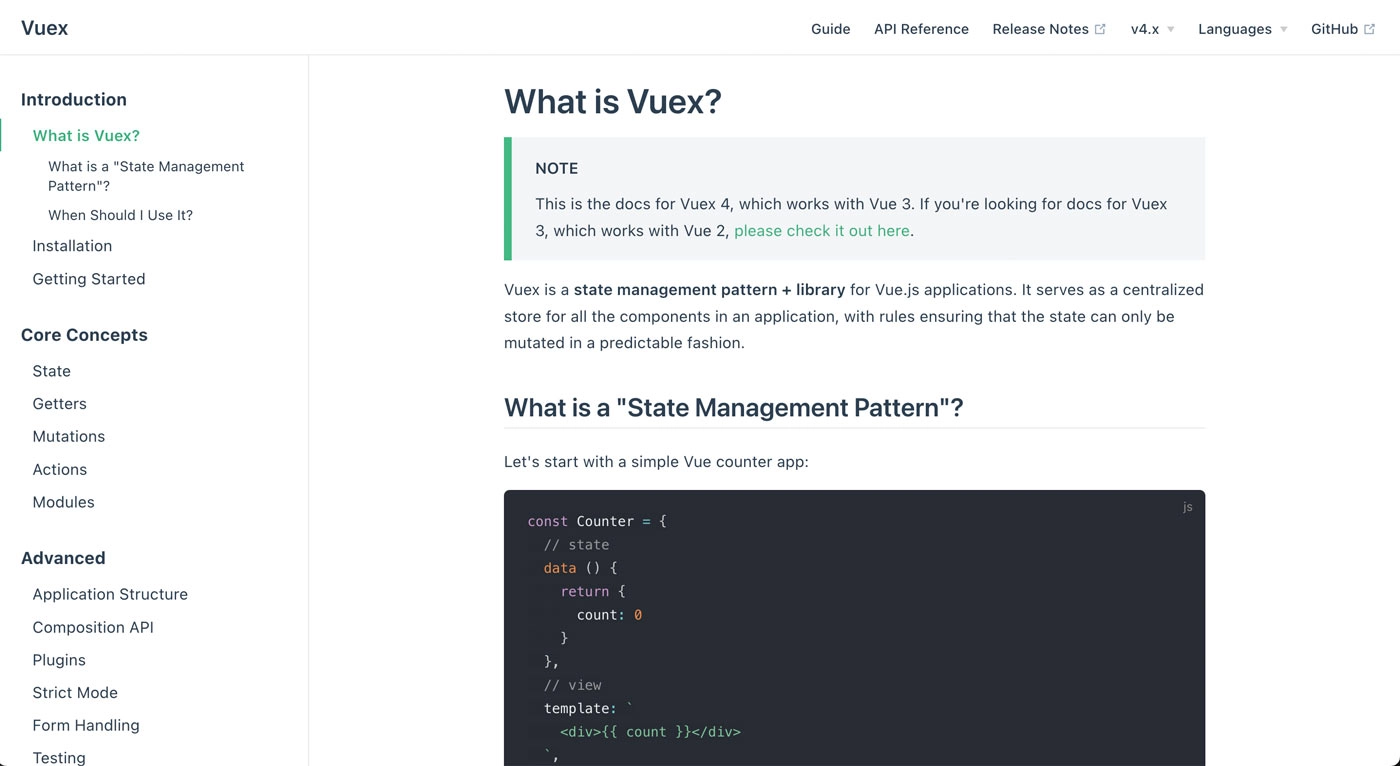
Vuex, the Official Vue.js Store

Part of the series: Store Solutions in Vue.js
In the previous article in this series we discussed what a store is, why it's useful, and when it's a good time to implement one. With those principles in mind, we can now look into how to implement a store with Vuex.
Update: Pinia is now the official state management solution for Vue.js, officially replacing Vuex. If you’re new to state management in Vue or transitioning from Vuex, we highly recommend checking out the "How to Migrate from Vuex to Pinia" article and Pinia: The Enjoyable Vue Store for a comprehensive guide on how to use it effectively in your Vue projects.

Vuex is the official store library and state management pattern for Vue.js. It has the advantage of being the first store for Vue and thus has been used in thousands of projects by thousands of developers all over the world and is time tested to be effective. Let's take a look at how it works.
To note, if you are using Vue 2 you'll want to use Vuex 3. I'm going to be showing examples in Vuex 4 which is compatible with Vue 3 but there are only a few differences so most everything described here will be applicable.
Vue School also offers a free Vuex course if you'd like to dive deeper into Vuex.
Installation and Setup
In order to get started with Vuex, you can install it with npm or yarn.
npm install vuex@4 --save
# or with yarn
yarn add vuex@4
Then instantiate it via a createStore() function much like Vue 3's createApp() function.
// store/index.js
import {createStore} from 'vuex'
export default createStore()
Lastly, you register it with Vue like any other Vue plugin with the use() method.
// main.js
import { createApp } from 'vue'
import store from '@/store' // short for @/store/index
const app = createApp({ /* your root component */ })
app.use(store)
Store Definition
Stores in Vuex are defined via an object passed to the createStore function. The object can have any of the following properties: state, getters, mutations, and actions.
// store/index.js
export default createStore({
  state:{},
  getters:{},
  mutations: {},
  actions:{}
})
State
The store's state is defined in the state property. State is just a fancy word meaning the data you want keep in your store. You can think of it as the data property on a component but available to any of your components. You can put any kind of data you want in here like the logged in user we mentioned in the previous article. Also different properties defined in the state can be any data type you'd like, such as objects, arrays, string, numbers, etc.
state:{
  user: { name: 'John Doe', email: 'fake@email.com', username: 'jd123'},
  posts: [],
  someString: 'etc'
}
In order to access the store's state in any component template you can use$store.state[propertyNameHere]. For example, in order to access the user's name in a profile component we do the following:
// ProfileComponent.vue
<template>
  <h1>Hello, my name is {{$store.state.user.name}}</h1>
</template>
Or we can clean up the template a bit by using a computed property.
// ProfileComponent.vue
<template>
  <h1>Hello, my name is {{name}}</h1>
</template>
<script>
export default{
  computed:{
    name(){ return this.$store.user.name }
  }
}
</script>
Making the computed properties in this way can get more and more verbose as you continue to access the store's state from your components. In order to lighten things up, you can use one of the Vuex helper functions mapState, passing it an array of the top level properties from the state we want access to in the component.
<template>
  <h1>Hello, my name is {{user.name}}</h1>
</template>
<script>
export default{
  computed:{
    ...mapState(['user'])
  }
}
</script>
mapState is even a little more flexible than this but this is usually enough for 90% of my use cases.
Getters
Besides the data itself stored in the state, the Vuex store can also have what's known as "getters". You can think of getters as the store version of computed properties and just like computed properties they are cached based on dependencies. All getters in Vuex are functions defined under the "getters" property and receive the state as well as all the other getters as arguments. Then whatever is returned from the function is the value of that getter.
{
  state:{
   posts: ['post 1', 'post 2', 'post 3', 'post 4']
  },

  // the result from all the postsCount getters below is exactly the same
  // personal preference dicates how you'd like to write them
  getters:{
    // arrow function
    postsCount: state => state.posts.length,

    // traditional function
    postsCount: function(state){
      return state.posts.length
    },

    // method shorthand
    postsCount(state){
      return state.posts.length
    },

    // can access other getters
    postsCountMessage: (state, getters) => ${getters.postsCount} posts available
  }
}
Accessing the store's getters is much the same as accessing the state except you look under the getters property instead of the state property.
// FeedComponent.vue
<template>
  <p>{{$store.getters.postsCount}} posts available</p>
</template>
You could also use a computed property in your component or a helper function (this time mapGetters) like with the state.
// FeedComponent.vue
<template>
  <p>{{postsCount}} posts available</p>
</template>
<script>
import {mapGetters} from 'vuex'
export default{
  computed:{
    ...mapGetters(['postsCount'])
  }
}
</script>
Mutations and Actions
If you remember from the previous article in the series, a defining principle of a store is having rules on how the store's data can be changed. The Vuex state management pattern assigns this responsibility to actions and mutations. Vuex is the only one of the solutions discussed in this series that make a distinction between these 2 concepts.
This is the short and sweet of it:
- Mutations are always synchronous and are the only thing that are allowed to change the state directly. A mutation is responsible for changing only a single piece of data.
- Actions can be synchronous or asynchronous and shouldn't change the state directly but call the mutations. Actions can invoke multiple mutations.
Also here's some more info and best practices for each.
- Mutations
- It's convention to uppercase mutation names
- called via
commit('MUTATION_NAME', payload) - payload is optional
- Should not contain any logic of whether to mutate the data or not
- It's best practice to only call them from your actions (even though you do have access to calling them in components)
- Actions
- Can be called from within other actions in the store
- Are the primary way to change state from within components
- called via
dispatch('actionName', payload) - payload is optional
- Can contain logic of what to mutate or not mutate
- Good practice to define as async to begin with so that if the logic changes from synchronous to asynchronous the places where you dispatch the actions don't have to change
Here's an example of defining the actions and mutations.
{
  state: {
    posts: ['post 1', 'post 2', 'post 3', 'post 4'],
    user: { postsCount: 2 }
    errors: []
  }
  mutations:{
    // convention to uppercase mutation names
    INSERT_POST(state, post){
            state.posts.push(post)
    },
    INSERT_ERROR(state, error){
        state.errors.push(error)
    },
    INCREMENT_USER_POSTS_COUNT(state, error){
      state.user.postsCount++
    }
  },
  actions:{
    async insertPost({commit}, payload){
       //make some kind of ajax request
       try{
         await doAjaxRequest(payload)

         // can commit multiple mutations in an action
         commit('INSERT_POST', payload)
         commit('INCREMENT_USER_POSTS_COUNT')
       }catch(error){
        commit('INSERT_ERROR', error)
       }
    }
  }
}
These mutations may seem overly simplified for illustration's sake but mutations should be just as short and sweet in production codebases since they are only ever responsible for updating a single piece of state.
If you're new to Vuex the distinction between mutations and actions can be a bit cumbersome at first but you get used to it after a while. You never really love it, but you get used to it. Even though writing the mutations isn't the most enjoyable, as it produces a lot of boilerplate, it has been necessary for the devtools experience of time traveling to debug your applications. An RFC for Vuex 5 however, indicates that in the future mutations will no longer be necessary so that we can skip the mutations boilerplate and still enjoy the devtools experience.
Finally, to run actions from a component you call the dispatch method on the store and pass it the name of the action you want to run as the first argument and the payload as the second argument.
// PostEditorComponent.vue
<template>
  <input type="text" v-model="post" />
  <button @click="$store.dispatch('insertPost', post)">Save</button>
</template>
It's also common to dispatch your actions from a component's method.
// PostEditorComponent.vue
<template>
  <input type="text" v-model="post" />
  <button @click="savePost">Save</button>
</template>
<script>
export default{
  methods:{
    savePost(){
      this.$store.dispatch('insertPost', this.post)
    }
  }
}
</script>
And like state and getters you can use a helper function to map actions to component methods.
// PostEditorComponent.vue
<template>
  <input type="text" v-model="post" />
  <button @click="insertPost(post)">Save</button>
</template>
<script>
import {mapActions} from 'vuex'
export default{
  methods:{
    ...mapActions(['insertPost'])
  }
}
</script>
Organizing in Modules
As your applications grow, you'll find a single global store file becoming unbearably long and difficult to navigate. Vuex's solution to this is called modules which allow you to divide your store up into seperate files based on the domain logic (such as a file for posts, another for users, another for products, and so on) and then access the state, getters, etc from the module under a particular namespace.
You can see the exact implementation details for modules in the official Vuex docs. Suffice it to say, here at Vue School we recommend implementing modules out of the gate as refactoring from a one level store to a store broken up into modules can be a bit of a pain. Also, my personal experience with modules is that, while definitely an improvement over a single level store in a large application, the syntax is a little bit cumbersome.
Vue devtools
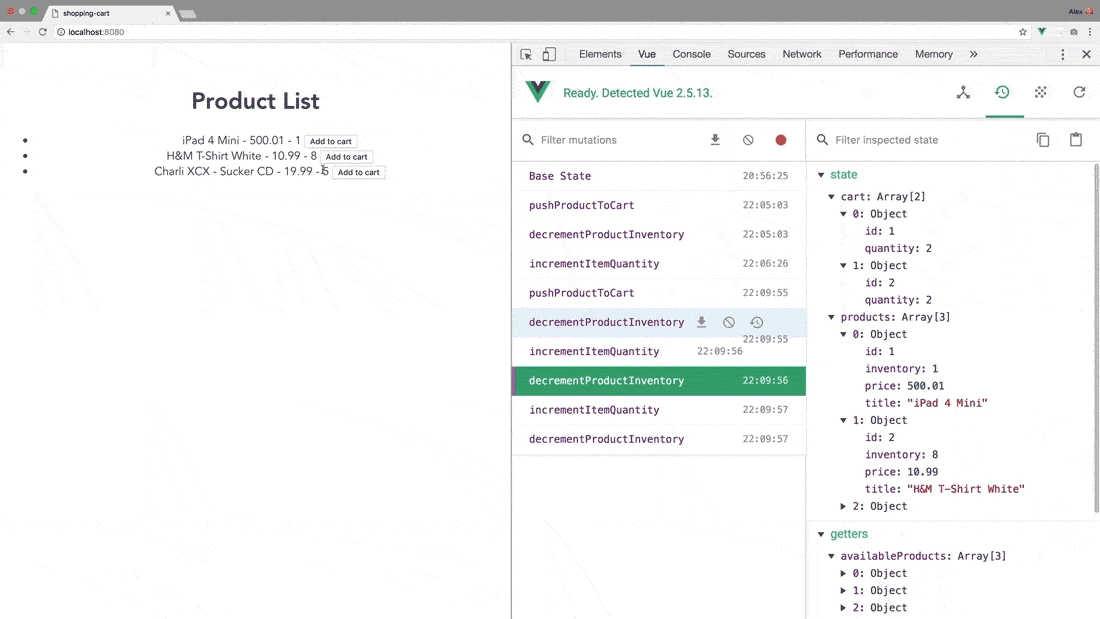
Finally, I would be remiss if I didn't highlight how well Vuex plays with the Vue Devtools. For working on a Vue 2 project with Vuex 3, you have a dedicated Vuex tab in the devtools that allows you to see a running list of mutations committed, time travel to a specific mutation to see what your app and the state looked like at that point in time, and even revert the app back to its state at a particular mutation.
What version control is to a project, the Vuex devtools integration is to your application's state (though in a more temporary sense). You can see the devtools in action with Vuex in this free lesson from Vue School.

As of May 2021, your shiny new Vue 3 projects that use Vuex 4 won't support Vuex in the devtools as the integration isn't yet complete but it's definitely on the maintainers' list of todos and will only be a matter of time.
Notable Features
To wrap things up for Vuex let's just take quick recap of its most notable features to help you in your decision for implementing the store best fit for you and your project.
Vuex:
- Is the official solution
- is the longest lived and most battle tested solution
- is popular in the Vue community with a wealth of educational resources available (thus probably best for on-boarding new devs to a project)
- integrates flawlessly with Vue Devtools for a great development experience
Conclusion
Vuex is a battle tested and popular store for Vue.js but is not the only option you have available to you. For light-weight applications it could be overkill and add unnecessary complexity. In the next lesson, we'll talk about the new kid on the block for a Vue.js store: Pinia.
Start learning Vue.js for free

Comments
Latest Vue School Articles
Just Released: Nuxt Hub Multi-Vendor and First-Class DB

Vue.js – 2025 In Review and a Peek into 2026

Our goal is to be the number one source of Vue.js knowledge for all skill levels. We offer the knowledge of our industry leaders through awesome video courses for a ridiculously low price.
More than 200.000 users have already joined us. You are welcome too!
© All rights reserved. Made with ❤️ by BitterBrains, Inc.


