
VueUse Head and Netlify PreRendering for SEO and Social Friendly SPAs

One of the traditional set backs with SPA's is that since all the content is rendered on the client side, many social sharing previews don't work and some search engines can't properly index your site.
In this article let's remedy that situation for a Vue.js 3 powered SPA by using the VueUse/head package and Netlify PreRendering.
Create the Project
First, I'll create the project using Vite. If you already have a project handy you can skip down to the next section.
npm init vite@latestVite will prompt me with a few simple questions. I answered like so:
✔ Project name: … vue-use-head-and-netlify-prerendering
✔ Select a framework: › vue
✔ Select a variant: › vue
Once Vite is finished setting things up, we can install the dependencies and get started.
$ cd vue-use-head-and-netlify-prerendering
$ npm install
$ npm run dev
VueUse/head for Title, Description, and Meta Data
To add heads tags such as title and meta tags to our pages we'll use the VueUse/head package. To install it you can run:
npm install @vueuse/headThen in main.js we'll need to register the plugin.
import {createHead} from '@vueuse/head'
//...
createApp(App)
.use(createHead())
.mount('#app')
VueUse/head provides 2 ways of setting head tags:
- with the composition API in the setup method.
- or in the template
Let's put ours in the template, just because it feels the same as writing these in normal HTML.
Next, we can import the <Head> component inside the script tag of App.vue.
<script setup>
    //...
    import { Head } from '@vueuse/head'
</script>
With the component available, we can now put it to use in the template to define a title tag.
<Head>
<title>Hello Title</title>
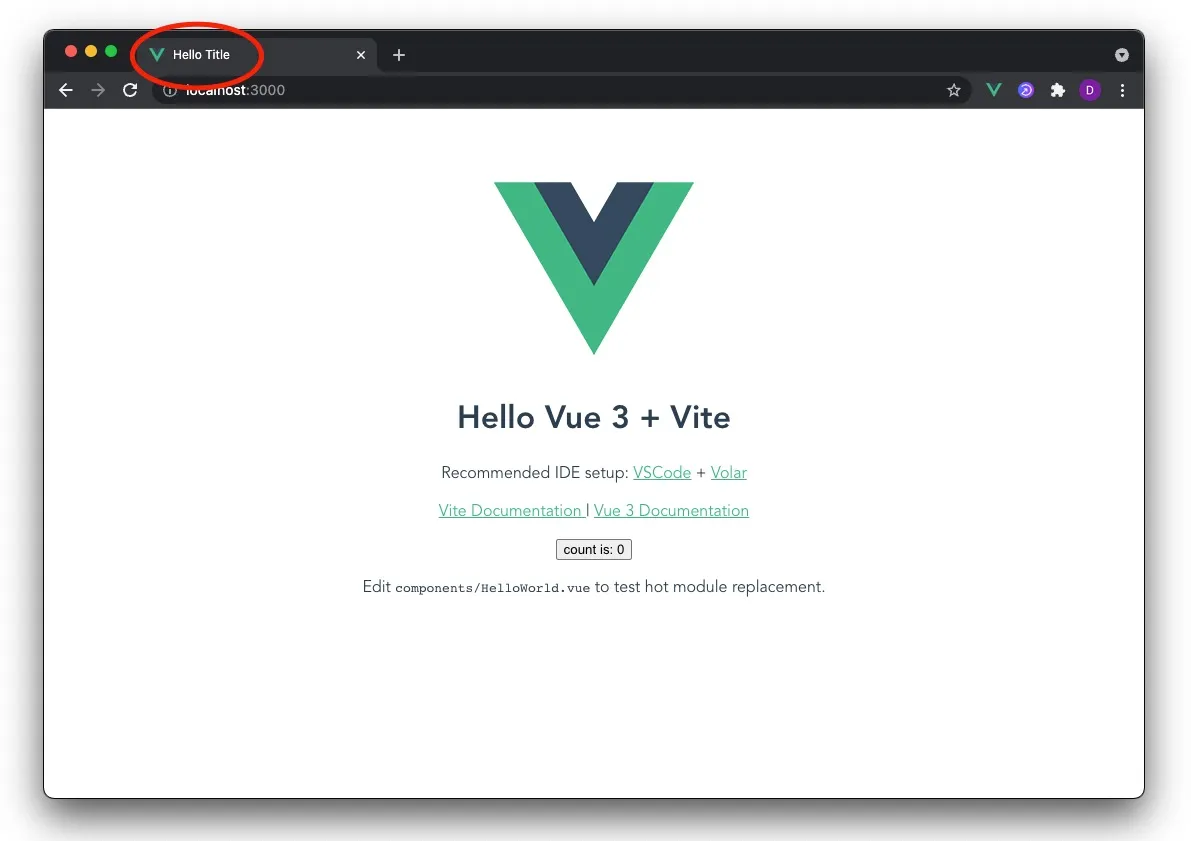
</Head>If you were to visit your page in the browser now, you'd be able to see your title tag take affect. Awesome!
Let's provide some more meta data for our page to optimize it for SEO and social sharing previews.
<Head>
<title>Hello Title</title>
<meta name="description" content="This page is awesome">
<!-- Social -->
<meta property="og:title" content="Hello Title">
<meta property="og:description" content="This page is awesome">
<meta property="og:image" content="https://picsum.photos/1200/675">
<!-- Twitter -->
<meta name="twitter:title" content="Hello Title">
<meta name="twitter:description" content="This page is awesome">
<meta name="twitter:image" content="https://picsum.photos/1200/675">
<meta name="twitter:card" content="summary_large_image">
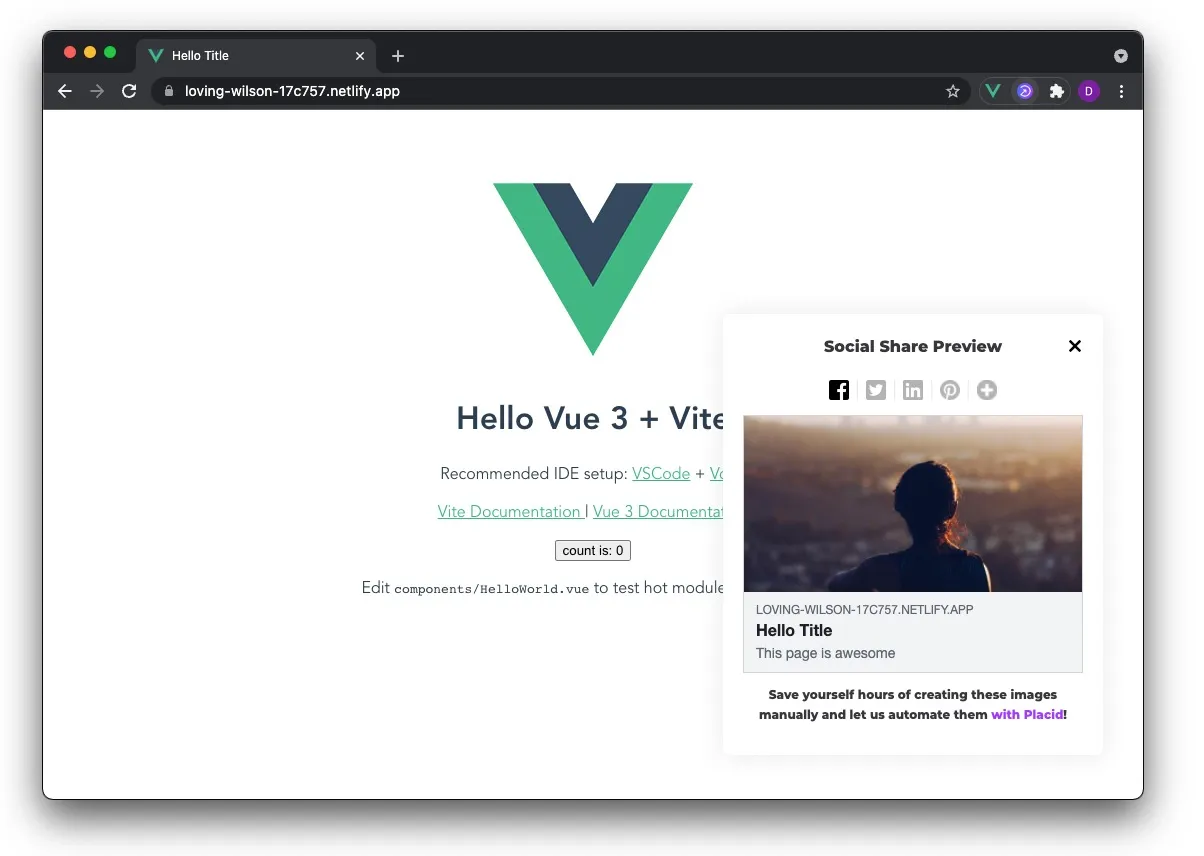
</Head>At this point, if you were to use the Chrome extension Social Share Preview by Placid you'd see this beautiful preview of how your page would look shared on social media (also available on Firefox).

All of our head meta tags are still being rendered client side but the groundwork for making this work with Netlify is complete.
Deploying to Netlify and Enabling PreRendering
Next, let's deploy our site to Netlify. For the sake of time, I'll just locally build the project.
npm run buildThen I'll drag and drop the dist directory into the Netlify dashboard Sites page.
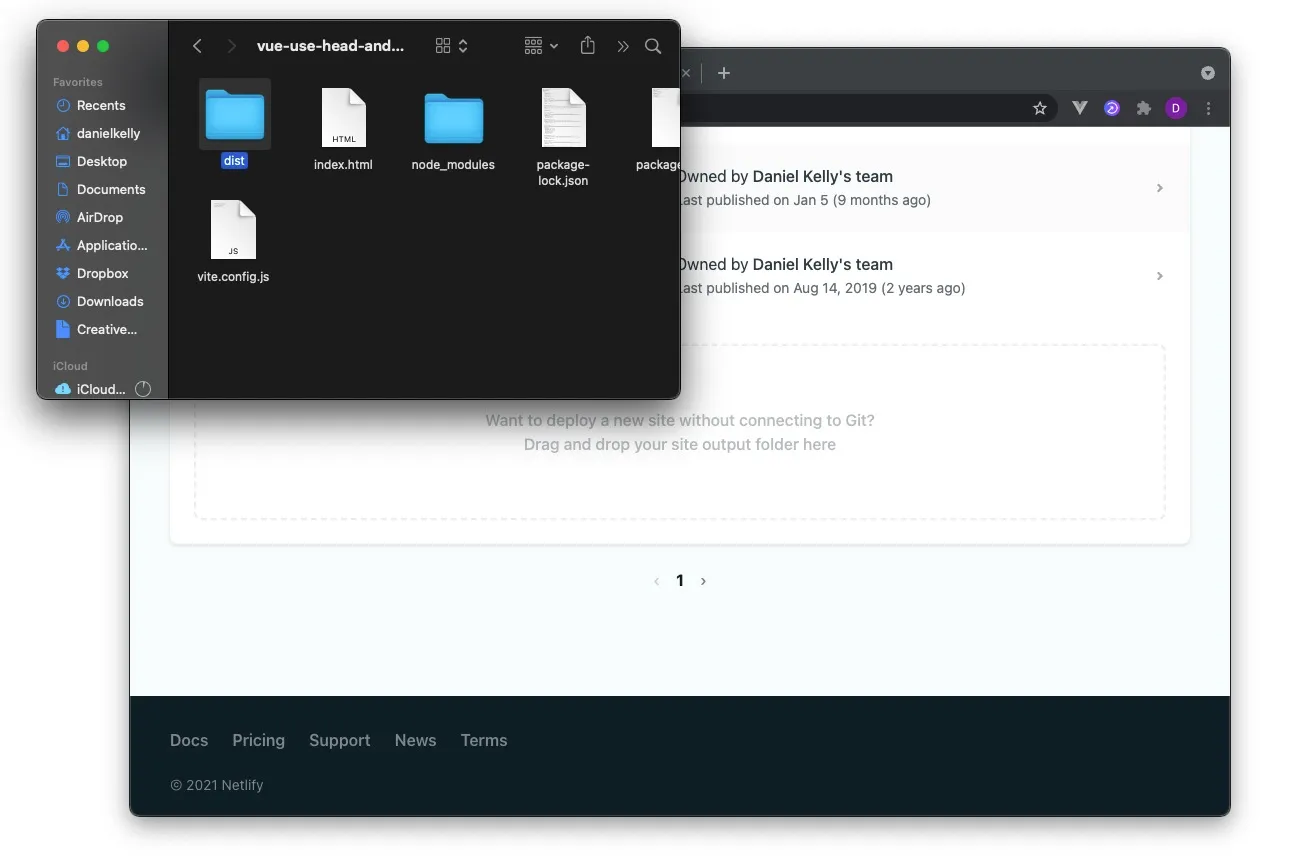
You're welcome of course, to set this up through a git repo and it works just the same as any other Netlify site where it auto deploys whenever you push to git, etc.
Visiting the site at this point and using the Social Sharing Extension will show us the same nice preview we got locally.
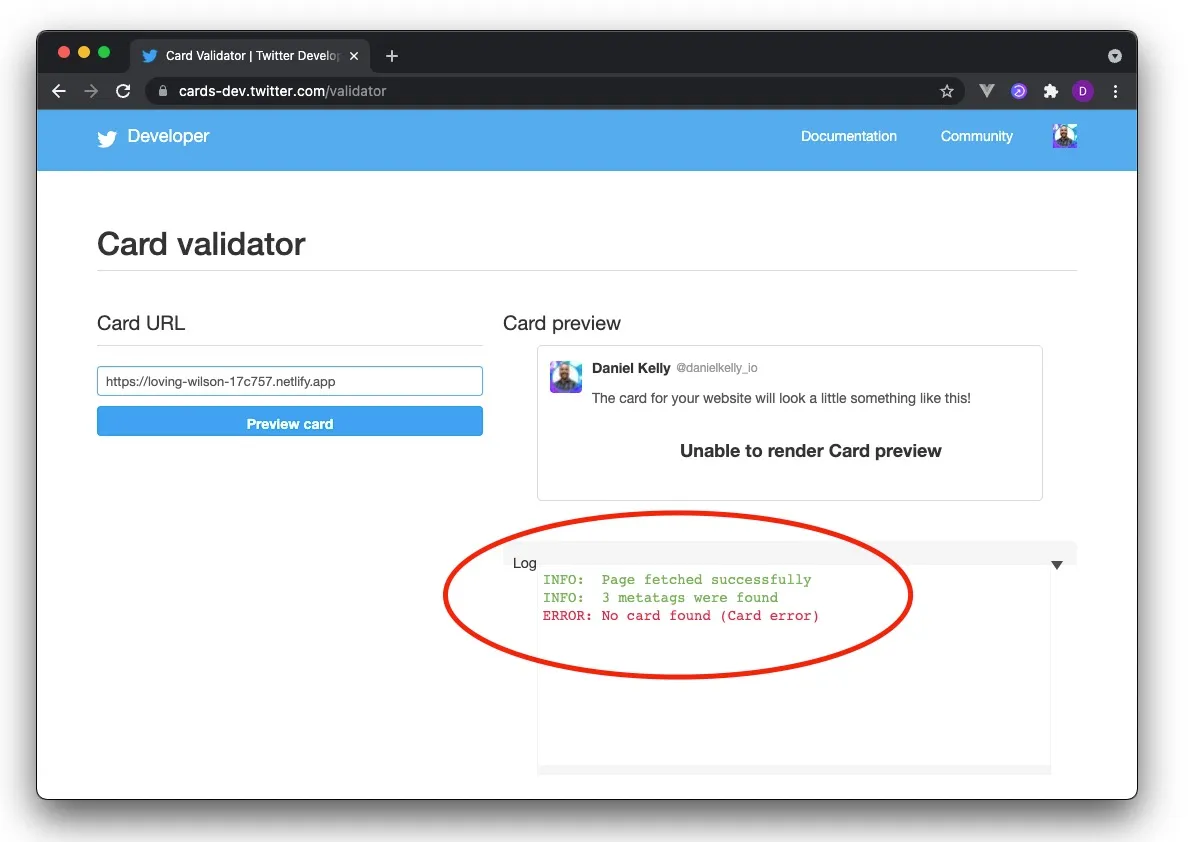
However, don't be fooled, this is only reading those client side values. Sharing our page on twitter for example, won't give us the expected results.
To verify this we can visit the Twitter Card Validator and enter the site's url. The result is "No card found".
In order to fix this, we can turn on Prerendering in the Netlify dashboard under Site Settings > Build and Deploy > Prerendering
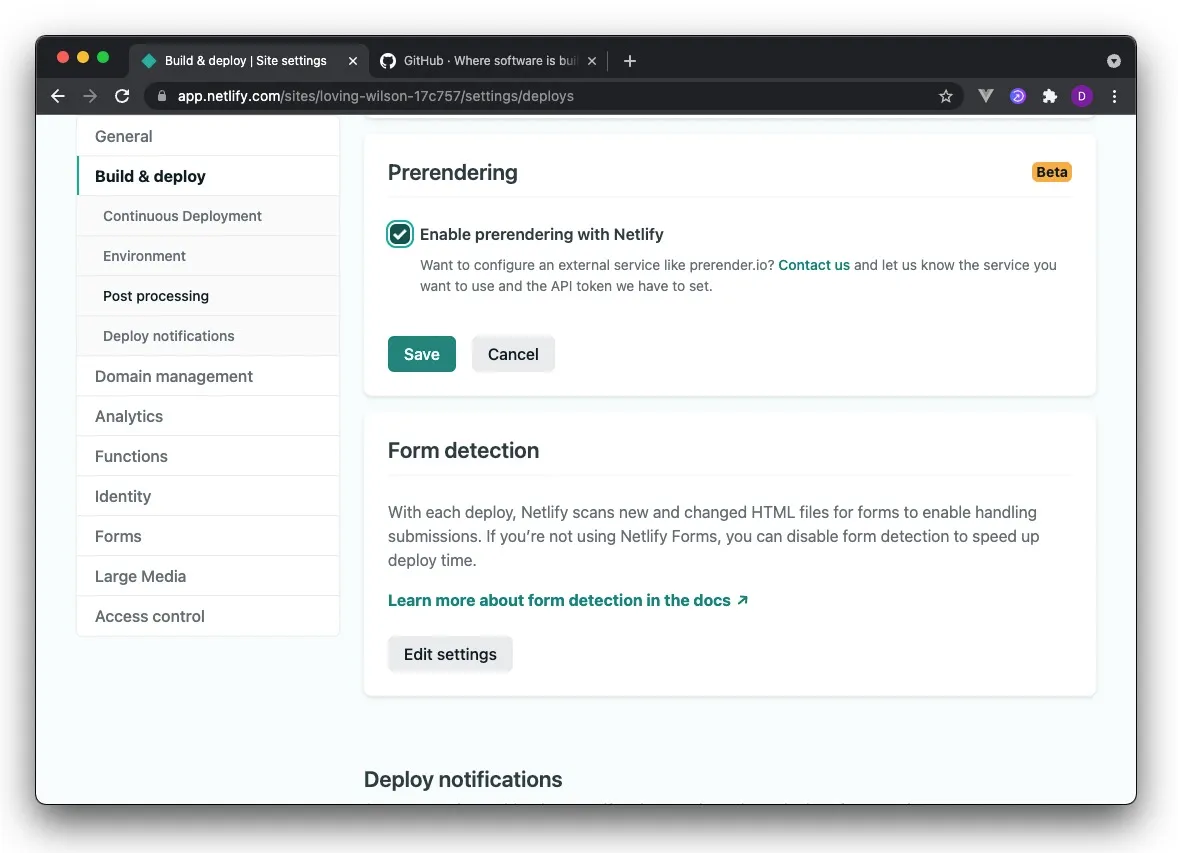
Do note at the time of this article that Prerendering with Netlify is in Beta.
Now when we run the url through the Twitter Card Validator again, we can see that Twitter properly picked up on the page meta tags to create the card.
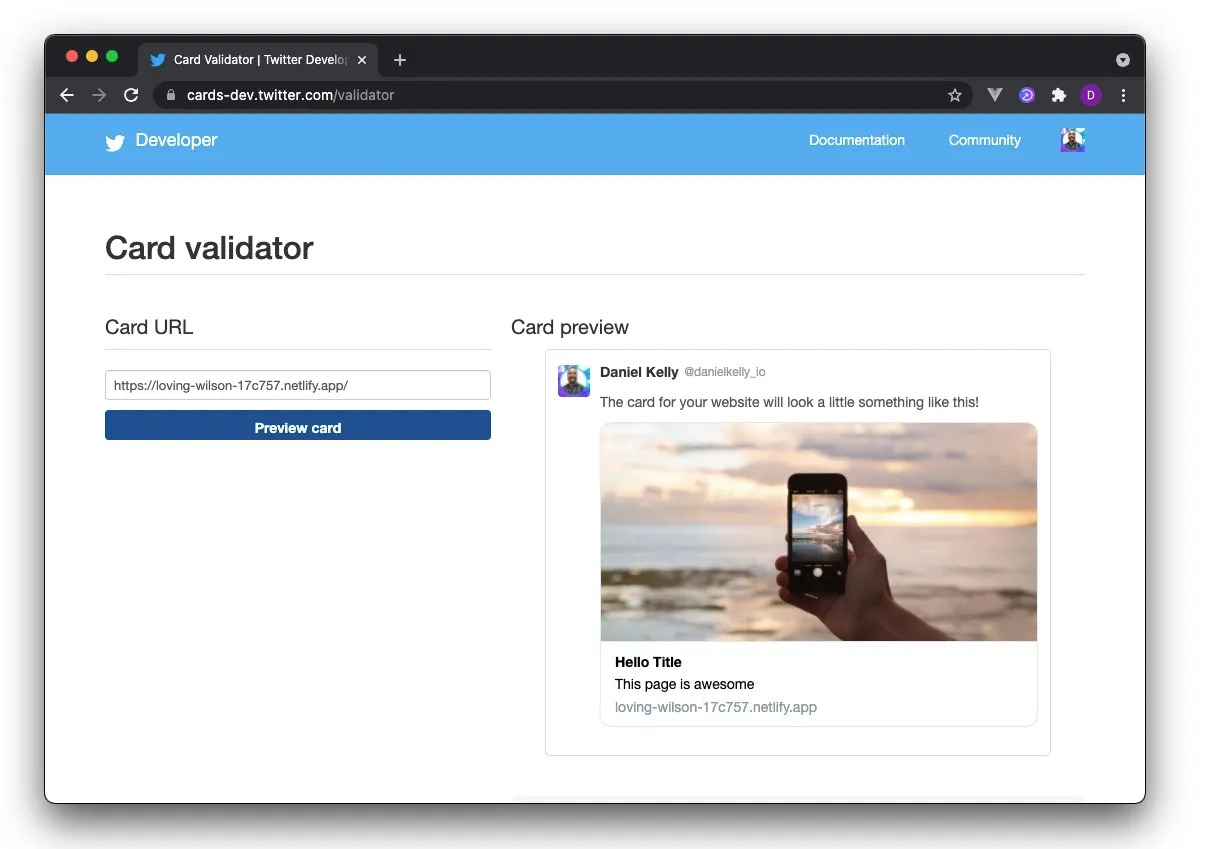
(I did have to run "Preview Card" a couple times to get the image to show up, but I'm guessing this has something to do with the placeholder image service I used for the social image. It's not an issue I've had before.)
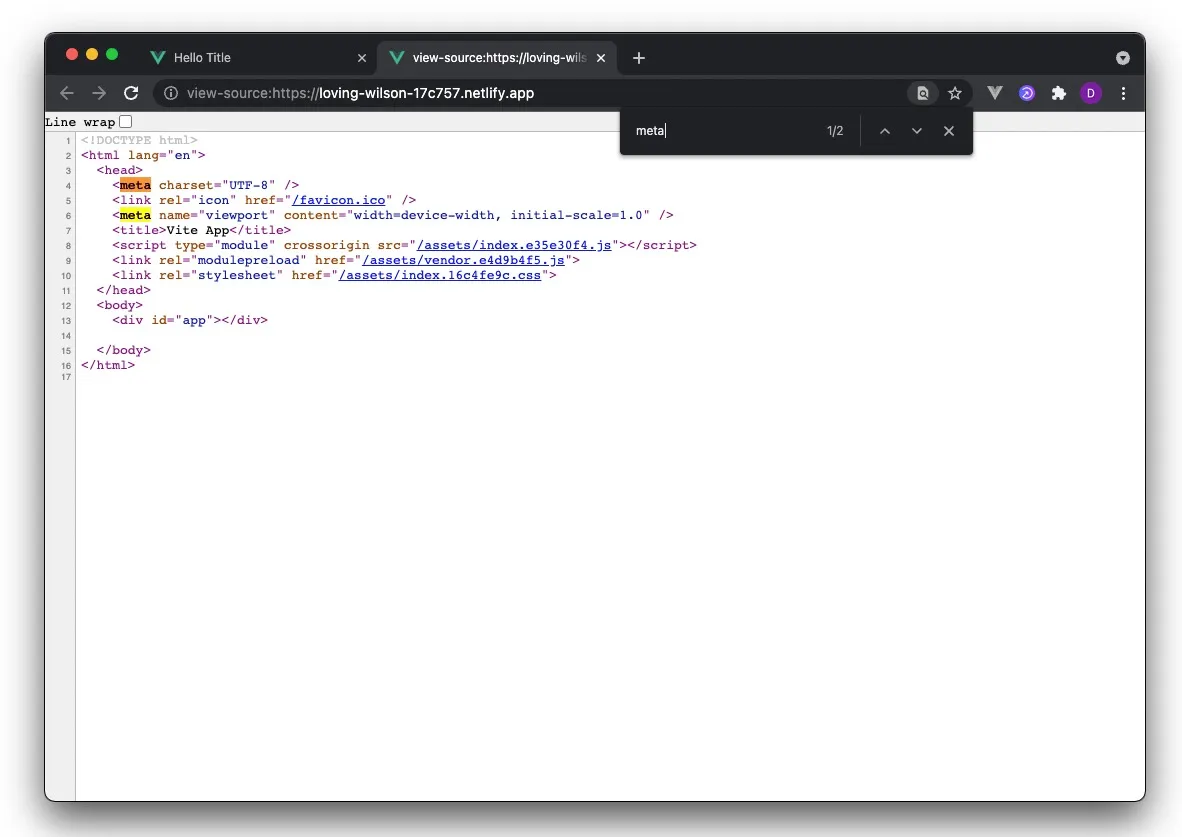
To better understand what's happening you can take a look at the page source for a typical request to our site. When searching for the keyword meta you'll see only the tags defined in the static index.html file in the root of the project.
In other words, all the client rendered stuff isn't there, which is to be expected.
If you provide a query parameter though called escaped_fragment=, you can see all our SEO and Social specific meta tags.
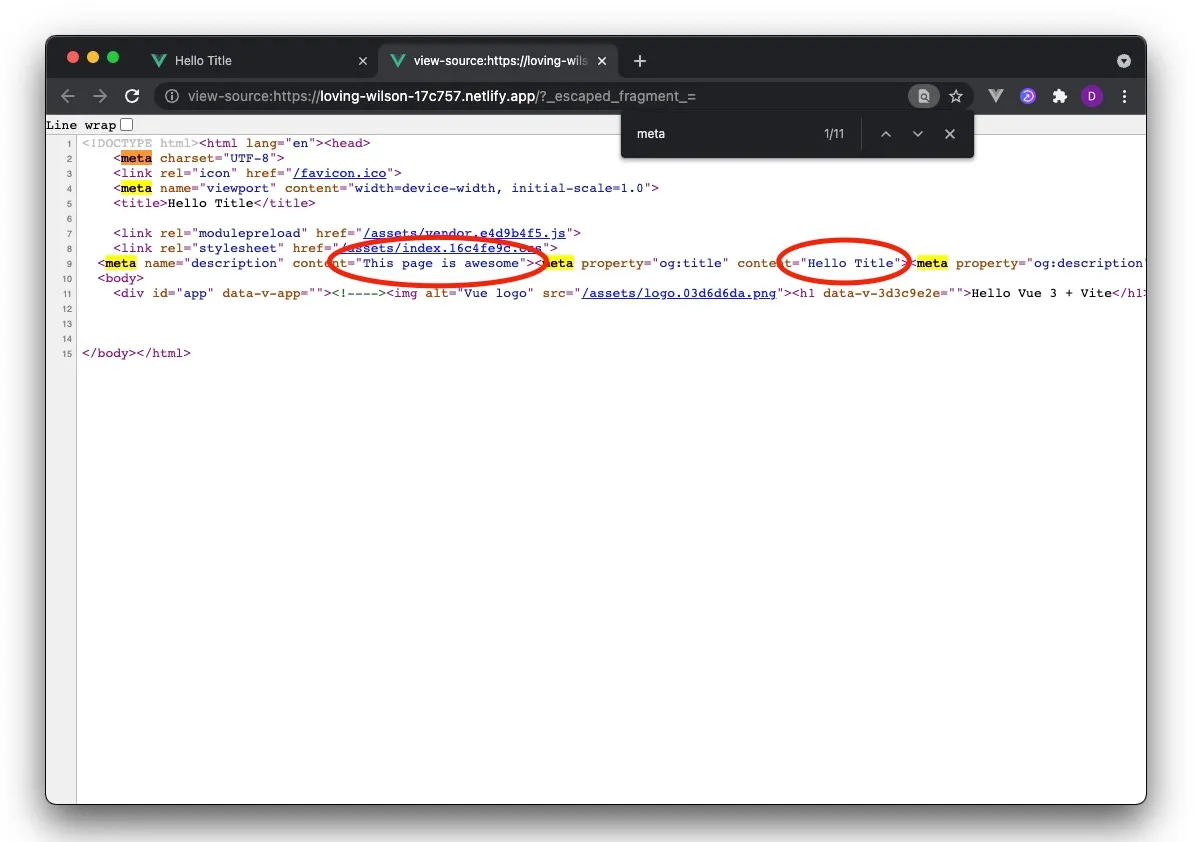
That special query parameter is a quick and easy way that Netlify provides us to test and debug the prerendering. In the real life situation where Twitter or whatever other social network is making the request, Netlify is enabling prerendering based on the value of the User-Agent header.
Things to Consider
All in all there are really no major downsides to this approach as far as I can tell. Certainly the request made by the crawlers will take a bit longer to respond but that's really it. Your normal end users always get the regular SPA. I suppose it's possible that the slightly longer response time to a crawler like Google could have a small negative affect on your page ranking.
Also, you obviously need to be hosting with Netlify for this to work but there are other 3rd party solutions like Prerender.io and Prerender.cloud that provide similar functionality with alternative hosting.
Perhaps the most important thing to consider is, that at the time this article was written, the Netlify feature is still in beta.
Conclusion
In conclusion, with Netlify Prerendering, we're able to serve a client rendered Vue.js 3 application that is both SEO and social friendly with virtually 0 extra work.
Start learning Vue.js for free

Comments
Latest Vue School Articles

5 Component Design Patterns to Boost Your Vue.js Applications

Vibe Coding a Collaborative Editor with Comment Support with Nuxt UI and Jazz
Our goal is to be the number one source of Vue.js knowledge for all skill levels. We offer the knowledge of our industry leaders through awesome video courses for a ridiculously low price.
More than 200.000 users have already joined us. You are welcome too!
© All rights reserved. Made with ❤️ by BitterBrains, Inc.