
Getting Started with Vitest for Vue.js and Vite Testing

Testing is a crucial part of building reliable, bug-free applications, especially when working with modern tools like Vite and Vue. A robust testing framework, such as Vitest, simplifies this process by ensuring your code is reliable and evolves smoothly.
Vitest is a lightning-fast testing framework designed for Vite. It provides an intuitive way to write and execute tests, making it the perfect choice for testing Vue.js components and applications.
In this beginner-friendly guide, you'll learn how to get started with Vitest in your Vue.js projects. We’ll show you how to set up your testing environment, write effective tests, and leverage Vitest’s features to validate your Vue components. Let’s dive in and elevate your testing workflow!
Why Vitest?
Vitest is compatible with the Jest API. You will know how to use Vitest if you are already familiar with Jest. Let's look at some of the characteristics that make Vitest a fantastic testing framework in addition to the similarities it has with the Jest API:
- Vitest shares the same configuration file as Vite, and test configuration is done inside the
vite.config.jsfile to ensure that the test environment is similar to the building environment - Vitest is compatible with most Jest APIs and libraries, making it easy to migrate from Jest to Vitest.
- Vitest supports Hot Module Replacement so that if the test files are changed, new changes can be reflected immediately.
Installation
To install Vitest, it requires Vite v5 and upwards and also Node v18.3 and upwards. We will bootstrap the project with the official Vite starter template for Vue.
npm create vue@latest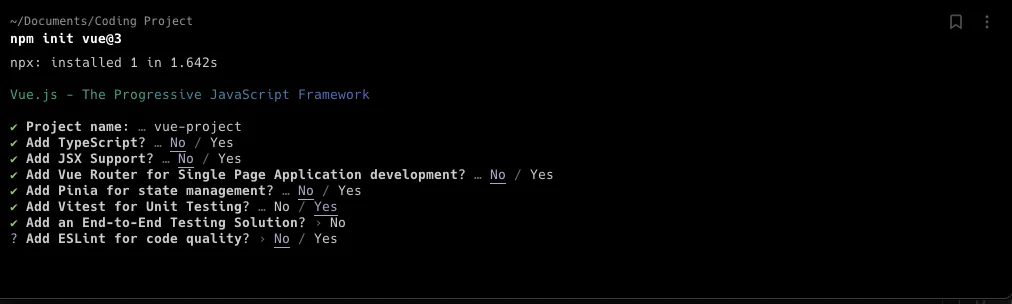
cd Vitest-project

//install dependencies
 npm install

//run eslint
  npm run lint

//start our dev server
  npm run dev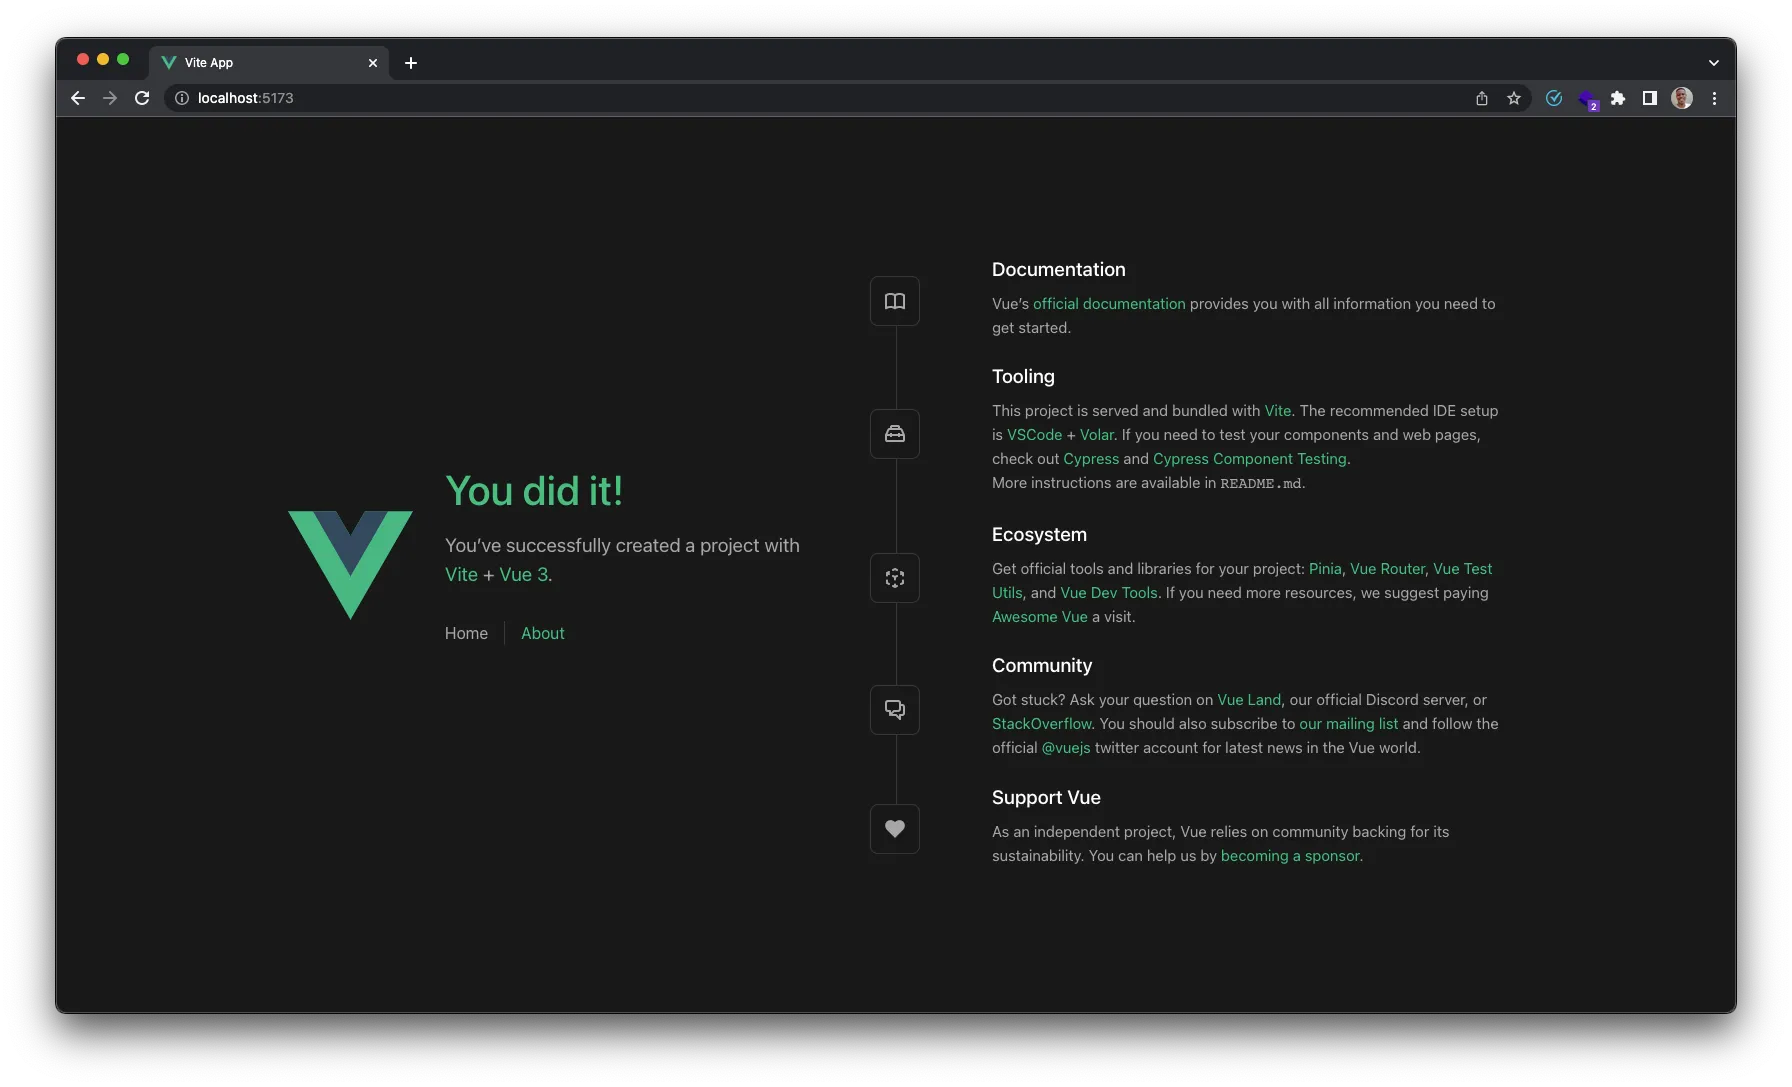
now looking through our development files we notice a few new changes.
- A new
test:unitscript in ourpackage.json - A new
/src/components/__tests__/HelloWorld.spec.jsfile.
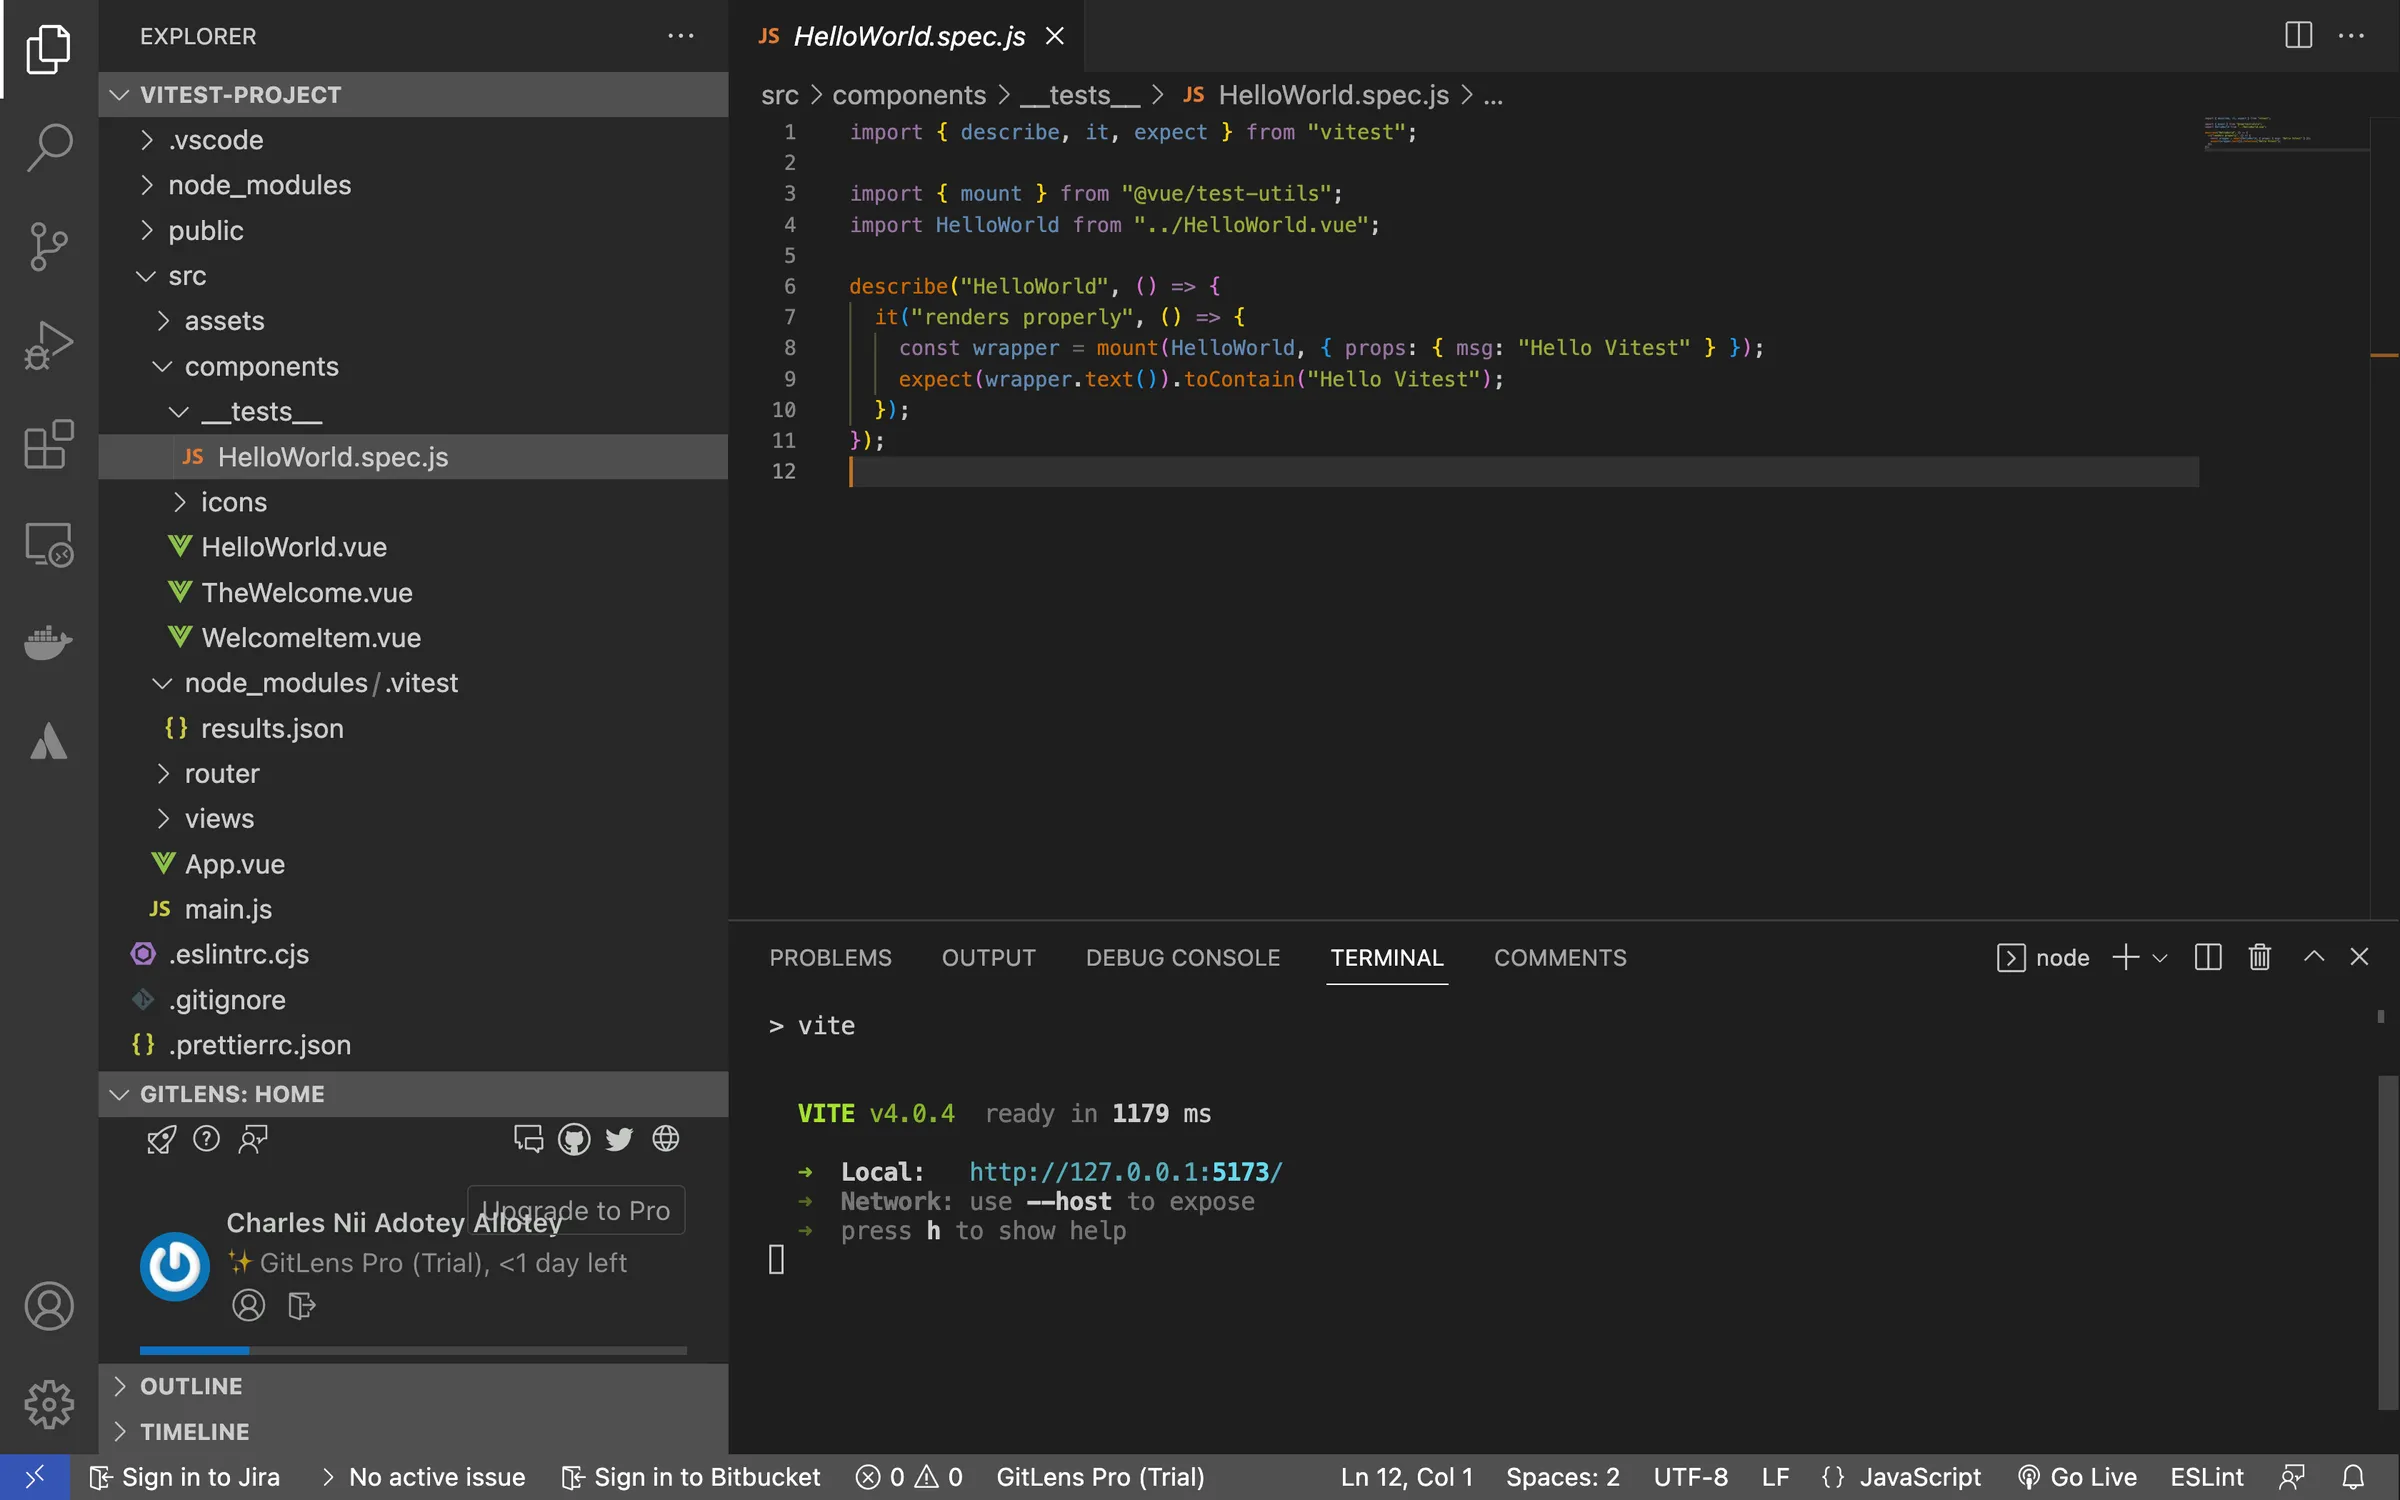
Let’s run our default test to check if everything works.
npm run test:unit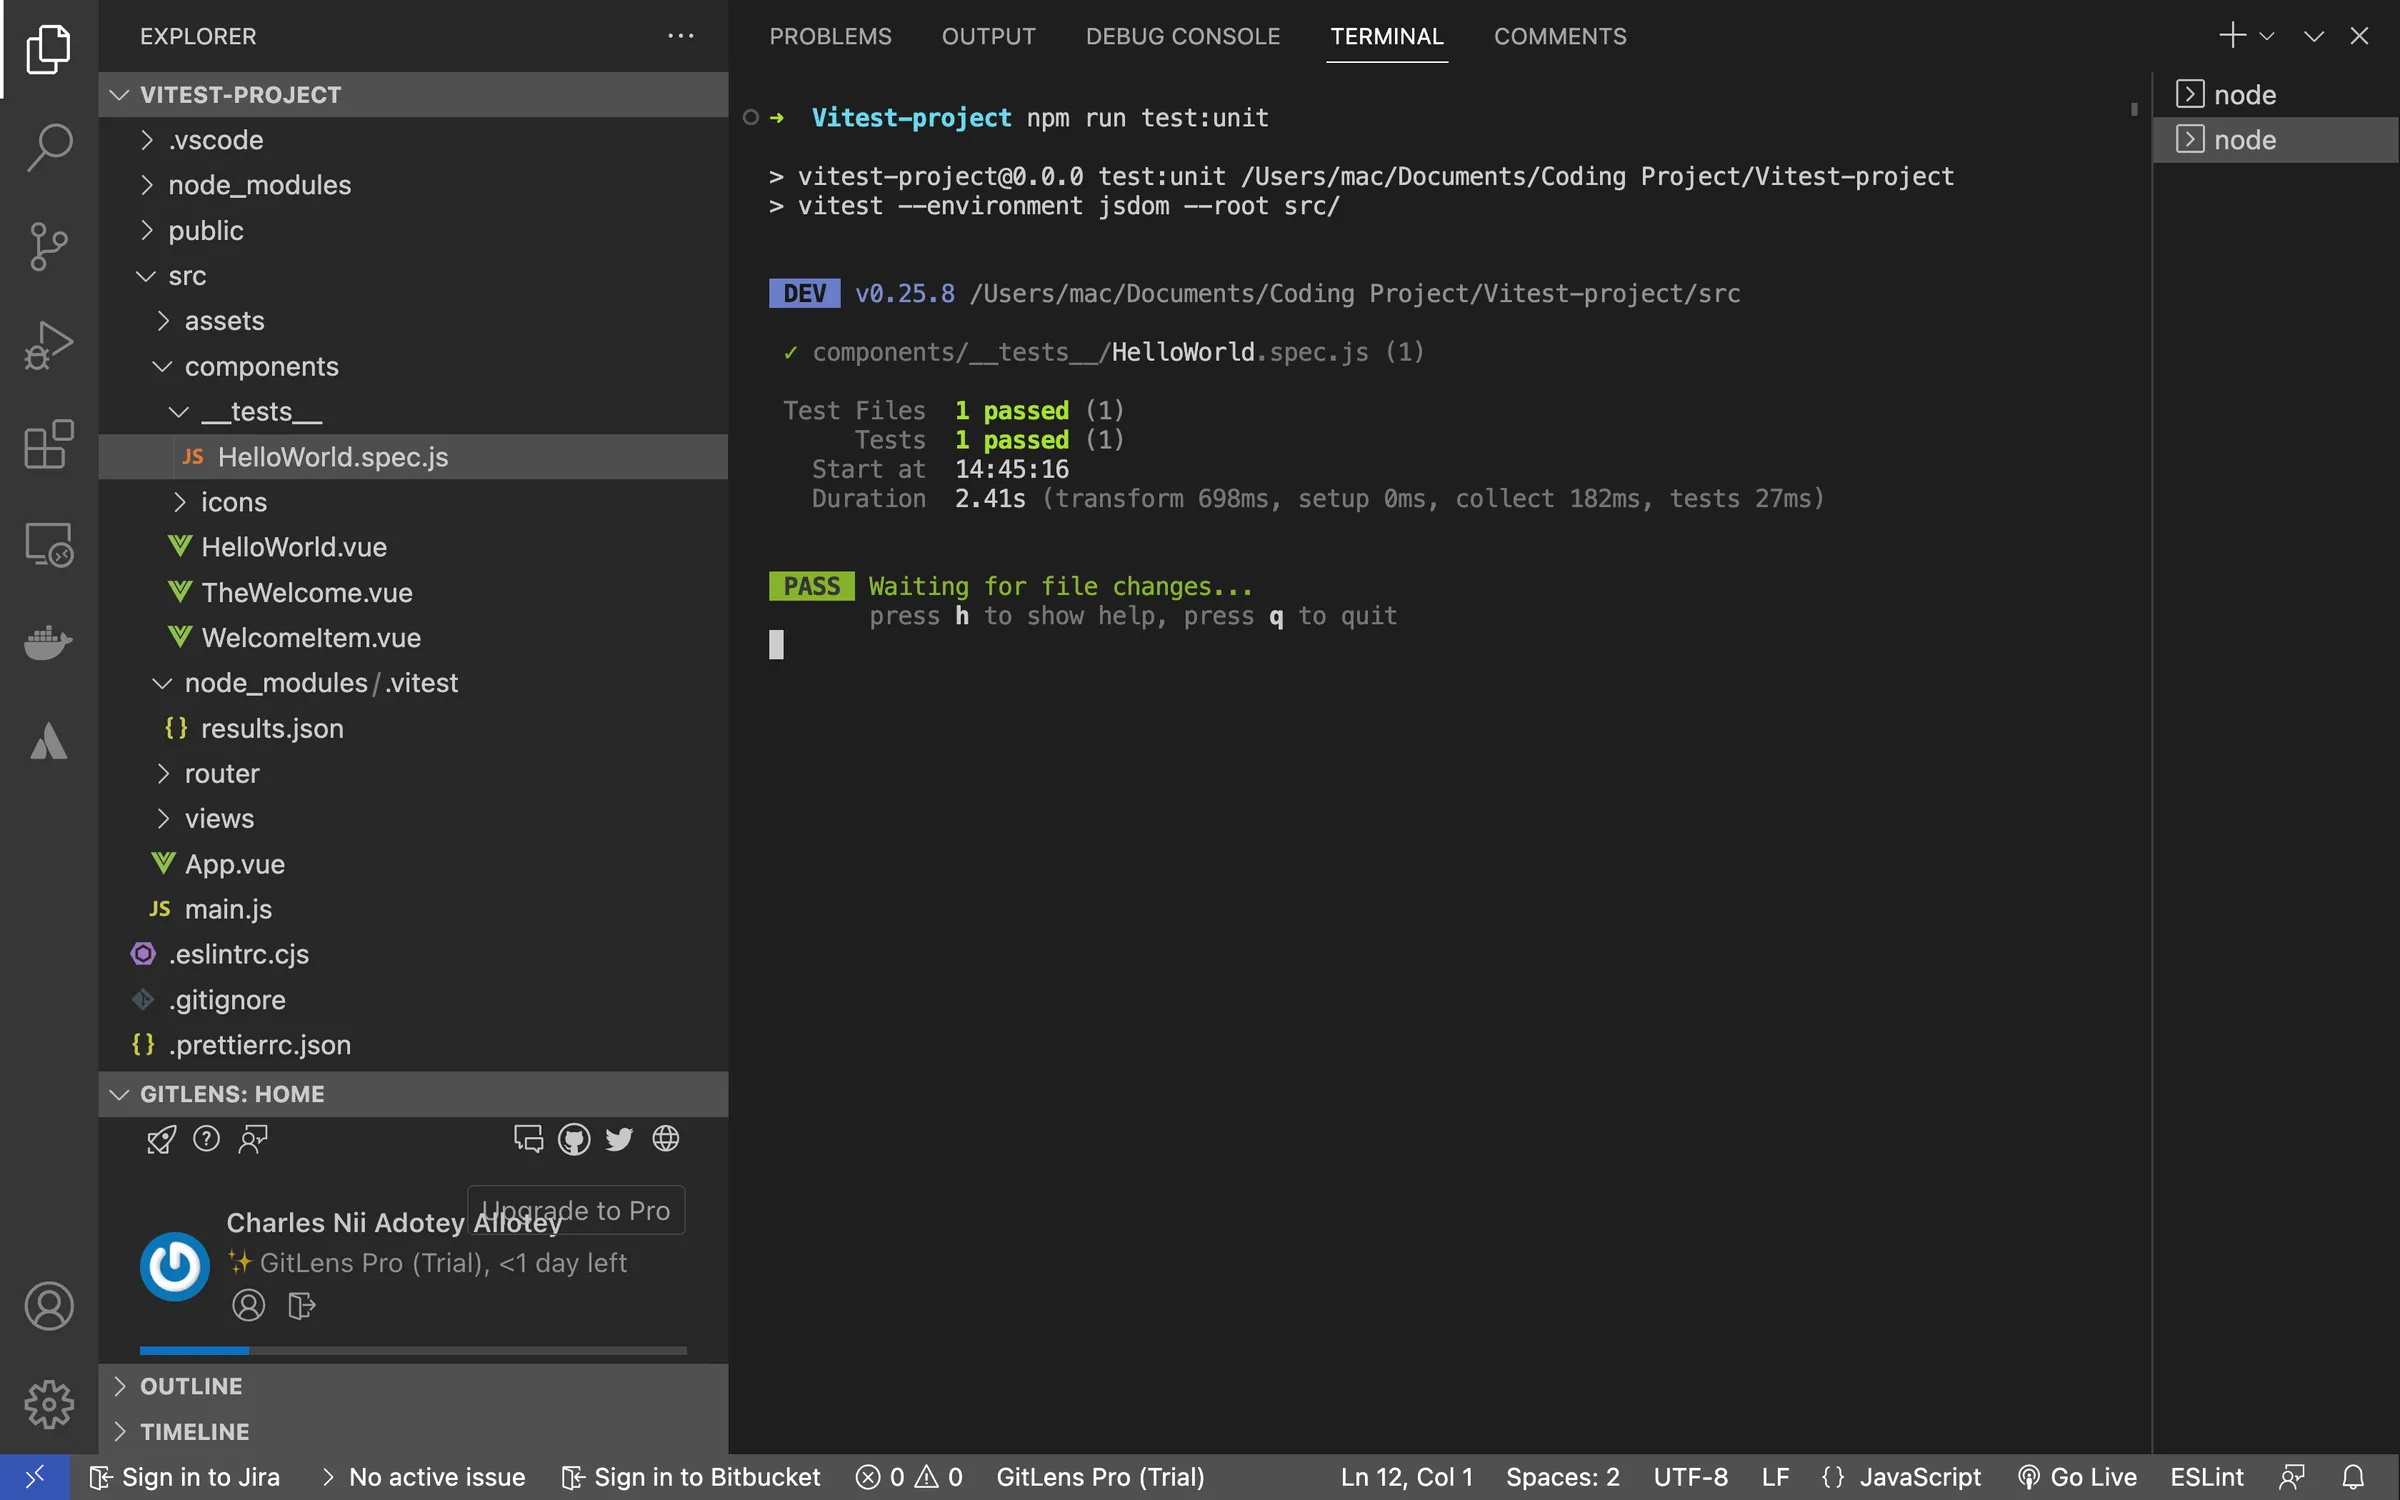
Basic Testing
Now with Vitest setup in our project let’s create our first test. Our test files can have either test.js or spec.js extensions.
- Create
example.test.jsinside the/components/__test__directory - add the following code
//src/components/__tests/example.test.js
import { test, expect } from "vitest";

function sum(a, b) {
  return a + b;
}

test("add 2 numbers", () => {
  expect(sum(2,3)).toEqual(5);
});
Now run npm run test:unit .
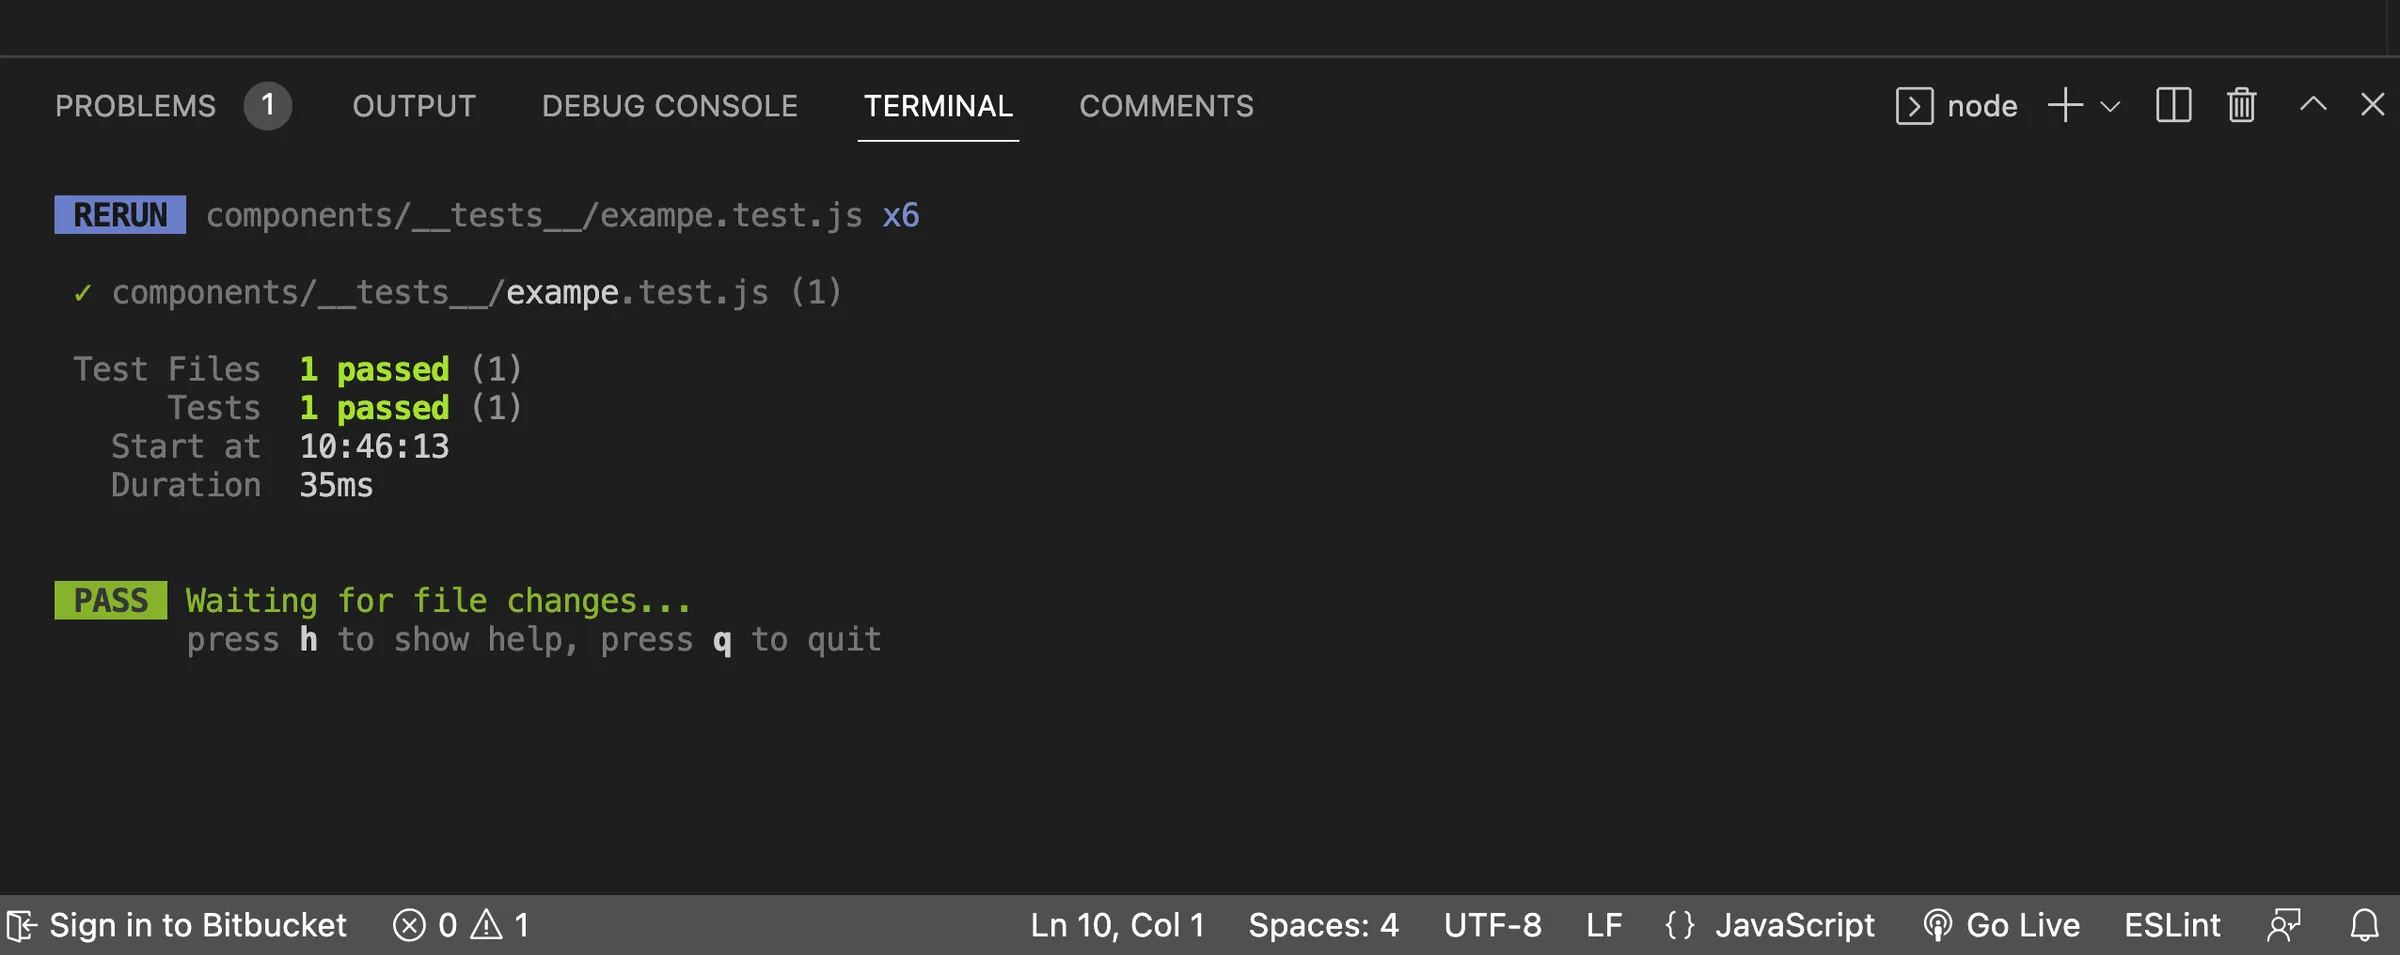
Hurray ? you have written your first test!
Now let’s break down what we did. First, to run our example test, we first imported functions test and expect from Vitest. We then created our sum() function which is the target function for testing.
Now our test() function takes 2 arguments, the name of the test or a description of what the test is about and a callback function which contains our test logic.
We also notice that as we run our first test, Vitest does not exit after completing the test but continues to run and gives new results in case of any new changes to our code. This is because Vitest runs a watch mode just like Vite does on your dev server.
Pretty amazing right!
Testing Vue.js Components
With our basic knowledge on how to create tests in Vitest let’s try a more advanced and real-life example like testing a Vue.js Components.
We can create a simple component called AgeGuess.vue that enables users to enter a name and guess the age of the user based on the name entered using the [Agify.io](https://agify.io/) API.
Inside the src/components folder, let’s create AgeGuess.vue file and add the following code:
<template>
  <h1>{{ props.title }}</h1>
  <div class="main">
    <div class="creds">
      <div
        style="width: 400px; height: 130px; margin-top: 20px; font-size: larger"
      >
        <span>Name: {{ user.name }}</span> <br />
        <span>Age: {{ user.age }}</span>
      </div>
      <div class="form">
        <label> Enter Firstname </label>
        <input
          type="text"
          v-model="user.search"
          style="font-size: 20px"
          placeholder="Enter name"
          @change="getAge"
        />
        <button type="button" @click="getAge">Guess the age</button>
      </div>
    </div>
  </div>
</template>

<script setup>
import { reactive } from "vue";
const props = defineProps({
  title: {
    type: String,
    default: "Test Component",
  },
});

const user = reactive({ name: "", age: "", search: null });

const getAge = () => {
  fetch("https://api.agify.io/?name=" + user.search)
    .then((response) => response.json())
    .then((data) => {
      user.age = data.age;
      user.name = data.name;
      user.search = null;
    });
};
</script>
Now let’s test our props
Testing props
First, create a test file dedicated to testing our new component. The test file name must follow a specific naming pattern that begins with the component name and ends with either.spec.js or .test.js.
It is required that when testing many components, each one should have its own test file. Let’s create the AgeGuess.test.js test file inside the components folder. A straightforward test script for our AgeGuess component will be included in the package.
Let's test the AgeGuess component to verify if it mounts correctly and receives the right props.
By including the following code in the AgeGuess.test.js file, we can check the value of the title prop at mount time:
//components/__test__/AgeGuess.test.js
import { test, expect } from "vitest";
//import mount
import { mount } from "@vue/test-utils";

//import your component
import AgeGuess from "../AgeGuess.vue";

test("mount component", async () => {
  expect(AgeGuess).toBeTruthy();

  const wrapper = mount(AgeGuess, {
    props: {
      title: "Guess User Age App",
    },
  });
  expect(wrapper.text()).toContain("Guess User Age App");
});
With testing our AgeGuess component in the code above, we import mount from @vue/test-utils, which enables us to encase our component in a unique object named Wrapper and access a variety of test parameters.
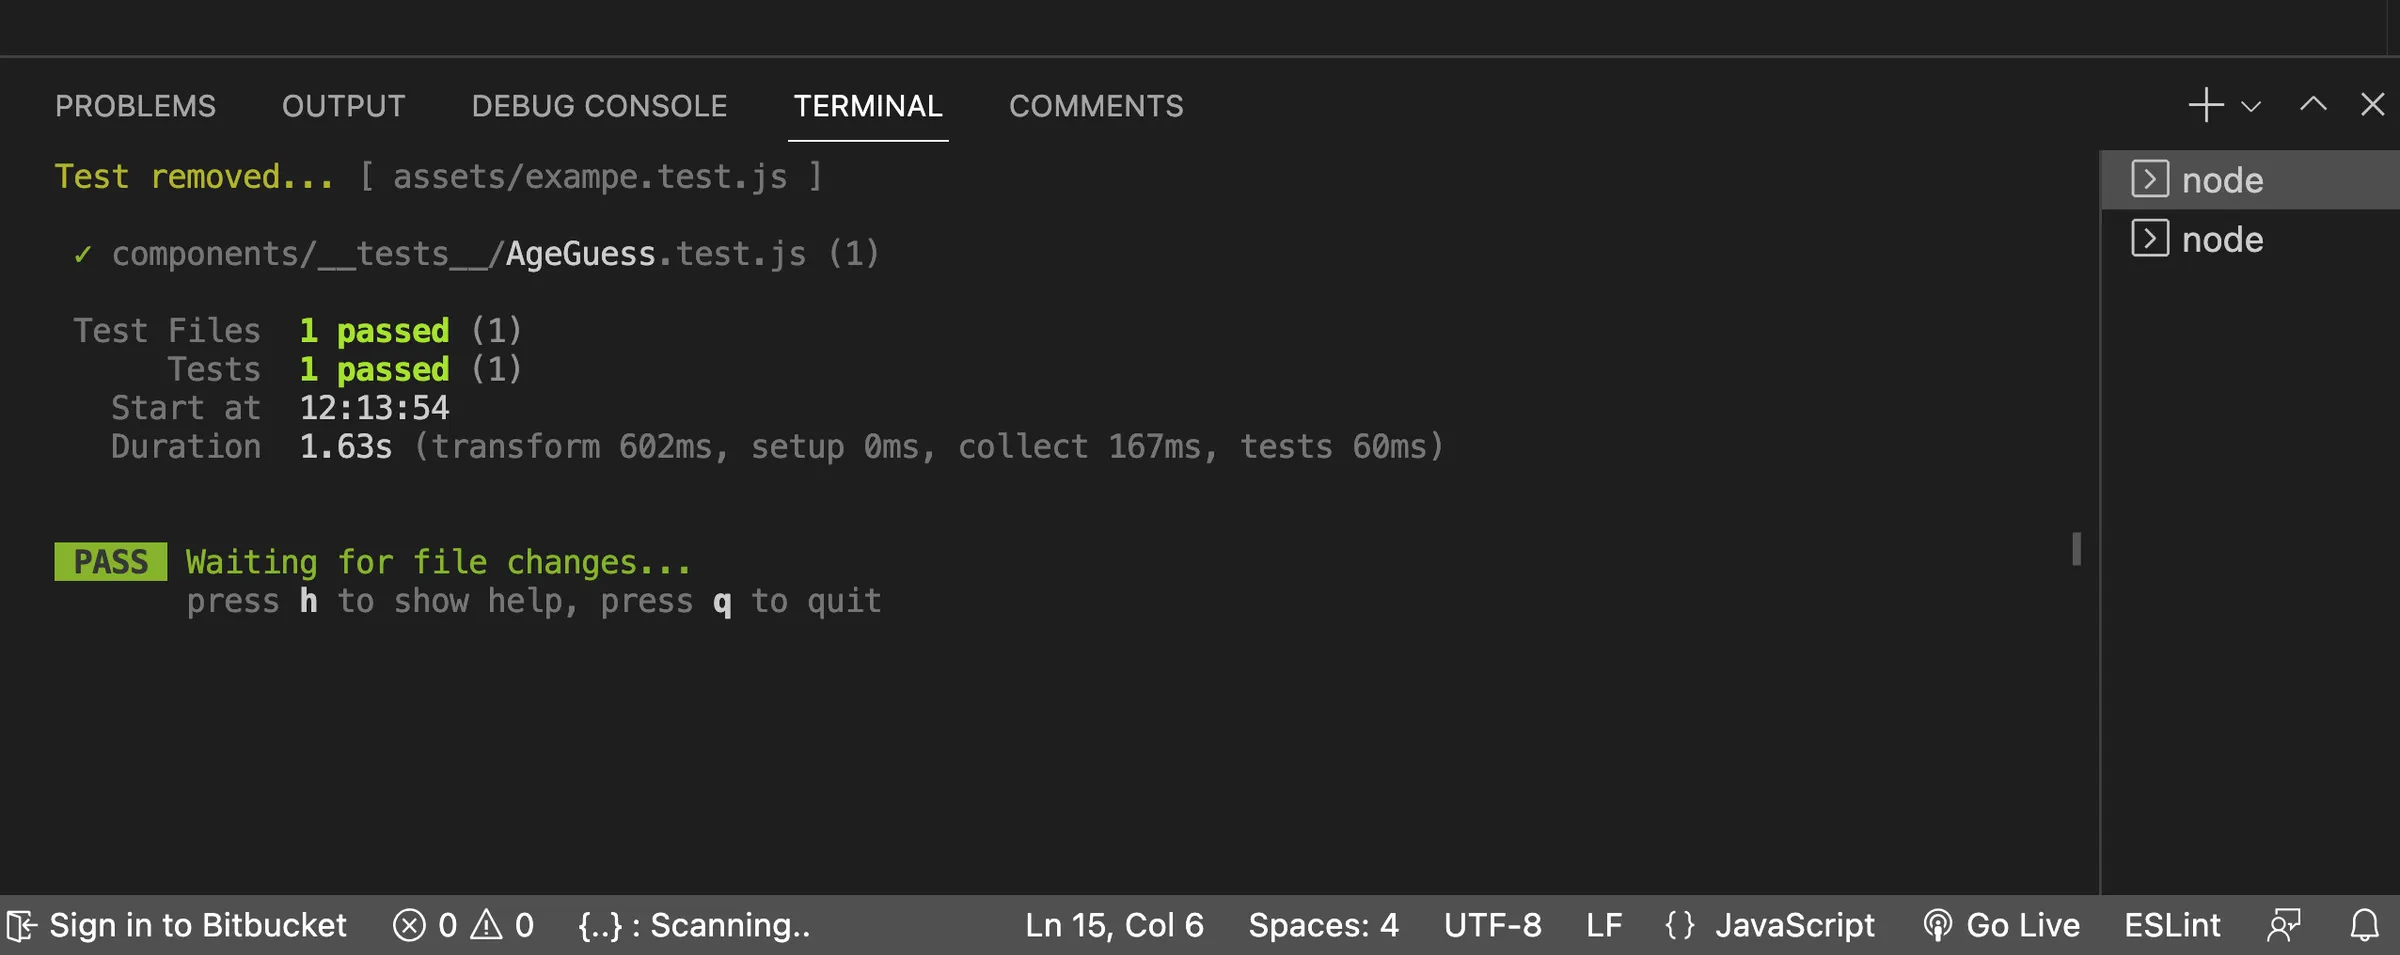
Now lets run our test to verify if our test passed.
Test Components with HTTP requests
To test components that rely on some API request it is required to mock the requests before testing to prevent failure. This is done by introducing a Mock Service Worker which makes it simple to test requests without altering the original code.
npm install msw --save-devWe will need to add some dependencies to our test file to enable our MSW to run.
import { setupServer } from 'msw/node'
import { http } from 'msw'
Now let’s add the following code to our test file to create an instance of the server to mock our request.
import { test, expect, beforeAll, afterEach, afterAll } from "vitest";

export const restHandlers = [
   http.get('https://api.agify.io/', (req, res, ctx) => {
      return res(ctx.status(200), ctx.json([
         {
            age: 55,
            name: "tope"
         }
      ]))
   }),
]
const server = setupServer(...restHandlers)
// Start server before all tests
beforeAll(() => server.listen({ onUnhandledRequest: 'error' }))

//  Close server after all tests
afterAll(() => server.close())

// Reset handlers after each test `important for test isolation`
afterEach(() => server.resetHandlers())
Testing Click Events
Now that we are able to mock our request, for our final test, let’s test to check if the text input is changed to null after we click our Get the age button.
test("Button clicked", async () => {
expect(AgeGuess).toBeTruthy();
const wrapper = mount(AgeGuess, {
props: {
title: "Guess the users age",
},
});
const verifyClick = await wrapper.get("button").trigger("click");
expect(wrapper.vm.user.search).toEqual(null);
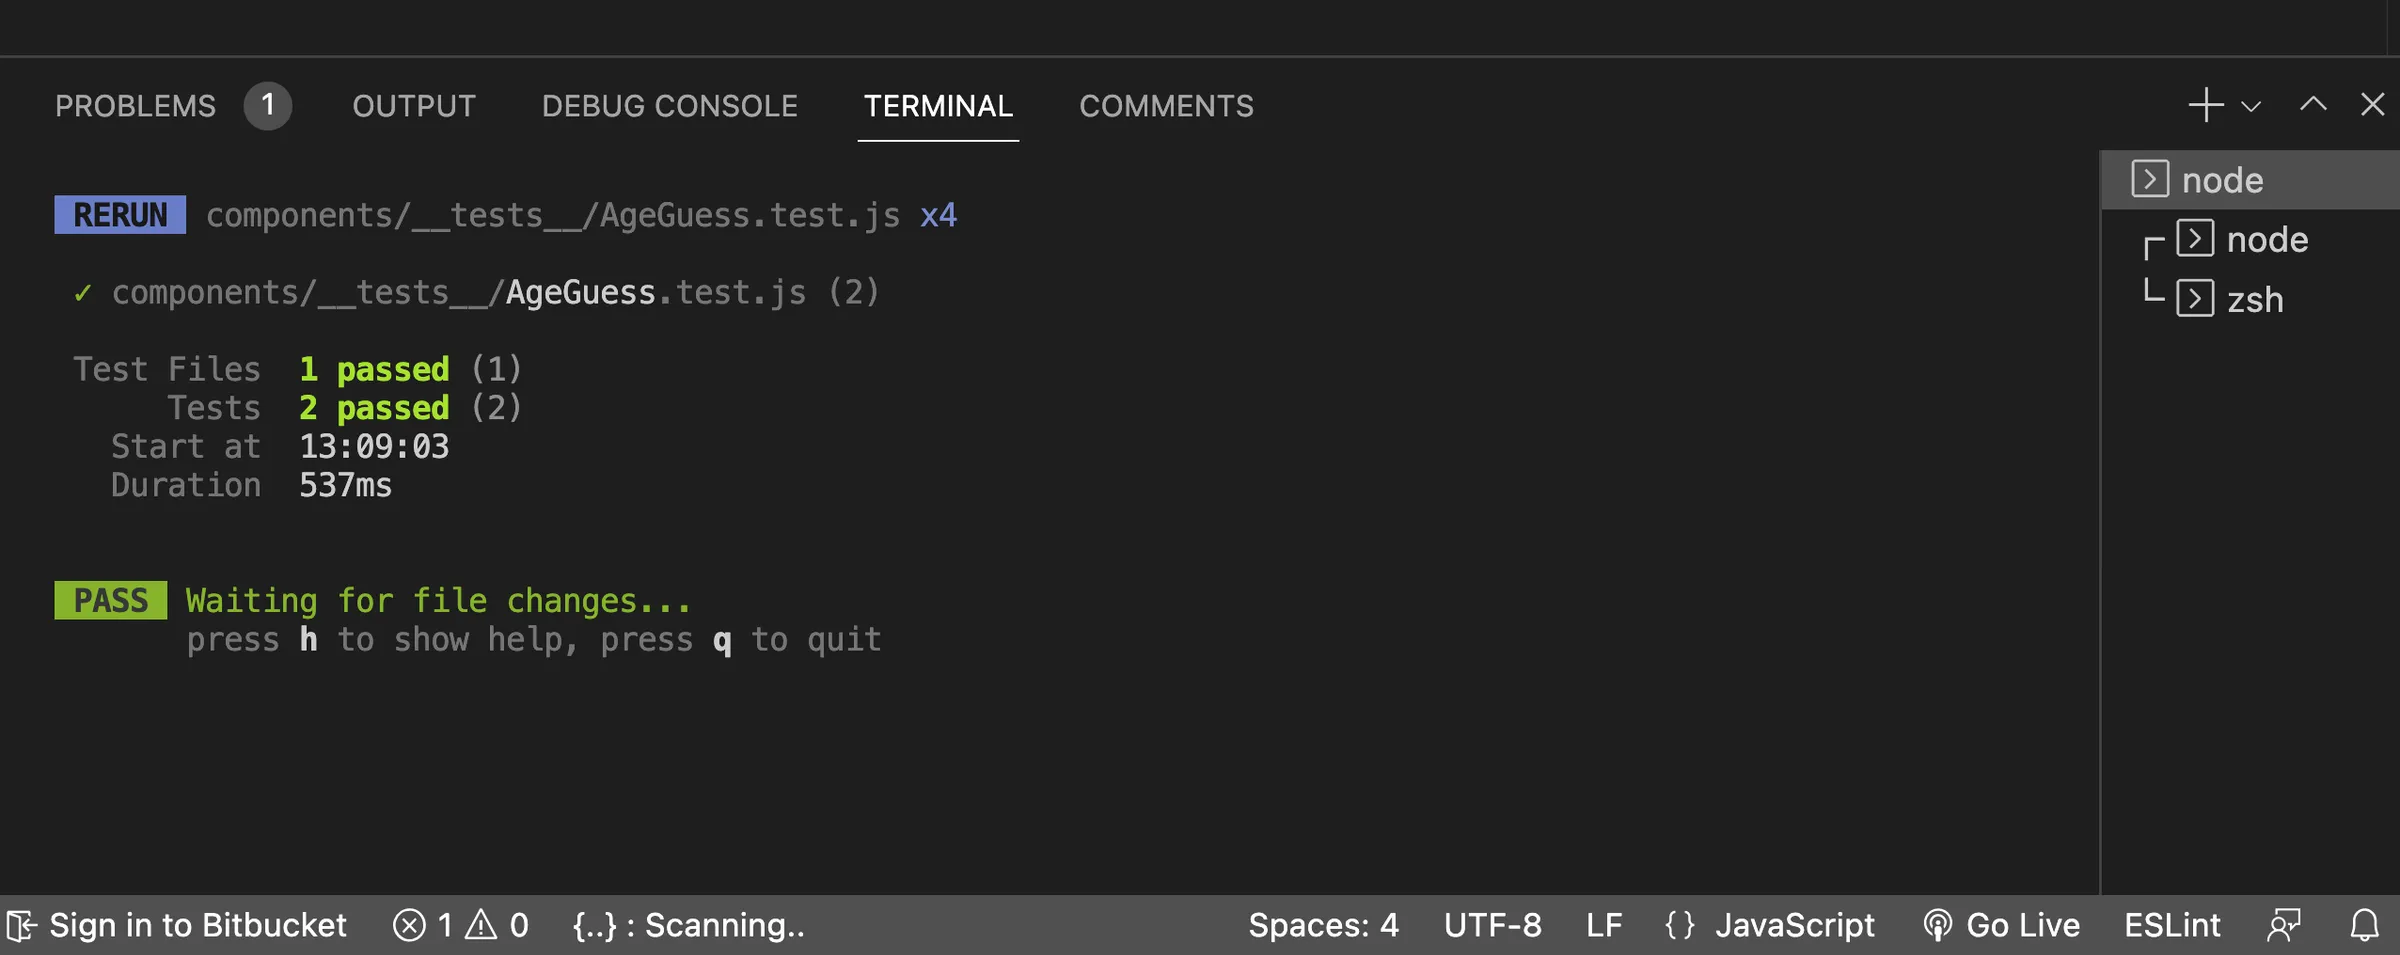
});Now let’s verify if our test passed in our terminal.
Conclusion
There are many more testing utilities and concepts to explore but we hope this beginner's guide to testing with Vitest has been helpful in getting you started with testing in your Vue.js projects. Testing is an essential part of the software development process, and using a testing framework like Vitest can greatly assist in ensuring the reliability and correctness of your code.
If you want to take your testing skills to the next level, consider enrolling in our course, Rapid Testing with Vitest. In this course, you'll learn advanced testing techniques and best practices for using Vitest in your Vue.js projects. Best of all, you will be taught by the creator of Vitest, Anthony Fu! Whether you are a beginner or an experienced developer, we encourage you to incorporate testing into your workflow and see the benefits for yourself. Happy testing!
Related Courses
Start learning Vue.js for free

Comments
Latest Vue School Articles

5 Component Design Patterns to Boost Your Vue.js Applications


Vibe Coding a Collaborative Editor with Comment Support with Nuxt UI and Jazz
Our goal is to be the number one source of Vue.js knowledge for all skill levels. We offer the knowledge of our industry leaders through awesome video courses for a ridiculously low price.
More than 200.000 users have already joined us. You are welcome too!
© All rights reserved. Made with ❤️ by BitterBrains, Inc.