5 Awesome Modules to use in your Nuxt Project

Nuxt.js is an amazing framework that makes it easy to build Vue.js applicatons with static-site performance. It’s especially useful for making dynamic experiences (e.g. sites with user logins) feel like static sites by handling all the routing logic, caching pages, and more for you. But if you want to take your project to the next level, consider using these modules in your new Nuxt project: These five add-ons will make your experience with Nuxt even better – and not just because they’re awesome!
Not all Nuxt modules are currently compatible with all versions Nuxt, so in this article I’ll be sure to mention with each module the Nuxt versions currently compatible with it.
Nuxt Tailwind

Tailwind is an open source CSS framework that makes it super easy to build application UIs without having to leave your HTML. Tailwind is fast becoming the first choice for developers as it offers so much capabilities and its easy customizations. Personally, I use Tailwind CSS all the time for my projects.
Introducing Tailwind into your Nuxt application can sometimes take a while as it involves quite a number of installation steps. With the introduction of Nuxt Tailwind, setting up Tailwind CSS only takes seconds and it also comes with tons of features like, zero setup configurations and post-css nesting which allows you to set style rules inside of each other. One of my favorite features is your personal tailwind styles viewer which is configured with a _tailwind route.

Installation
To setup tailwind for your Nuxt project;
Step 1: Install Nuxt tailwind as a development dependency
//npm
npm install --save-dev @nuxtjs/tailwindcss

//yarn
yarn add --dev @nuxtjs/tailwindcss
Step 2: Insert Nuxt Tailwind into your Nuxt modules
//nuxt.config.ts

export default {
modules: ['@nuxtjs/tailwindcss']
}
Step 3: Create your tailwind config file
npx tailwindcss initNow you are all set to to start using tailwind in your Nuxt app. Nuxt Tailwind is currently compatible with Nuxt 2 and Nuxt 3 but not for Nuxt 2 + bridge.
Twicpics

Images form a big factor when it comes to how fast your page loads. A slow page creates bad user experience which can contribute a lot to your product failing. Twicpics introduces a superfast, resolution-aware platform to help you display images in your webpage better no matter the display size and connection. For such a vital tool, setting it up in your Nuxt project is relatively very easy.
Installation
Step 1: Setup your domain on twicpics.com
Step 2: Install Twicpics in your Nuxt app
//npm
npm install @twicpics/components

//yarn
yarn add @twicpics/components
Step 3: Add Twicpics to your Nuxt config
//nuxt.config.ts
export default defineNuxtConfig({
  modules: [`@twicpics/components/nuxt3`],
  twicpics: {
    domain: `https://<your-domain>.twic.pics`,
  },
})
Twicpics is now ready to be used in your components.
<template>
  <main>
    <TwicImg src="path/to/your/image" />
  </main>
</template>
Twicpics module for Nuxt is currently compatible with Nuxt 2 and Nuxt 3 but not compatible with Nuxt 2 + Bridge.
Unlighthouse

If you live and breathe delivering performant web apps then you have definitely heard about google lighthouse. Google lighthouse is an open source web testing and auditing app that rates your web page based on certain criteria like accessibility, Performance, SEO, best practices etc.. This is useful because it paints a comprehensive picture of possible user experience and developer bottlenecks in those domains. Google lighthouse has a few shortfalls. Testing can only be done page by page. With unlighthouse, your entire web app performance is audited with a single run.
Installation
Step 1: Install puppeteer in your project
npm install -g puppeteerStep 2: Run unlighthouse
# NPM
npx unlighthouse --site <your-site>

# or PNPM
pnpm dlx unlighthouse --site <your-site>
Unlighthouse will save your reports in outputDir(.unlighthouseby default), it's recommended you .gitignore these files.
Unlighthouse is currently compatible with all versions of Nuxt.
Nuxt Content

If you want to have a blog or documentation section for your web app then a CMS is usually your go to. Modern CMSs are usually third party apps which require that you connect with via an api.
With the introduction of Nuxt content you can run a CMS right from your local project directory.
Your project's content/ directory is read by Nuxt Content which parses the
.md .yml .csv and .json files to create a powerful data layer for your application. MDC syntax allows you to use Vue components in Markdown. Amazing right!
Installation
Step 1: Install Nuxt Content in your project as a development dependency.
//npm
npm install --save-dev @nuxt/content

//yarn
yarn add --dev @nuxt/content
Step 2: Add Nuxt Content to your modules.
import { defineNuxtConfig } from 'nuxt'

export default defineNuxtConfig({
modules: [
    '@nuxt/content'
],
  content: {
    // https://content.nuxtjs.org/api/configuration
  }})
Step 3: create a content directory in your root folder and add your markdown files
//~content/welcome.md

# Welcome Content
Step 4: Render them to your pages
//~components/welcome.vue
<template>
  <main>
    <ContentDoc />
  </main>
</template>
Nuxt Content is currently compatible with Nuxt 2 and Nuxt 3 but not compatible with Nuxt 2 + Bridge.
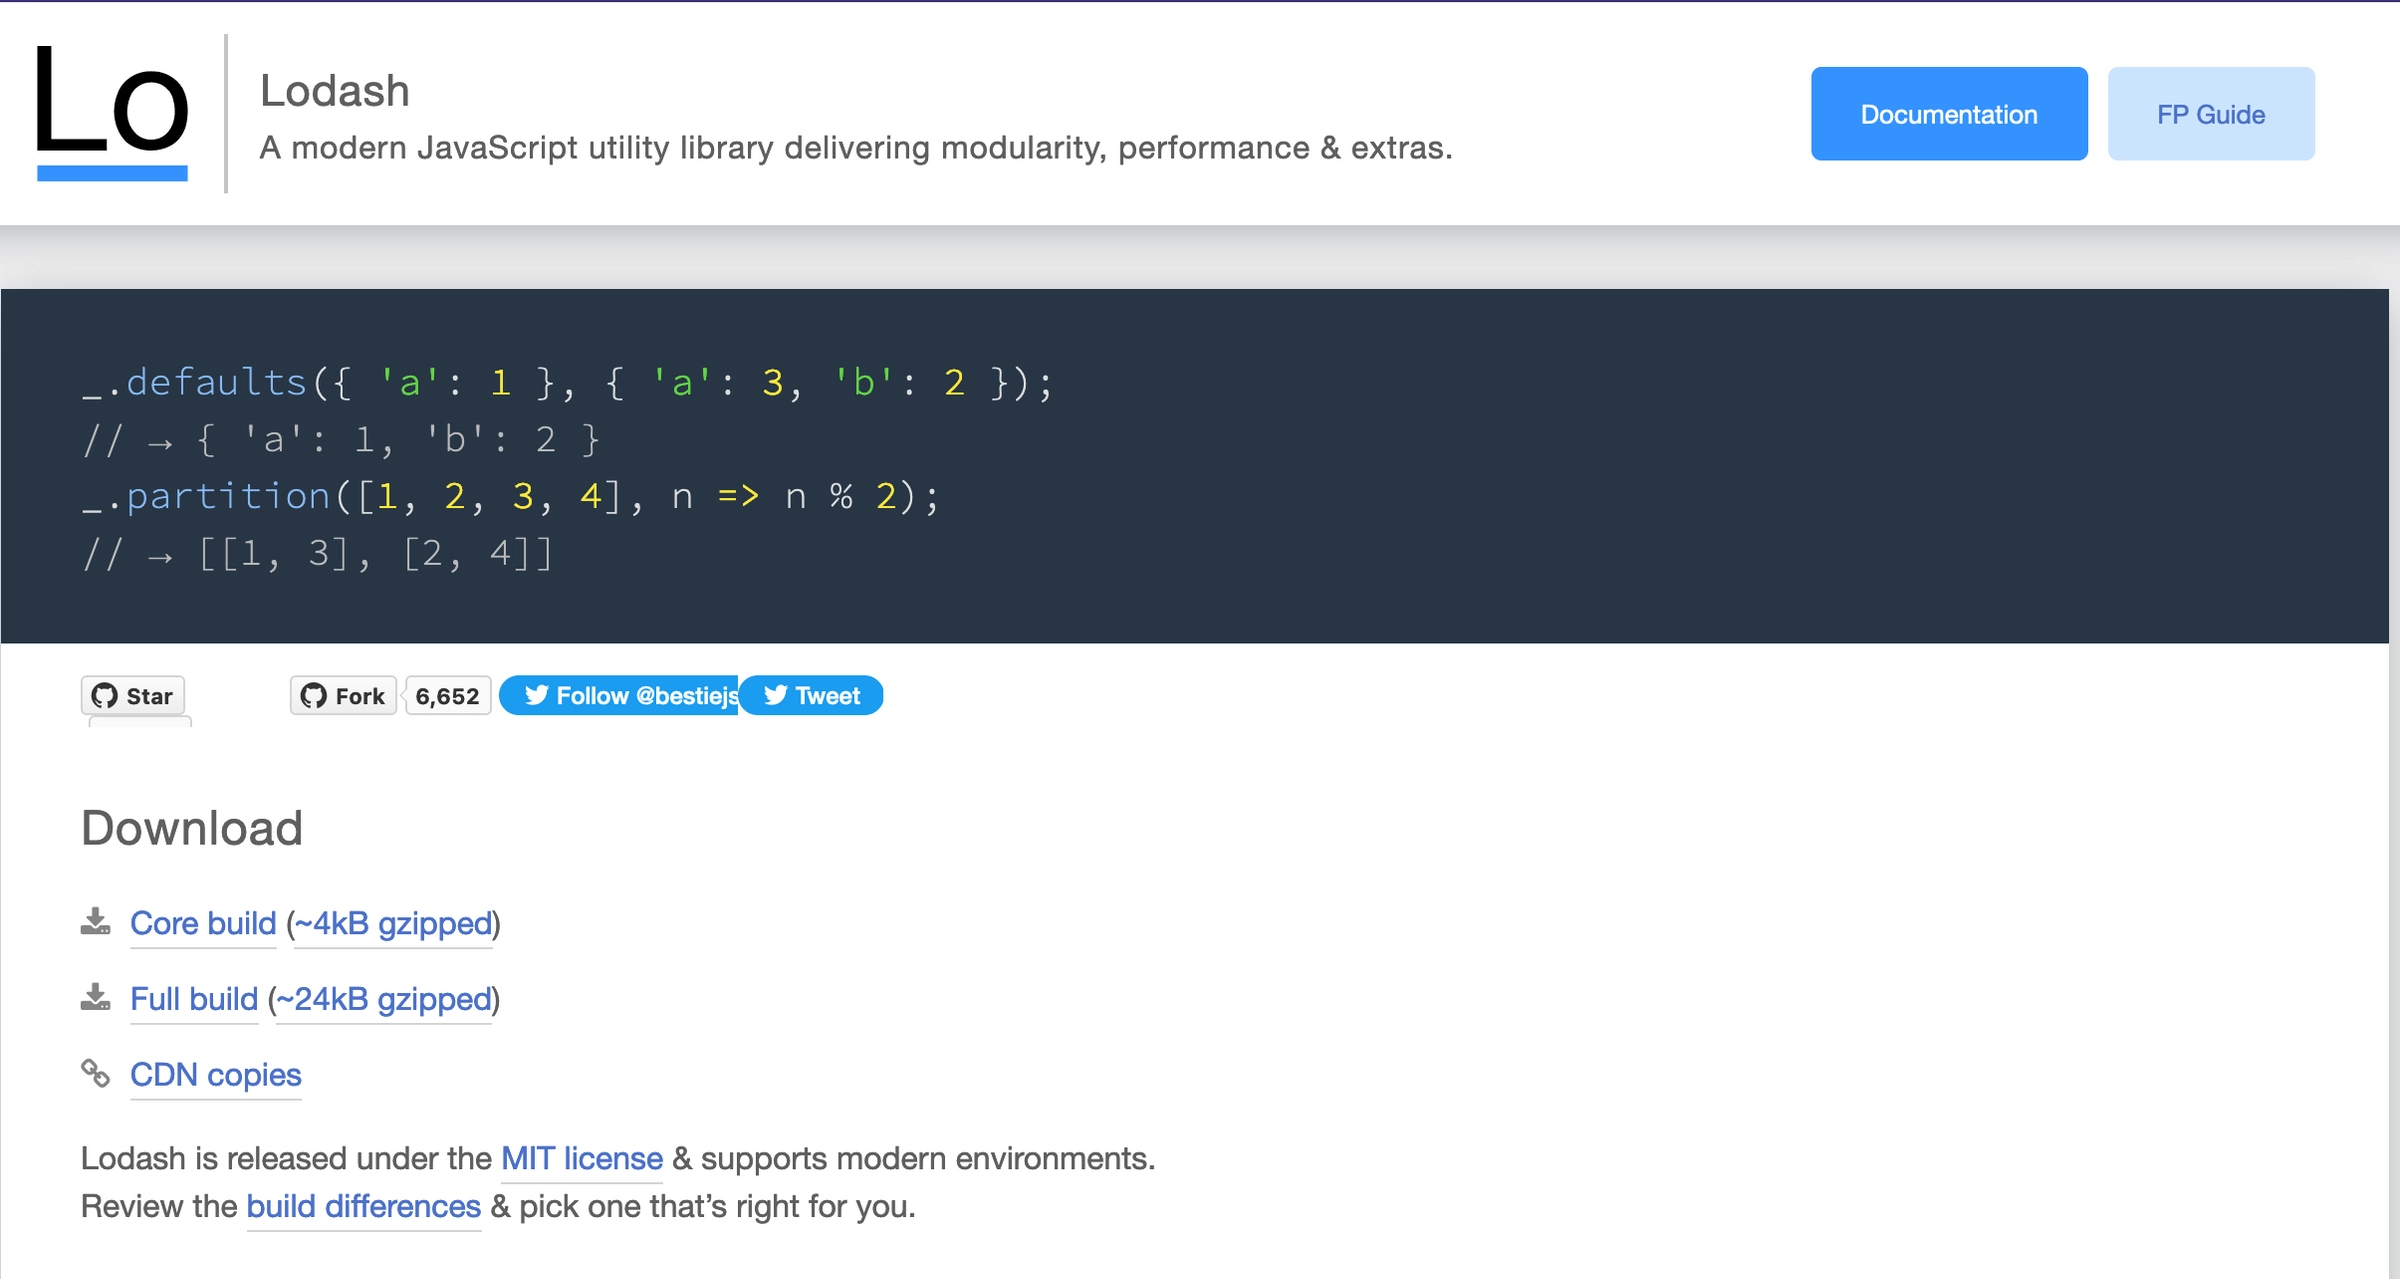
Lodash

Lodash is a JavaScript library that builds upon the much older Underscore.js. It helps in interacting with arrays, strings, objects, numbers, etc. by providing us with a variety of inbuilt functions and utilizing a functional programming approach. It also simplifies the process of manipulating objects and arrays in JavaScript if they need a lot of manipulation. With Nuxt Lodash you have all lodash functions already imported into your Nuxt project so you can get up and running quickly without having to import them manually.
Installation
Step 1: Install as a development dependency.
//npm
npm i nuxt-lodash -D
Step 2: Import into your Nuxt configuration file.
//@nuxt.config.ts
import { defineNuxtConfig } from 'nuxt'

export default defineNuxtConfig({
  modules: ['nuxt-lodash']
})
Step 3: Now all your Lodash functions have been auto-imported to use right away.
<script setup>
const text = useToUpper('it works!');
</script>

<template>
  <div>{{ text }}</div>
</template>
Nuxt Lodash is currently only compatible with Nuxt 3.
Conclusion
I hope you enjoyed this article about nuxt modules. Nuxt modules are a great way to add functionality to your project. There are many more awesome modules worthy of mention but time will not permit me. You can always find many more of these modules on the Nuxt modules page on the Nuxt.js Documentation website. To enjoy and unlock the full potential of using modules with Nuxt js, Our Mastering Nuxt course offers you all you need to know and more on Modules.
Start learning Vue.js for free

Comments
Latest Vue School Articles
Fixing “Cannot read properties of undefined (reading ‘value’)” in Vue

Decoding ChatGPT: How It Works and Why It Matters for Developers

Our goal is to be the number one source of Vue.js knowledge for all skill levels. We offer the knowledge of our industry leaders through awesome video courses for a ridiculously low price.
More than 200.000 users have already joined us. You are welcome too!
© All rights reserved. Made with ❤️ by BitterBrains, Inc.


