
Getting Started with Nuxi (Nuxt CLI)

Nuxt 3 is packed with features that supercharge both performance and developer experience for Vue.js applications. At the heart of this is Nuxi, the Nuxt Command Line Interface (CLI), designed to streamline the process of scaffolding and managing your Nuxt projects. In this article, we'll dive into Nuxi, exploring its capabilities and demonstrating how to leverage its commands effectively.
What is a CLI?
Before we try to understand and install nuxi, let's take a moment to refresh our understanding of what a Command Line Interface (CLI) is.
A CLI is a text-based interface that allows users to interact with software or operating systems by typing commands. Unlike graphical user interfaces (GUIs) that rely on visual elements like buttons and menus, CLIs offer direct control and flexibility, making them popular among developers for tasks like automation, scripting, and configuration.
In the context of web development, CLIs are indispensable tools that simplify workflows by automating repetitive tasks and ensuring consistency across projects. Tools like npm, git, and now nuxi empower developers to efficiently scaffold projects, manage dependencies, and perform builds—all through concise commands.
What is Nuxi?
When building Nuxt apps, Nuxi serves as the official command-line interface (CLI) designed to simplify and supercharge your development workflow. It provides a robust suite of commands to initialize, develop, build, and manage Nuxt applications efficiently.
nuxi Vs nuxt
If you’ve ever wondered about the difference between nuxi and nuxt commands, here’s the key distinction:
Nuxi is a lightweight, minimal CLI package with zero dependencies. When you start a new Nuxt project, it’s recommended to use npx nuxi@latest init for scaffolding. This approach ensures a faster and more efficient setup process, as it's optimized for quick downloads and execution.
However, once Nuxt is installed in your project, it re-exports Nuxi’s functionality. This means commands like nuxi and nuxt become interchangeable within an existing Nuxt project, providing flexibility while maintaining a familiar workflow.
To find out more on nuxi vs nuxt, check out this YouTube video by Daniel Roe, team lead of the Nuxt core team:
Benifits of Using Nuxi CLI
Based on the above, we have so many reasons to use the nuxi CLI:
- Speed and Efficiency: The minimal design ensures lightning-fast initialization and execution.
- Automation and Best Practices: It simplifies routine tasks like project scaffolding, file generation, and builds, while adhering to Nuxt’s best practices.
- Seamless Integration: With tools like Vite, Nuxi delivers optimized bundling, blazing-fast Hot Module Replacement (HMR), and improved development speed.
How Does Nuxi Fit into the Nuxt Ecosystem?
Nuxi acts as the foundational tool for kickstarting Nuxt projects, but its role doesn’t end there. Whether you’re creating new pages, managing components, or analyzing build bundles, it equips you with all the commands needed for streamlined development.
For developers new to Nuxt, starting with npx nuxi ensures a smooth entry point. For those managing existing projects, the flexibility of switching between nuxi and nuxt makes project management intuitive and efficient.
By integrating Nuxi into your workflow, you gain the power of a modern CLI designed to handle the demands of today’s web applications with ease and precision.
Nuxi Installation
To install nuxi and build Nuxt apps, ensure your development environment meets the following requirements:
-
Node.js: Version 18 or higher. You can install Node.js via:
-
Official Website: Download binaries from the official Node.js website.
-
Package Manager: Use your system's package manager.
-
Version Manager: Tools like nvm allow you to manage multiple Node.js versions efficiently.
-
With Node.js installed, we’re all set to install Nuxi. To do this, simply run the following command in your terminal:
npm i nuxi@latest -gThis installs the nuxi CLI globally on your machine, making it available to run commands anywhere.
Alternatively, you can use the recommended approach from the official documentation, which is to use npx instead of installing Nuxi globally. This ensures that you always use the latest version of Nuxi without the need for manual updates. Simply run the following terminal command:
npx nuxi <command>Using npx is the preferred method, especially for new projects, as it ensures you're working with the most up-to-date version every time.
Creating a Nuxt Project with Nuxi
To kickstart a new Nuxt 3 project, use the nuxi init command:
//npm
npx nuxi@latest init test

//pnpm
pnpm dlx nuxi@latest init test
Replace test with your desired project name. This command sets up a fresh Nuxt project, ready for development.
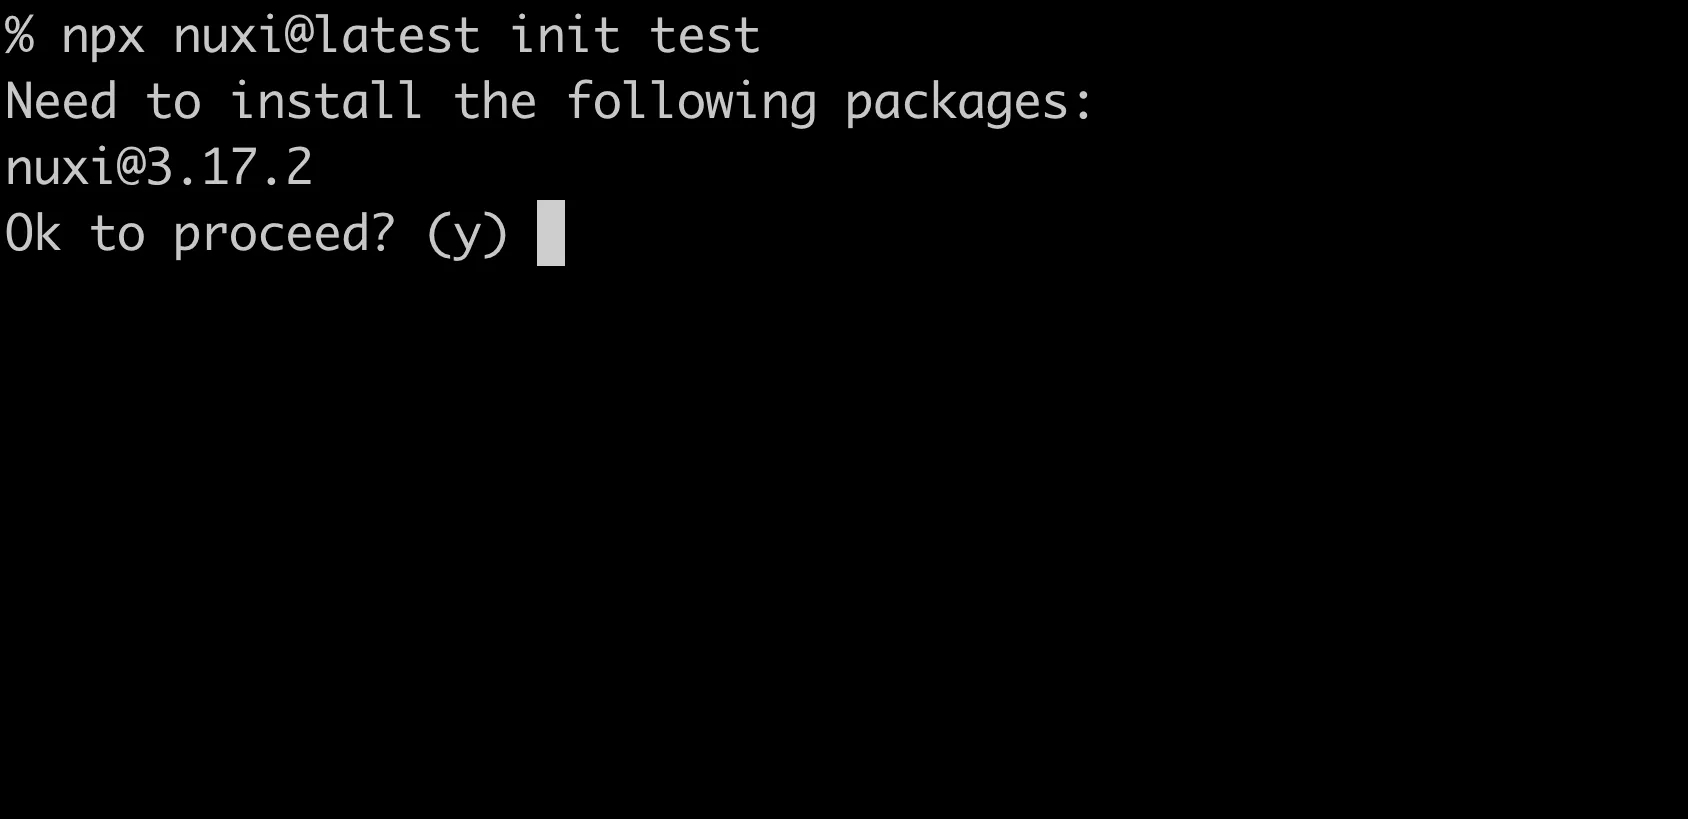
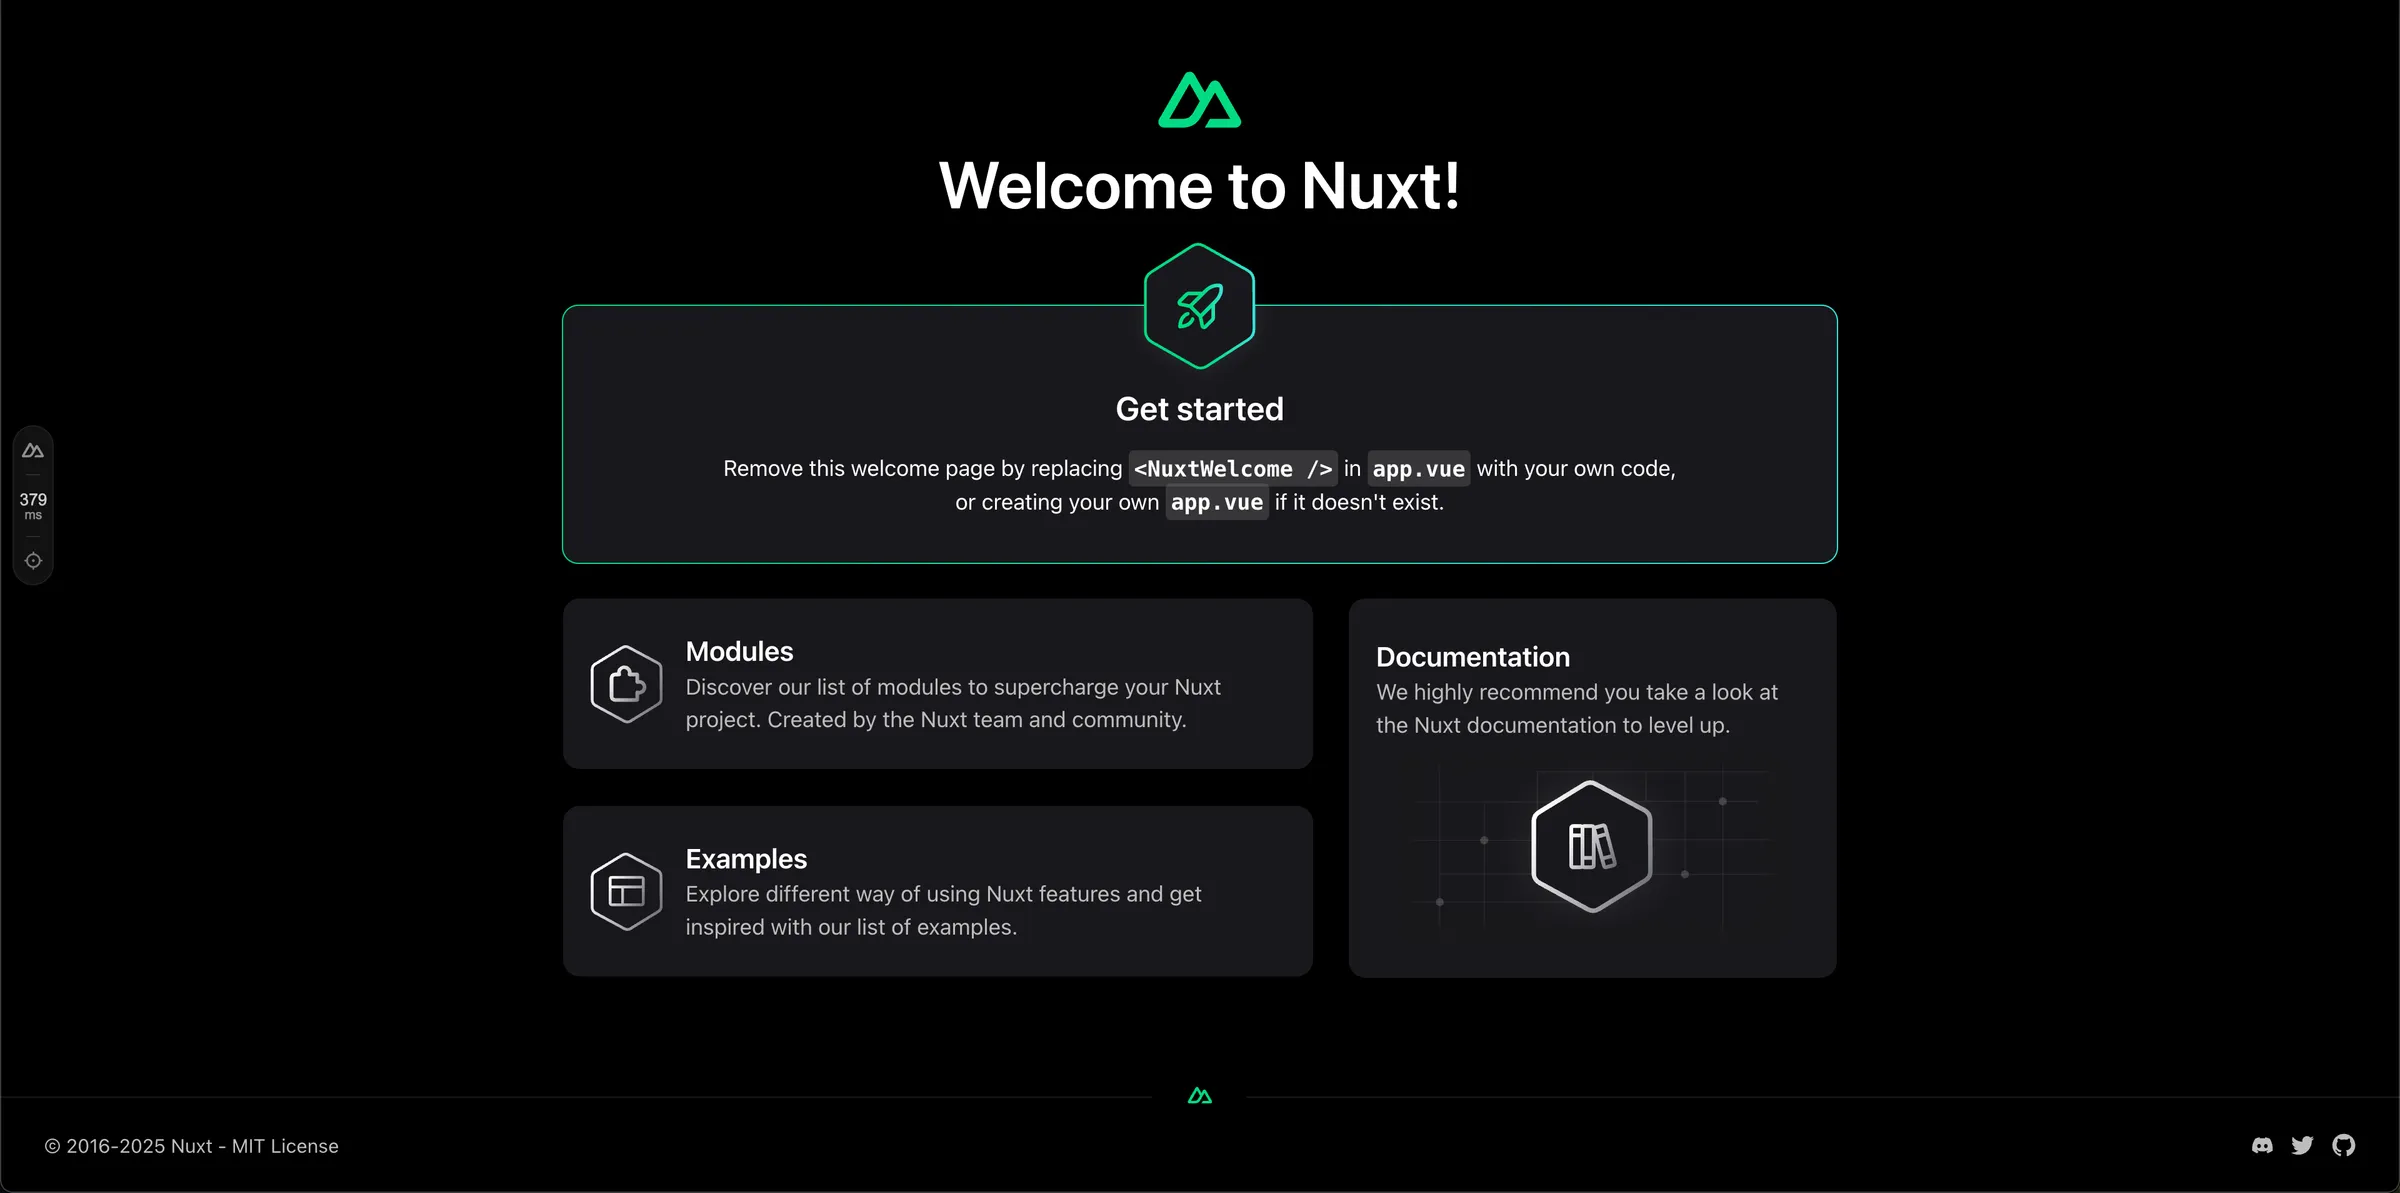
You'll be prompted to install the latest version of Nuxi. Once you accept, you can navigate to your project directory and run npm run dev to open it in the browser.
For added flexibility, nuxi init supports optional flags:
--template: Specify a template name or Git repository as a starter.--offline: Utilize local cache exclusively, ideal for environments with limited internet access.
Adding Components, Pages, and More with Nuxi
Nuxi simplifies the creation of common project files through the nuxi add command. Let's go through some of the most impartant add commands:
Adding a Component
To add a new component:
npx nuxi add component TheNavbarThis command generates components/TheNavbar.vue, providing a scaffolded component file.

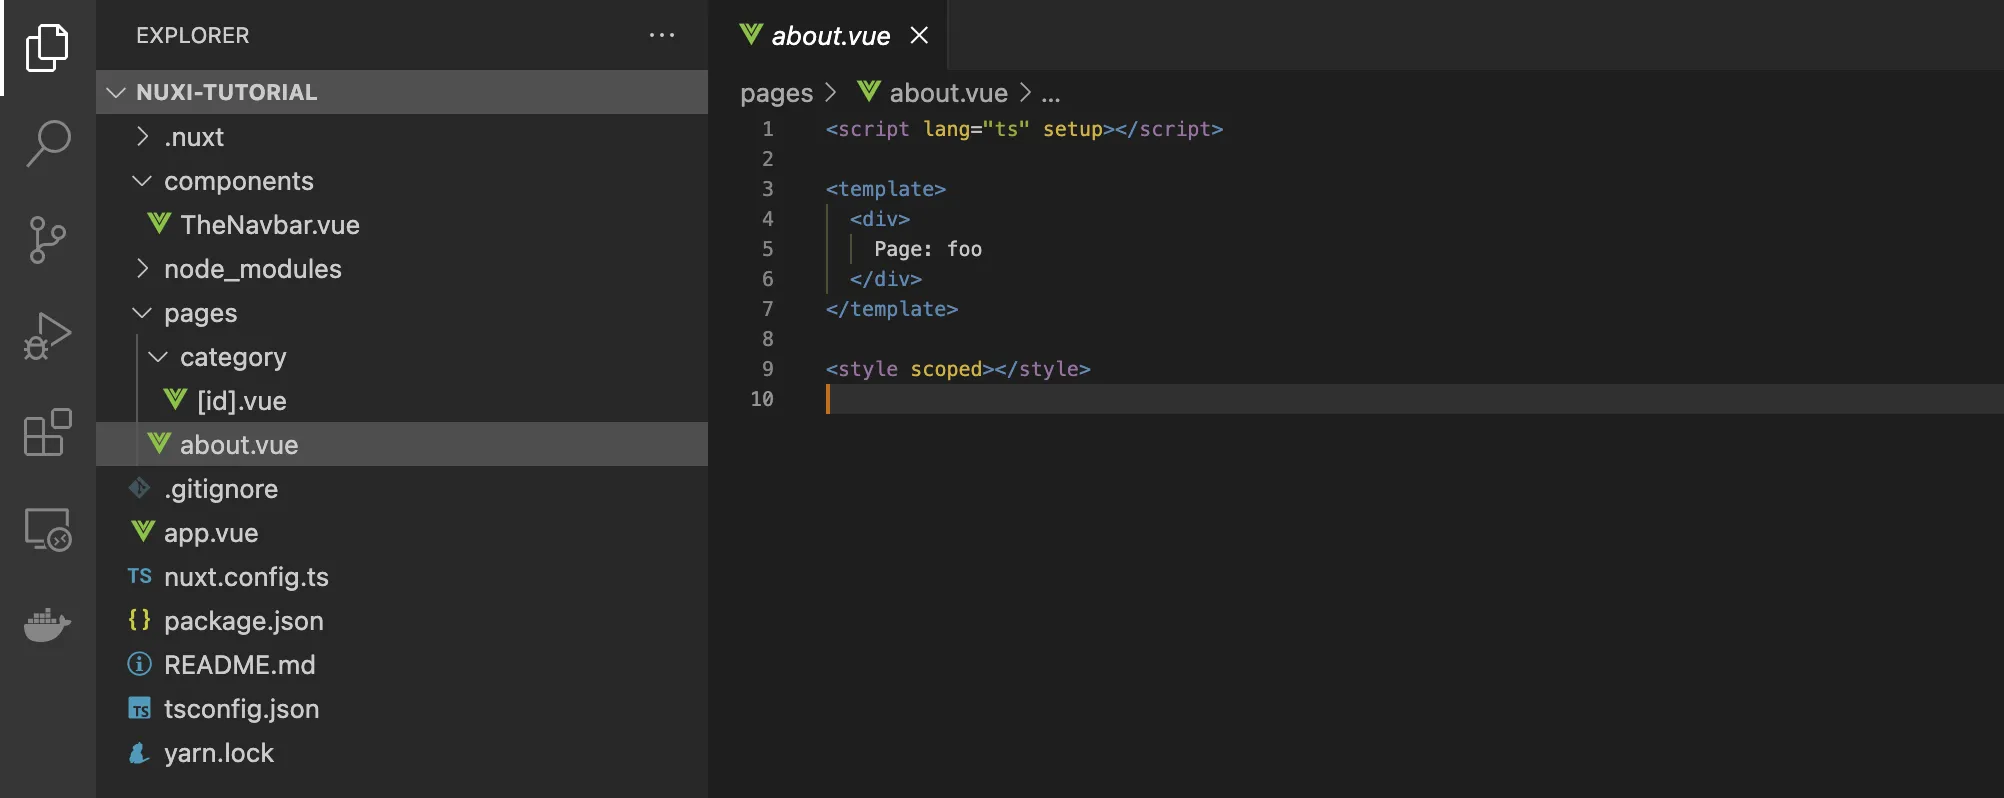
Adding a Page
To create a new page:
# Generates `pages/about.vue`
npx nuxi add page about

# Generates `pages/category/[id].vue`
npx nuxi add page "category/[id]"
Note: Enclose dynamic route names in quotes to prevent shell interpretation issues.
Adding a Composable
For a new composable:
npx nuxi add composable useFooThis creates composables/useFoo.ts, ready for your custom logic.

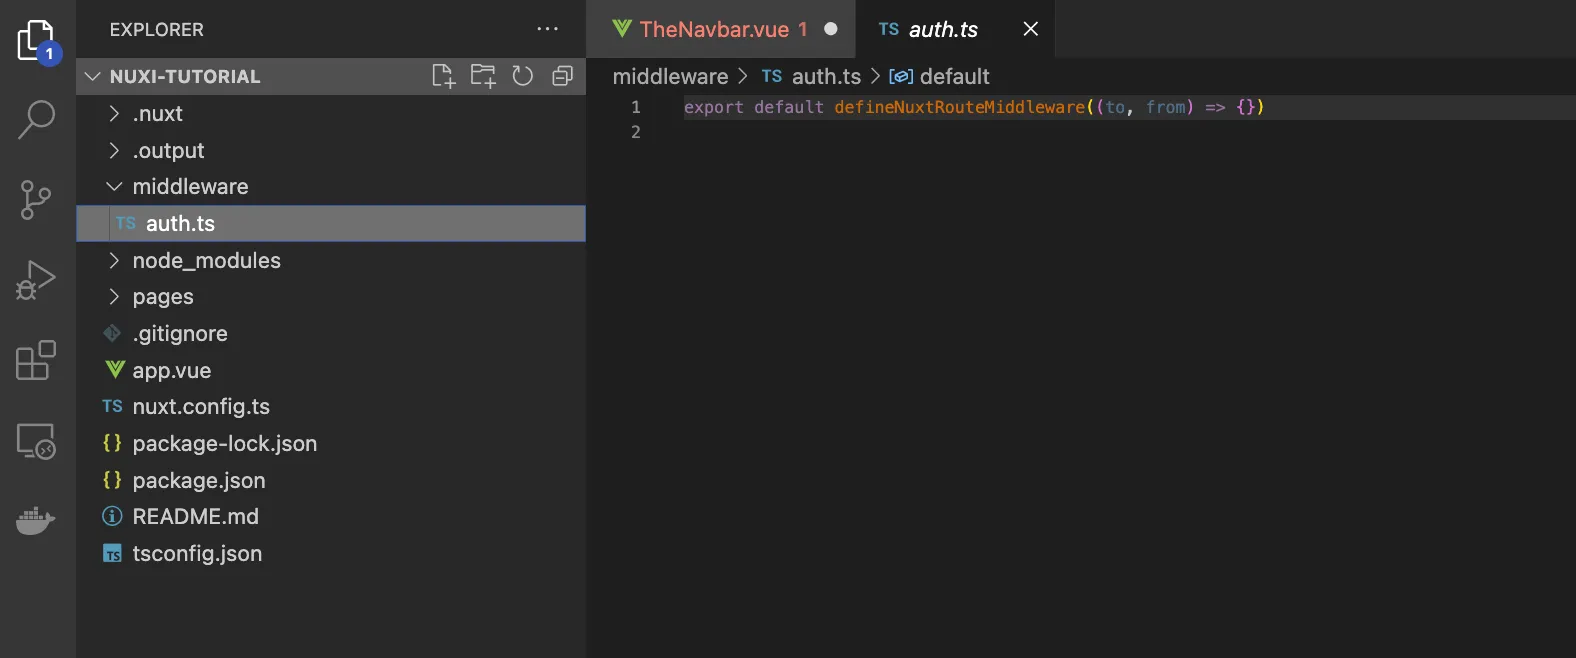
Adding Middleware
To add middleware:
npx nuxi add middleware authThis generates middleware/auth.ts, setting up a middleware file for your application.
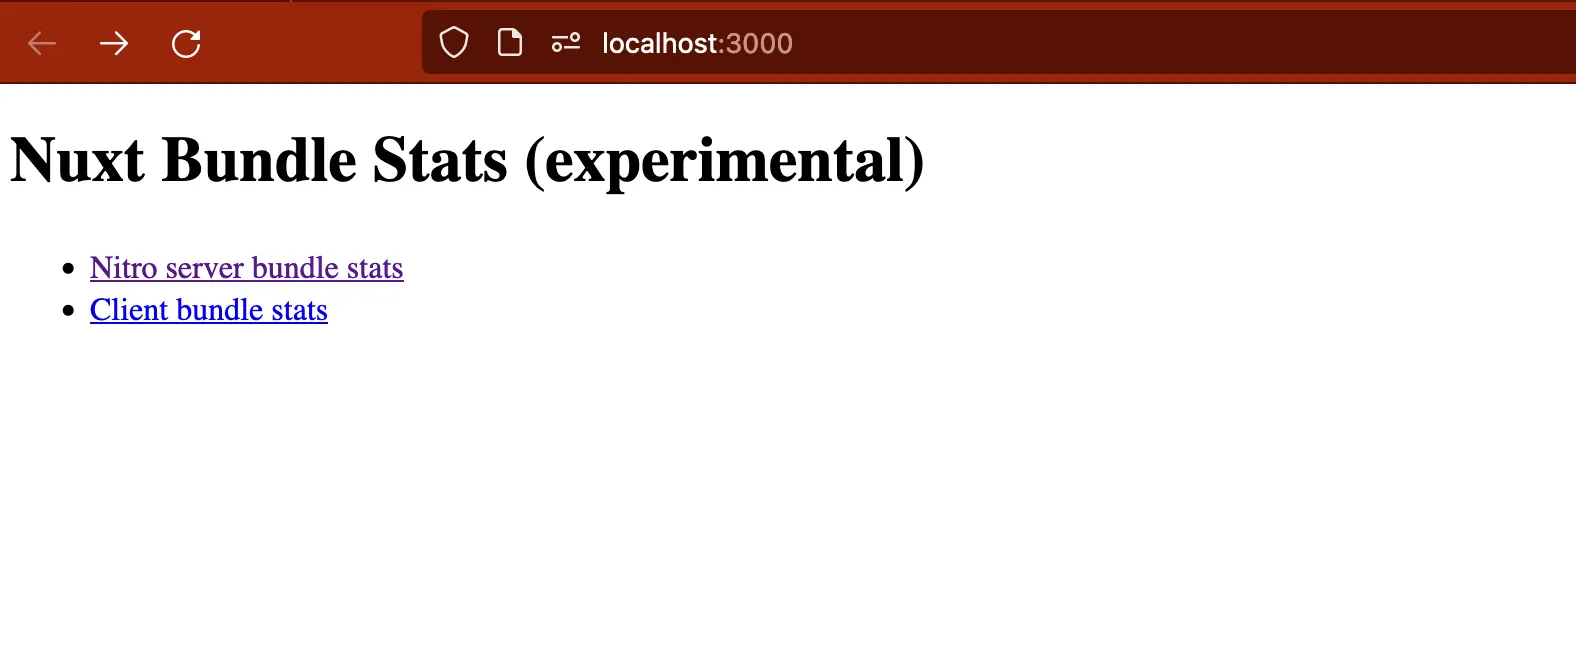
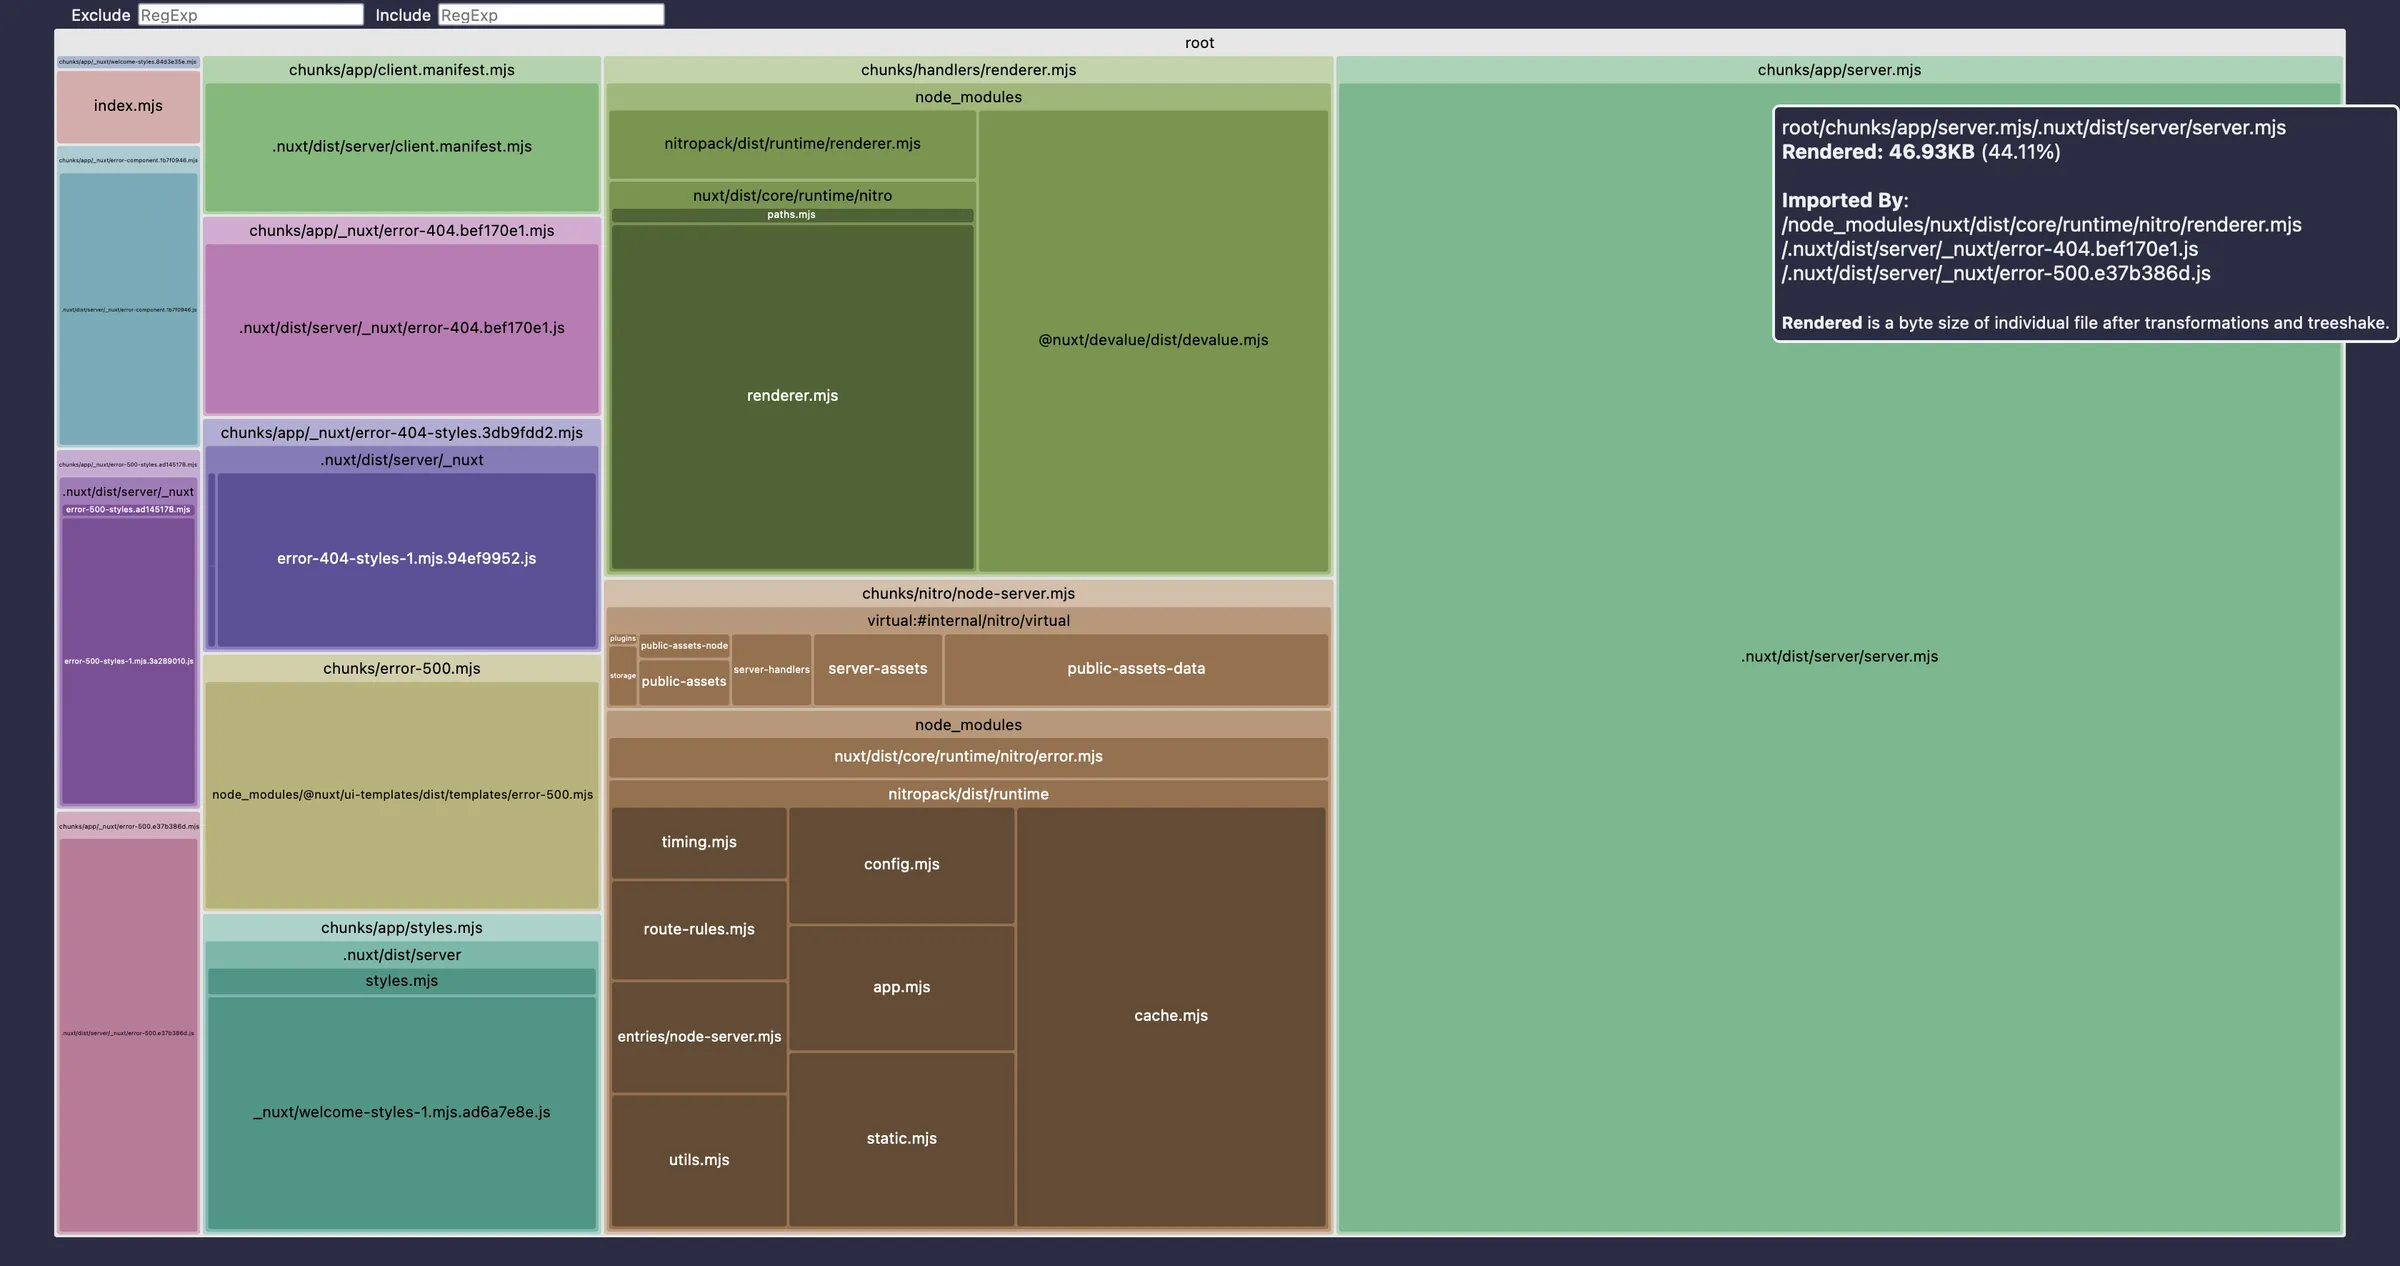
Analyzing Your Nuxt Application
Understanding your application's bundle composition is crucial for optimization. Nuxi's analyze command offers insights into your production bundle:
npx nuxi analyzeThis command builds your application and starts a local server, presenting a visual representation of your bundles. Larger rectangles indicate larger bundle sizes, guiding you to potential optimization areas.
Building for Production
When you're ready to deploy, Nuxi's build command prepares your application:
npx nuxi buildThis process creates a .output directory containing your application, server, and dependencies, all set for production deployment.
Cleaning Up Generated Files
Over time, your project may accumulate generated files and caches. Nuxi's cleanup command helps maintain a tidy workspace:
npx nuxi cleanupThis command removes common generated files and caches, including .nuxt, .output, node_modules/.vite, and node_modules/.cache, ensuring a fresh state for your project.
Running the Development Server
To start your Nuxt application in development mode:
npx nuxi devBy default, this launches your app at http://localhost:3000. You can customize the behavior with optional flags:
-
-por--port: Specify a different port. -
--https: Enable HTTPS protocol. -
--dotenv: Point to a specific.envfile for environment variables.
Upgrading Nuxt
Keeping your Nuxt application up-to-date is straightforward with Nuxi's upgrade command:
npx nuxi upgradeThis command updates your Nuxt application to the latest version, ensuring access to new features and improvements.
Generating Static Sites
For deploying to static hosting services, Nuxi's generate command pre-renders your application into static HTML files:
npx nuxi generateThis is particularly useful for platforms like Netlify and Vercel, allowing for efficient static site deployment.
Conclusion
Nuxi is an indispensable tool for Nuxt developers, offering a comprehensive suite of commands to streamline project setup, development, and deployment. Its integration with modern tools like Vite ensures a smooth and efficient workflow, allowing you to focus on building exceptional Vue.js applications.
For a deeper dive into mastering Nuxt 3 and Nuxi, consider exploring our Mastering Nuxt 3 course, designed to equip you with the knowledge and skills to excel in Nuxt development.
Start learning Vue.js for free

Comments
Latest Vue School Articles

5 Component Design Patterns to Boost Your Vue.js Applications


Vibe Coding a Collaborative Editor with Comment Support with Nuxt UI and Jazz
Our goal is to be the number one source of Vue.js knowledge for all skill levels. We offer the knowledge of our industry leaders through awesome video courses for a ridiculously low price.
More than 200.000 users have already joined us. You are welcome too!
© All rights reserved. Made with ❤️ by BitterBrains, Inc.