
7 Awesome Vue.js 3 Plugins and Libraries to know in 2023

Are you looking to build awesome Vue.js applications in 2023? We bet you are, and we've got the perfect solution! We've put together a list of seven incredible Vue 3 plugins and libraries that can help you add exciting features and functionality to your applications without writing lots of code.
With this list, you'll find plugins and libraries for animations, authentication, performance optimization, and more. So, if you want to create amazing web apps with Vue 3 in 2023, you won't want to miss out on these great plugins and libraries!
Let’s get started
Vuetify is a powerful and flexible UI library for Vue.js that can help you build beautiful and responsive user interfaces for your web applications. Vuetify provides a wide range of pre-built UI components and styles that can save you time and effort when building your Vue.js applications.
With Vuetify, you can easily create responsive layouts, typography, icons, buttons, forms, tables, and many other UI elements, without having to write all the CSS and HTML from scratch. The library also includes advanced features like directives, theme customization, internationalization, and accessibility, which can help you create more interactive, inclusive and user-friendly web applications.
Installation
# create new Vue.js Project with Vuetify
yarn create vuetify

# add to an existing Vue.js project
yarn add vuetify@^3.1.5
Usage
import { createApp } from 'vue'
import App from './App.vue'

// Vuetify
import 'vuetify/styles'
import { createVuetify } from 'vuetify'

const vuetify = createVuetify({
  components,
  directives,
})

createApp(App).use(vuetify).mount('#app')
Now we have Vuetify setup in our project, let’s add some basic Vuetify components to our application.
First add the following code to your main.js or main.ts file
import * as components from 'vuetify/components'Now we can start using Vuetify components in our components
//button
<v-btn>
  Button
</v-btn>

//an autocomplete extends a select input with autocomplete features
<v-autocomplete
  label="Autocomplete"
  :items="['California', 'Colorado', 'Florida', 'Georgia', 'Texas', 'Wyoming']"
></v-autocomplete>
You can also attach directives to your components with Vuetify. Let’s attach this block of code also to our main.js or main.ts file
import * as directives from 'vuetify/directives'Now we can try out a few directives;
The v-intersect directive utilizes the Intersection Observer API. It provides an easy-to-use interface for detecting when elements are visible within the user’s viewport.
//v-intersect
<v-card
     v-intersect="onIntersect"
     class="mx-auto"
     max-width="336"
  >
    <v-card-title>Card title</v-card-title>
    <v-card-text>
      This is the card's subtext
    </v-card-text>
  </v-card>
...

<script setup>
import {ref} from 'vue'
const isIntersected = ref(false)

const onIntersect = (isIntersecting, entries, observer) => {
      isIntersected.value = isIntersecting
    },
</script>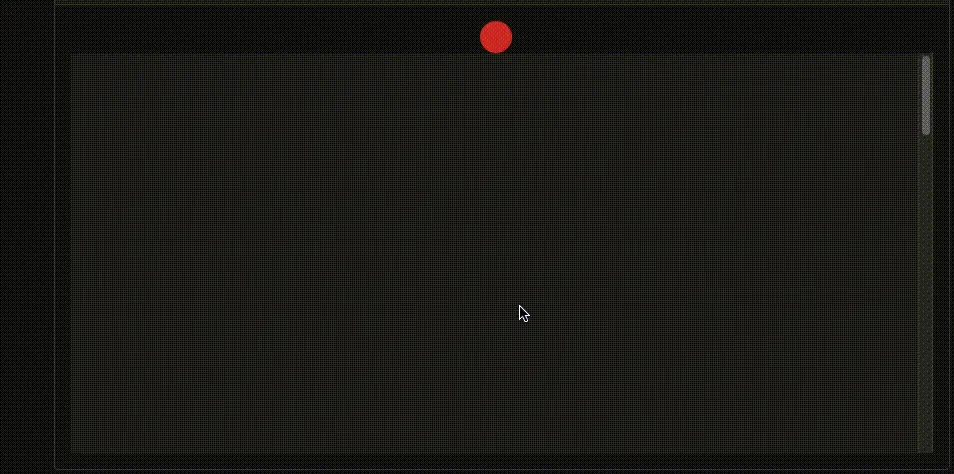
Get a demo of this directive here.
The v-click-outside directive calls a function when something outside of the target element is clicked on. This is used internally by components like v-menu(Vuetify menu component) and v-dialog(Vuetify Dialog Box Component).
<template>
  <v-app>
    <v-card
      v-click-outside="onClickOutside"
      :color="active ? 'primary' : undefined"
      :dark="active"
      class="mx-auto"
      height="256"
      rounded="xl"
      width="256"
      @click="active = true"
    >
      <div
     class="text-h6 text-md-h4 fill-height d-flex align-center justify-center">
        {{ active ? 'Click Outside' : 'Click Me' }}
      </div>
    </v-card>
  </v-app>
</template>

<script setup>
import {ref} from 'vue'

const active = ref(false)

const onClickOutside = () => {
      active.value = false
    },
  },
</script>
Get a demo of the directive here.
VueUse provides a collection of 200+ essential utility functions for interacting with various APIs like browser, state, network, animation, time and more that can be easily imported and used in your Vue.js components. So there’s no need to write so much code to add features like accessing Local Storage, using Fullscreen, clicking outside an element and more. Just import their respective composables and they are ready for use.
Installation
npm i @vueuse/coreUsage
We’ll take a look at a few of them
// reactive localStorage
<script setup lang="ts">
    import { useStorage } from '@vueuse/core'
    const state = useStorage('my-store', { hello: 'hi', greeting: 'Hello' })
</script>
The above code provides a reactive way to store data in the browser's localStorage or sessionStorage. So you can view update data in your local storage and session storage in realtime.
//create a draggable element
<script setup lang="ts">
    import { ref } from 'vue'
    import { useDraggable } from '@vueuse/core'

    const el = ref<HTMLElement | null>(null)

    // `style` will be a helper computed for `left: ?px; top: ?px;`
        const { x, y, style } = useDraggable(el, {
      initialValue: { x: 40, y: 40 },
    })
</script>

<template>
  <div ref="el" :style="style" style="position: fixed">
    Drag me! I am at {{x}}, {{y}}
  </div>
</template>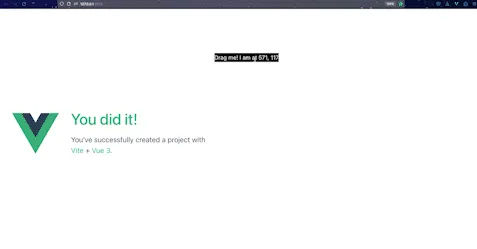
The above code makes the el element draggable and also provide realtime information as to the x-axis and y-axis screen position of the element as they move.
//Detects that a target element's visibility.
<div ref="target">
  <h1>Hello world</h1>
</div>

<script>
import { ref } from 'vue'
import { useIntersectionObserver } from '@vueuse/core'

export default {
  setup() {
    const target = ref(null)
    const targetIsVisible = ref(false)

    const { stop } = useIntersectionObserver(
      target,
      ([{ isIntersecting }], observerElement) => {
        targetIsVisible.value = isIntersecting
      },
    )

    return {
      target,
      targetIsVisible,
    }
  },
}
</script>
The above code triggers an event anytime the linked element(target) becomes visible on the screen. A very handy technique for an animation trigger.
There are so many composables available for your use in VueUse so head over to the VueUse Documentation page and explore more of these composable or you can get a practical resource on learning VueUse in our VueUse for Everyone Course.
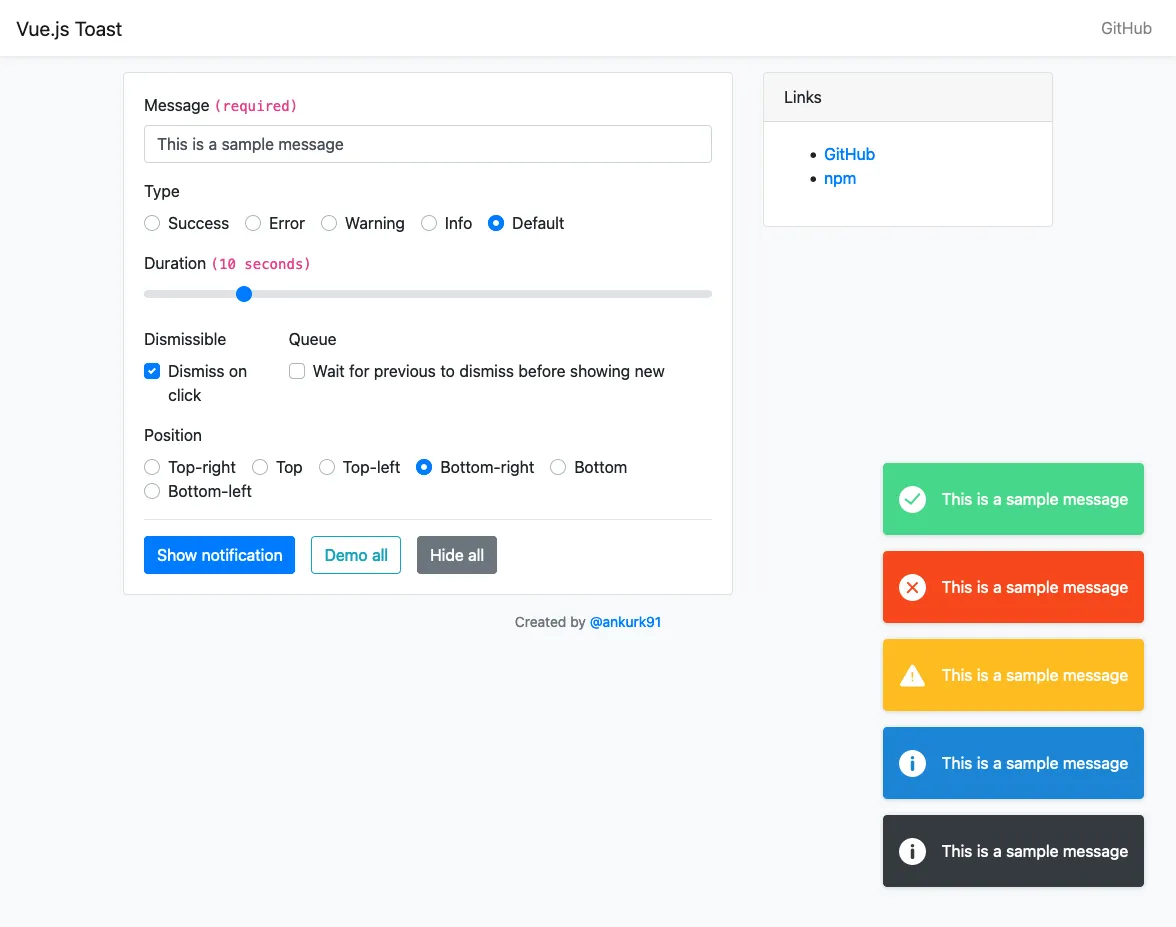
You are probably already familiar with the importance of displaying notifications to users. Notifications provide instant feedback to users about the success or failure of their actions, making the user experience much more intuitive and engaging.
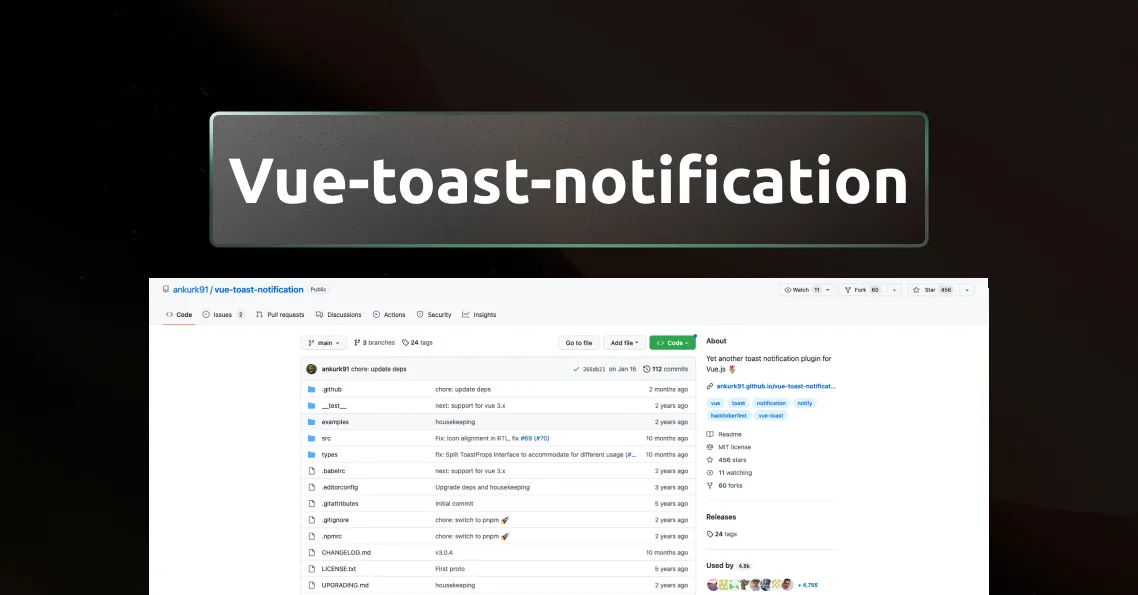
The vue-toast-notification plugin simplifies the process of displaying notifications in your Vue.js application. It provides an easy-to-use and highly customizable notification system that can be quickly integrated into your project.
Installation
npm install vue-toast-notification@^3.0Usage
import {createApp} from 'vue';
import ToastPlugin from 'vue-toast-notification';
// Import one of the available themes
//import 'vue-toast-notification/dist/theme-default.css';
import 'vue-toast-notification/dist/theme-sugar.css';

const app = createApp({});
app.use(ToastPlugin);
app.mount('#app');

let instance = app.$toast.open('You did it!');

// Force dismiss specific toast
instance.dismiss();

// Dismiss all opened toast immediately
app.$toast.clear();
app.$toast.open('Howdy!');
// Can accept an Object of options
app.$toast.open({
message: 'Something went wrong!',
type: 'error',
// all of other options may go here
});
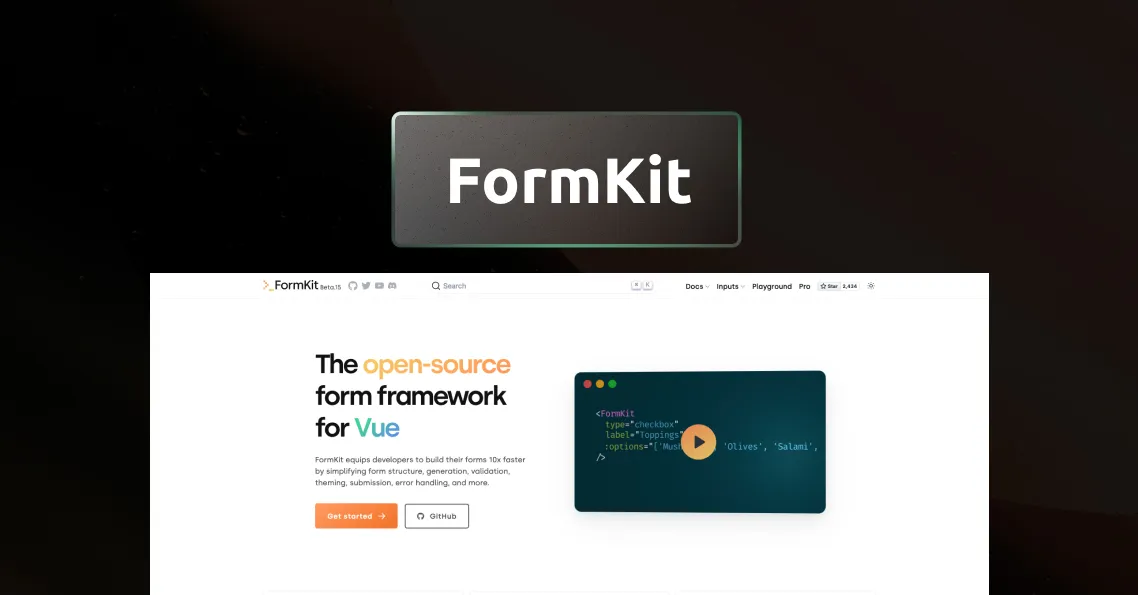
Forms are a key part of web applications, used for capturing user input and enabling interaction. They can be simple or complex, used for tasks like registration, data collection, and e-commerce. Forms improve user experience and functionality, and can be customized for validation, error handling, and styling. Forms are an essential part of many web applications, but they can be notoriously difficult to handle correctly, especially as they grow more complex. FormKit provides a set of utilities and helpers that make it easy to build and manage forms in your Vue.js application, from simple input validation to advanced features like conditional logic and dynamic form fields.
Installation
npm install @formkit/vueUsage
There are multiple use cases for using formkit in your application, let’s explore an example. Let’s first setup Formkit in our Vue 3 application.
import { createApp } from 'vue'
import { plugin, defaultConfig } from '@formkit/vue'
import App from 'App.vue'

createApp(App).use(plugin, defaultConfig).mount('#app')
Now that we have imported FormKit into our Vue.js app globally, we can use them in our template. eg
<FormKit type="repeater" label="My Movies" add-label="Add Movie">
  <FormKit
    name="movie"
    type="autocomplete"
    label="Search for a movie"
    placeholder="Ex: Interstellar"
    :options="searchMovies"
  />
  <FormKit type="rating" label="My rating" />
</FormKit>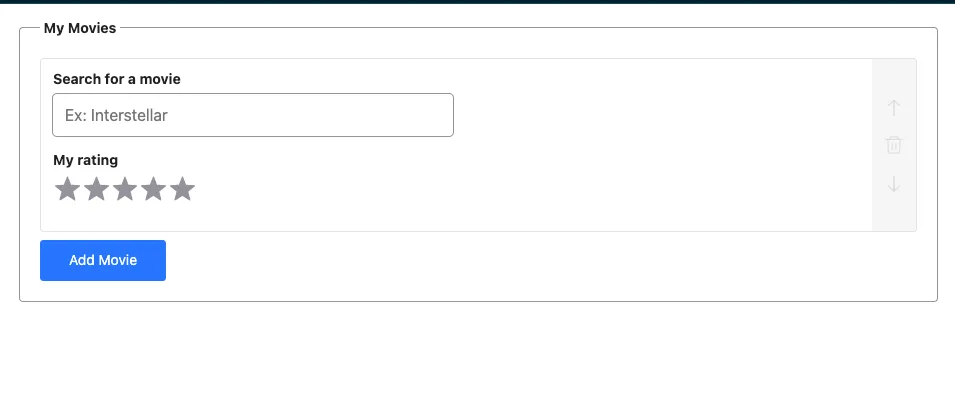
This is a simple example on how to use Formkit. Formkit is an incredibly robust platform with a plethora of features that are waiting for you to try out. So head over to the FormKit Docs or playground and give it a try. If you are also interested in building robust forms with FormKit, then you are in luck. Our Robust Vue.js Forms with FormKit course has all the essential information you need to build amazing and feature-rich forms for your Vue.js applications.
Adding drag and drop functionality to your Vue.js application improves user experience. This feature allows users to interact with the application in a more intuitive way, making it easier to organize and manipulate data. Vue-draggable is a great tool for implementing this functionality, as it simplifies the process and makes it accessible even to developers who are new to Vue.js. By adding this cool plugin to your Vue.js application, you can create a more engaging and dynamic user experience that will keep users coming back for more.
Installation
#yarn
yarn add vuedraggable@next

#npm
npm i -S vuedraggable@next
Usage
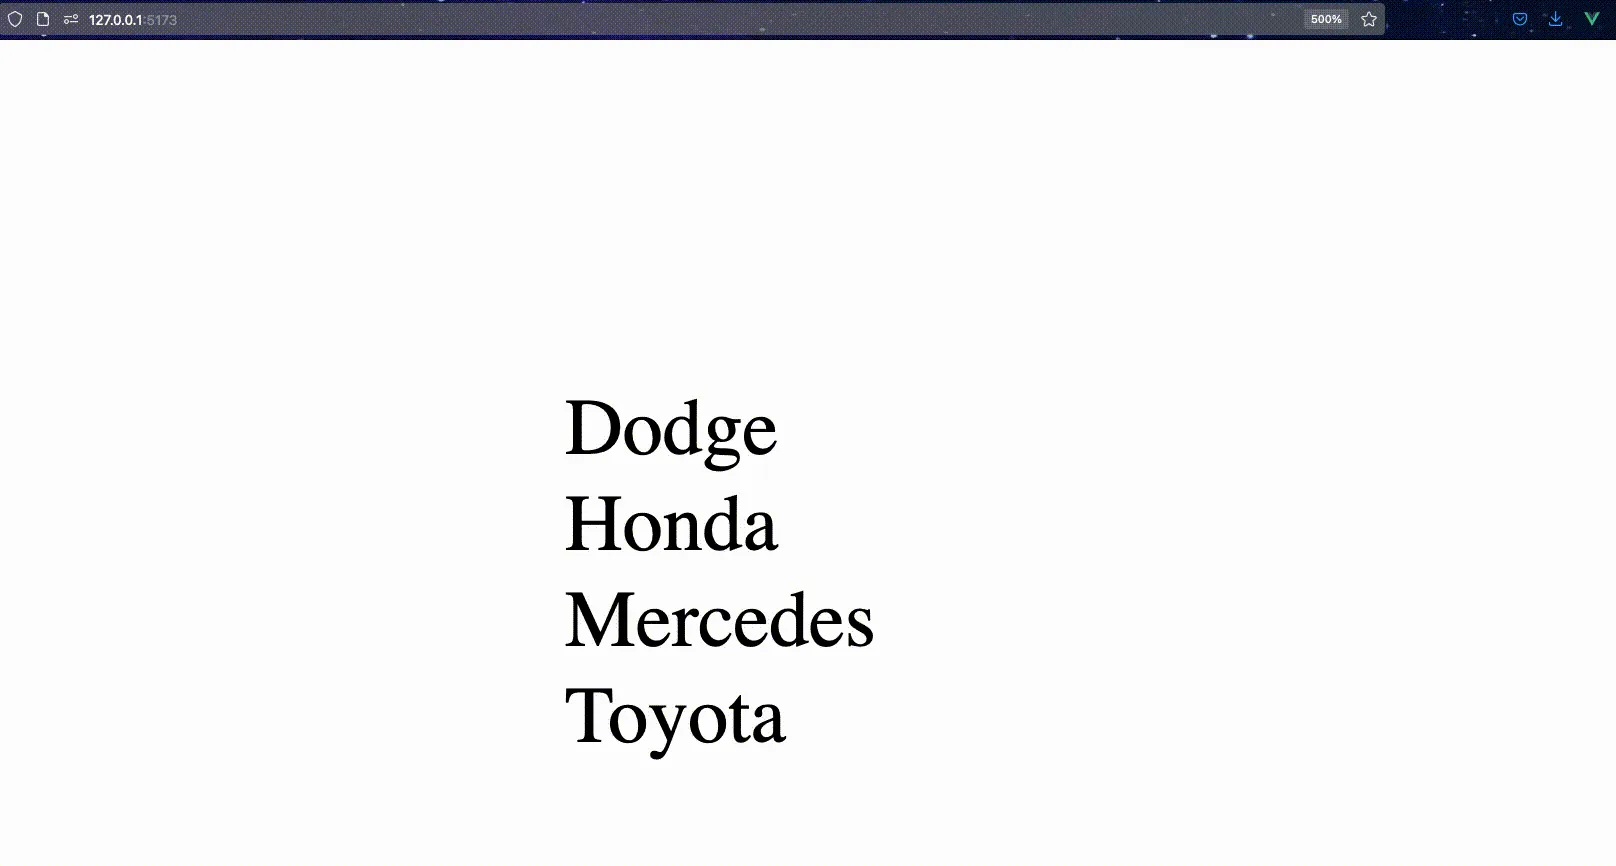
Now let’s create a simple sortable list with Vue-draggable.
<template>
  <div>
    <draggable
      v-model="cars"
      @start="drag = true"
      @end="drag = false"
      item-key="id"
    >
      <template #item="{ element }">
        <div>{{ element }}</div>
      </template>
    </draggable>
  </div>
</template>

<script setup>
import { ref } from "vue";
import draggable from "vuedraggable";

const drag = ref(false);

const cars = ref(["Mercedes", "Toyota", "Honda", "Dodge"]);
</script>
If you need a quick tutorial on how to add drag and drop functionality to your application using Vue Draggable, check out this related article on how to use Vue-draggable or if you are looking to achieve that and more our Build a Drag-and-Drop Trello Board with Vue.js course provides great insight into the workflow of all the facets of front-end development.
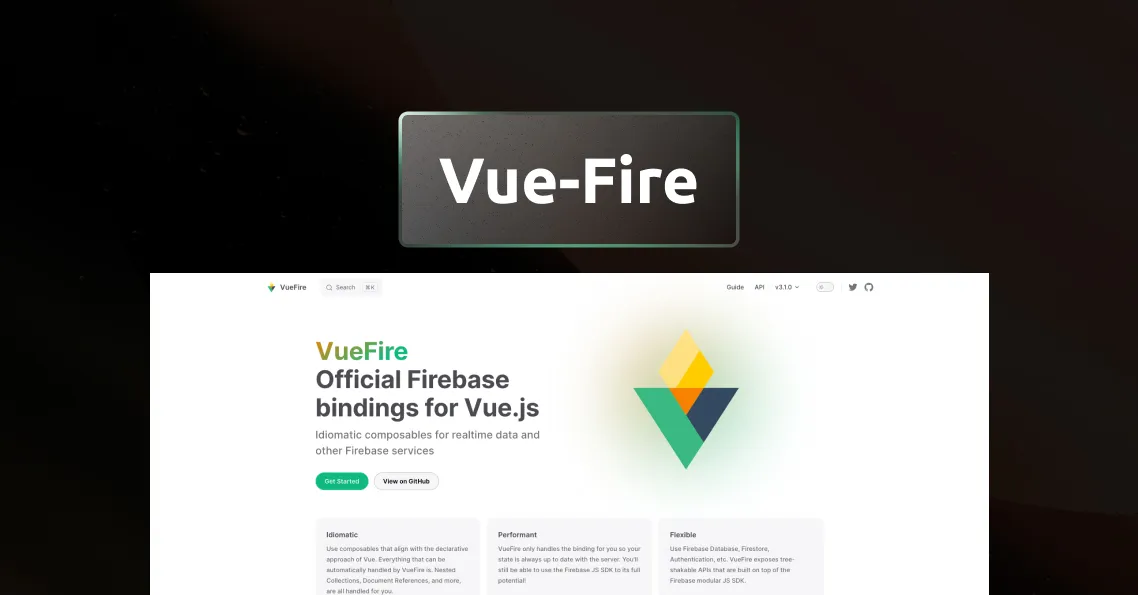
Firebase is a backend-as-a-service (BaaS) platform that provides developers with a variety of tools and services for building and deploying full-stack applications. With Firebase you can achieve numerous backend features to your Vue.js application writing minimal javascript code. But adding Firebase databases to your application can be stressful. Vuefire is a really helpful and lightweight wrapper that helps you easily keep your data in sync with Firebase databases. It eliminates the hassle of doing it manually and has some nifty built-in logic that does the hard work for you.
Installation
#yarn
yarn add vuefire firebase

#npm
npm install vuefire firebase
Usage
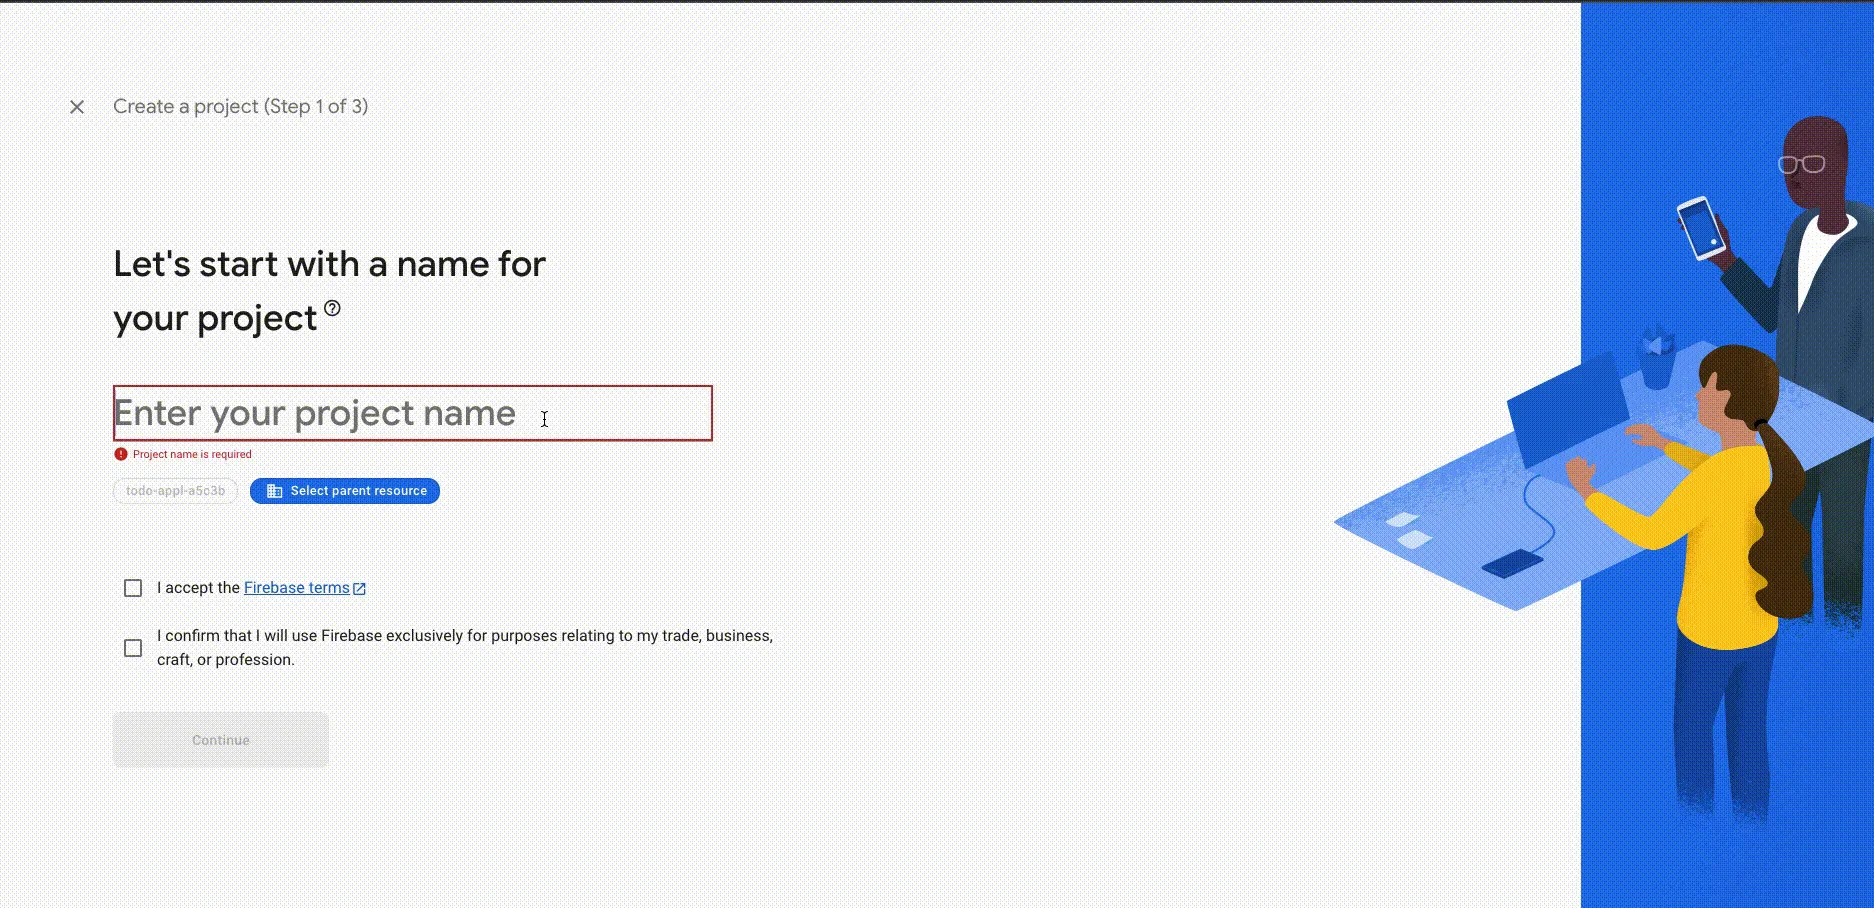
Before using VueFire, make sure you have a Firebase account and a project setup by following the instructions at Create a Cloud Firestore project
- Keep in mind there are two different databases: Database and Firestore
-
Let’s say as an example we will like to create a todo Vue.js application with Firebase. Let’s setup our firestore database.
We first need to create a project on Firebase to obtain our application credentials.
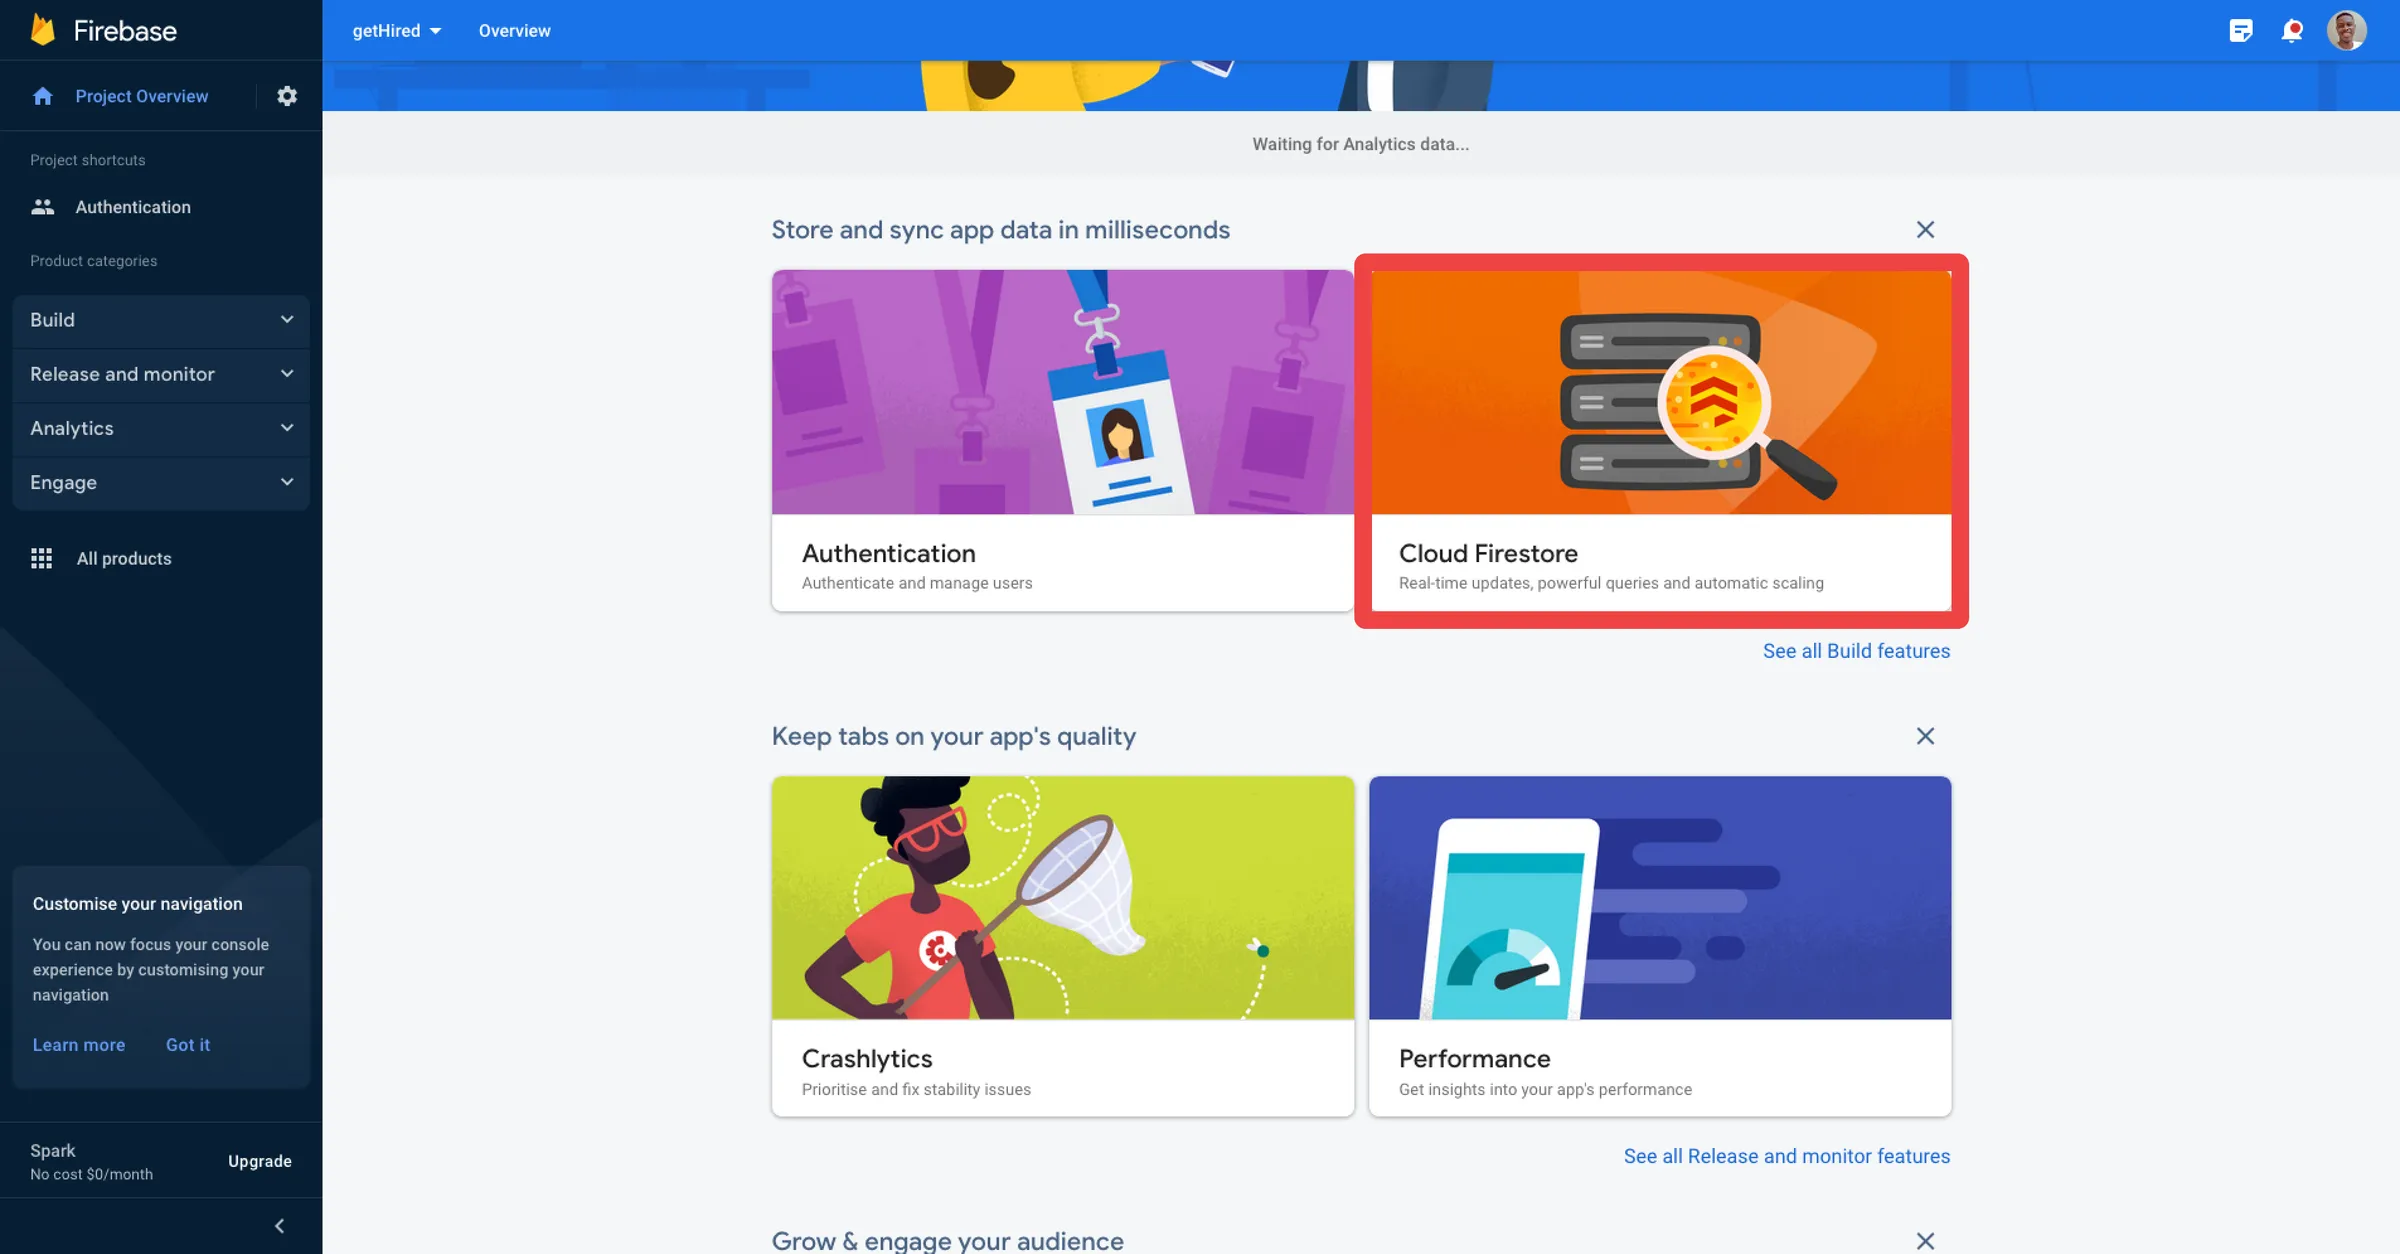
With our project up and running we can now setup our firestore database.
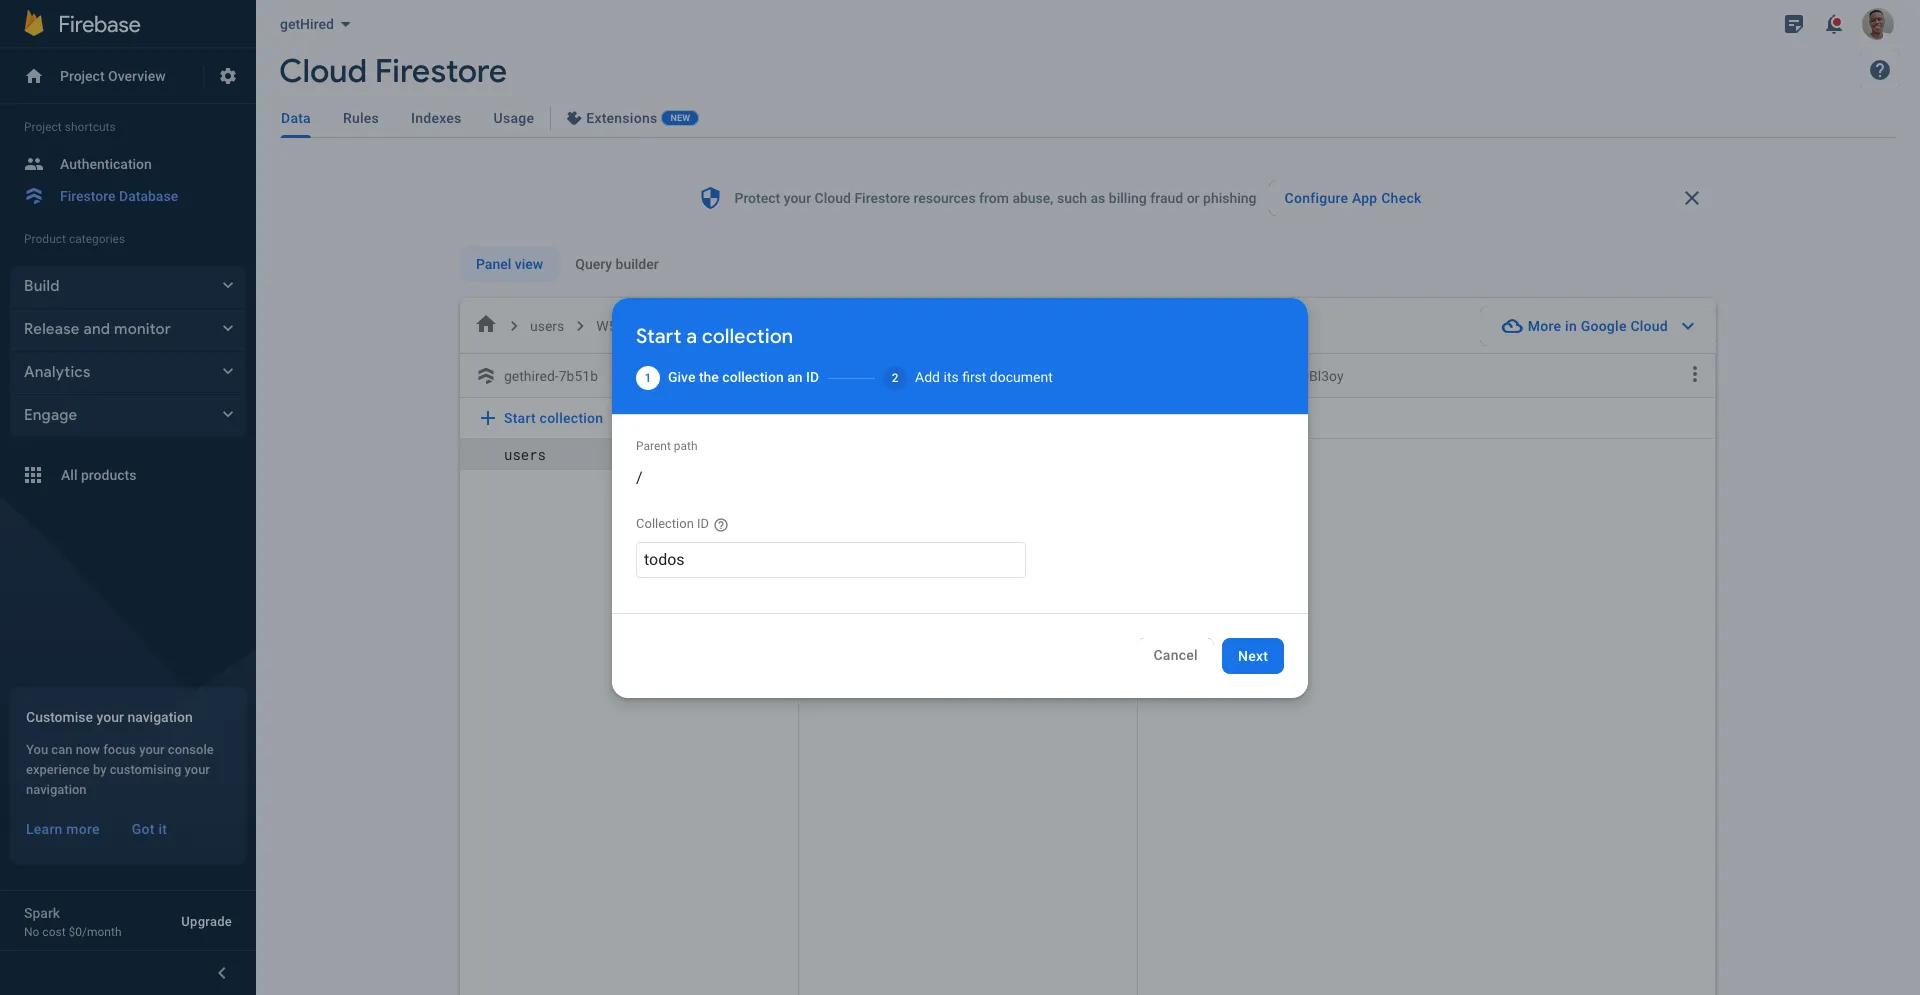
Now let’s create our first collection with name ‘todos’.
Now that we have Firebase Firsestore Collection setup, we can now start using Vuefire.
import { initializeApp } from 'firebase/app'
import { getFirestore, collection } from 'firebase/firestore'
// ... other firebase imports

export const firebaseApp = initializeApp({
  // your application settings from Firebase
})

// used for the firestore refs
const db = getFirestore(firebaseApp)

// here we can export reusable database references
export const todosRef = collection(db, 'todos')
<script setup>
import { useCollection } from 'vuefire'
import { collection } from 'firebase/firestore'
const todos = useCollection(collection(db, 'todos'))
const someTodo = useDocument(doc(collection(db, 'todos'), 'someId'))
</script>
<template>
<ul>
<li v-for="todo in todos" :key="todo.id">
<span>{{ todo.text }}</span>
</li>
</ul>
</template>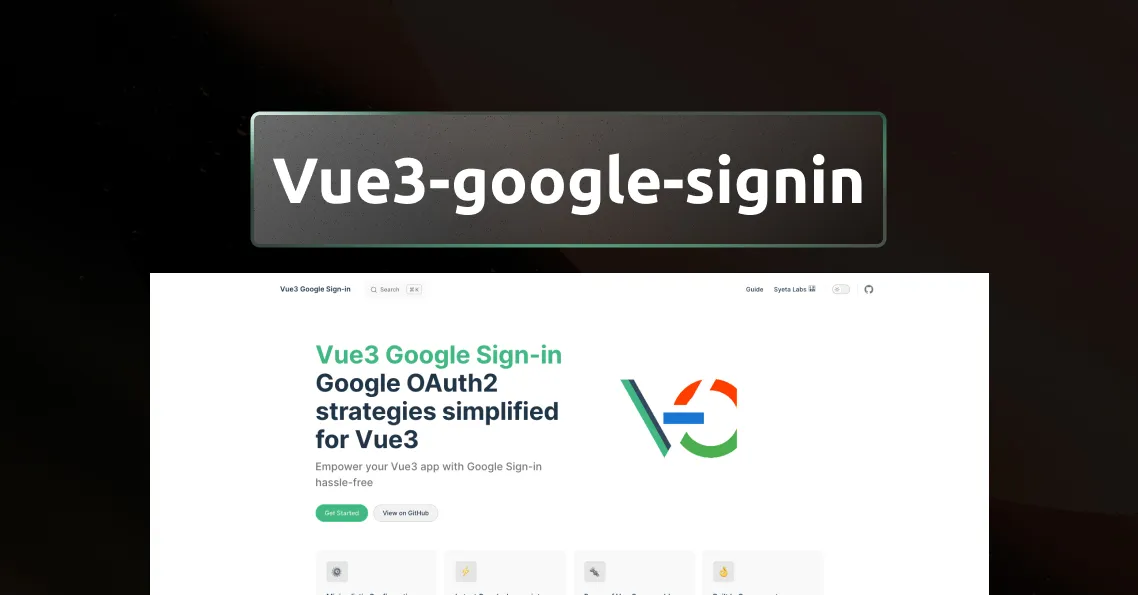
Authentication is an essential aspect of any application that deals with sensitive data. Whether it's a banking app or a social media platform, users want to be sure that their information is secure. Google Sign-In is a widely used authentication mechanism that allows users to sign in to your application using their Google credentials, which can save them time and provide a more seamless user experience.
vue3-google-signin provides a simple and customizable way to implement Google Sign-In in your Vue 3 project. It handles the entire authentication flow, from displaying the Google Sign-In button to obtaining and managing user authentication tokens, so you don't have to worry about the details.
Installation
//npm
npm install -S vue3-google-signin

//yarn
yarn add vue3-google-signin

//pnpm
pnpm add vue3-google-signin
Awesome, now we can authenticate users into our application using their google account credentials.
Usage
Setting up your library is a breeze. All you need to do is add the following code to your application's entry point (main.js or main.ts).
import GoogleSignInPlugin from "vue3-google-signin"

app.use(GoogleSignInPlugin, {
  clientId: 'CLIENT ID OBTAINED FROM GOOGLE API CONSOLE',
});

// other config

app.mount("#app");
That's it! Now let’s use our google signin in our application. We can add a google signin button to our component with the following code:
<script setup lang="ts">
import {
GoogleSignInButton,
type CredentialResponse,
} from "vue3-google-signin";
// handle success event
const handleLoginSuccess = (response: CredentialResponse) => {
const { credential } = response;
console.log("Access Token", credential);
};
// handle an error event
const handleLoginError = () => {
console.error("Login failed");
};
</script>
<template>
<GoogleSignInButton
@success="handleLoginSuccess"
@error="handleLoginError"
></GoogleSignInButton>
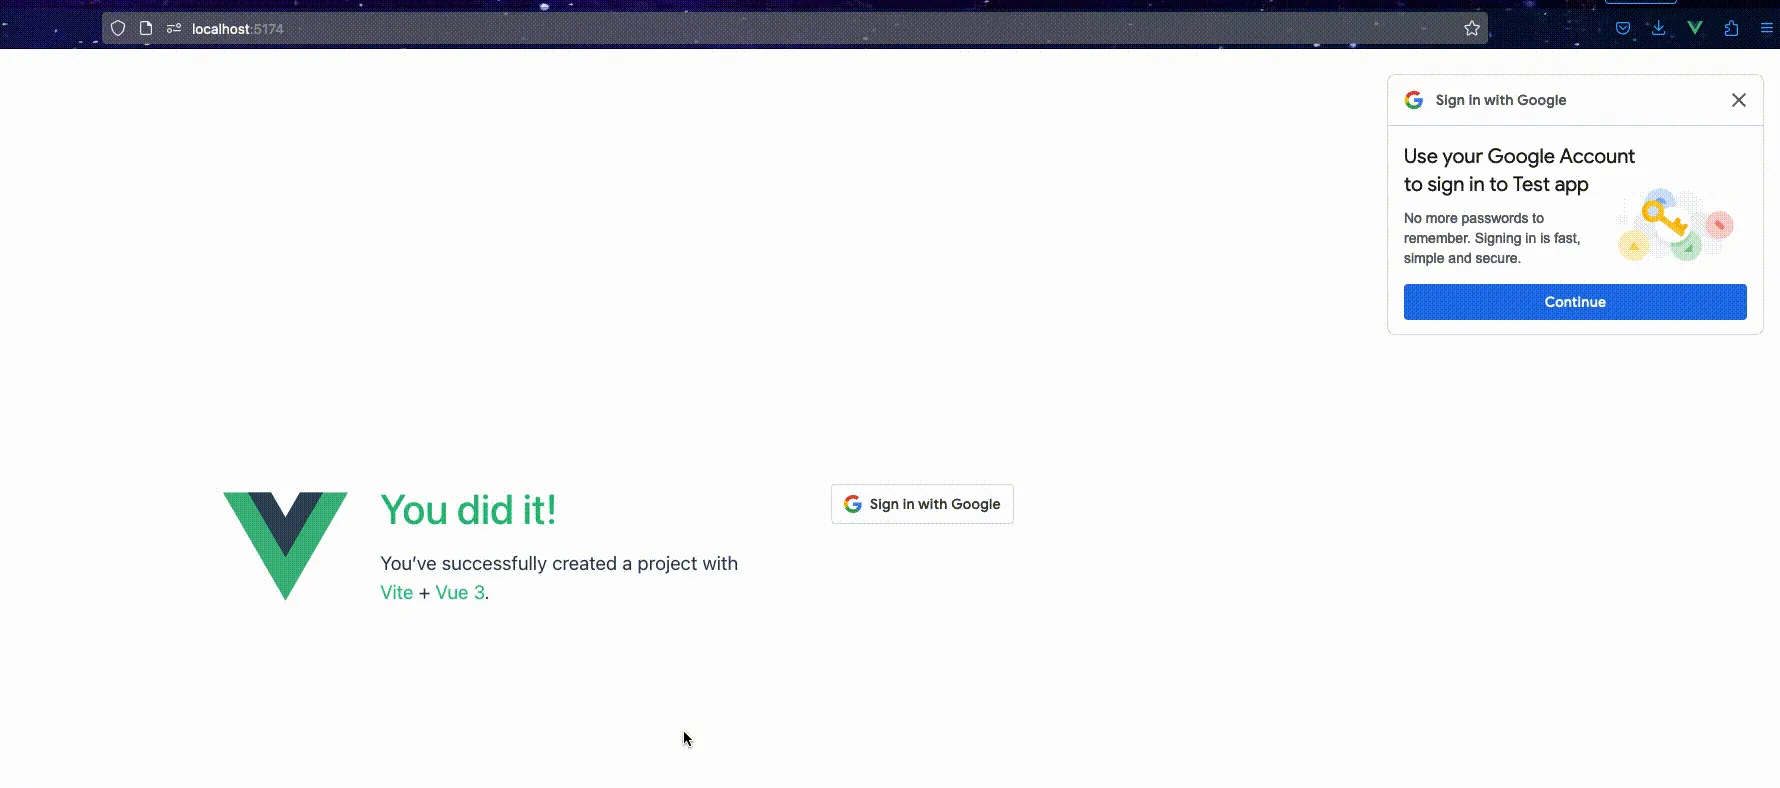
</template>or let’s try Google’s new One Tap authentication which displays a little dialog to the side or a popup if the visibility of the dialog is limited to onboard a user into your application.
import { useOneTap, type CredentialResponse } from "vue3-google-signin";

useOneTap({
  onSuccess: (response: CredentialResponse) => {
    console.log("Success:", response);
  },
  onError: () => console.error("Error with One Tap Login"),
  // options
});
Conclusion
In conclusion, Vue.js 3 is a powerful JavaScript framework that enables developers to create incredible user interfaces and applications. With the help of the plugins and libraries mentioned in this article, developers can streamline their workflow and achieve better results in less time.
But why stop there? By enrolling in our Custom Vue.js 3 Plugins course, you can take your skills to the next level and create your own custom plugins that perfectly fit your project's needs. Our expert instructors will guide you through the process of building powerful and efficient Vue.js 3 plugins from scratch, giving you the tools you need to take on even the most complex projects with confidence.
Don't miss out on this opportunity to become a Vue.js 3 plugin expert. Enroll in our course today and start creating amazing plugins that will take your projects to new heights!
Start learning Vue.js for free

Comments
Latest Vue School Articles

5 Component Design Patterns to Boost Your Vue.js Applications


Vibe Coding a Collaborative Editor with Comment Support with Nuxt UI and Jazz
Our goal is to be the number one source of Vue.js knowledge for all skill levels. We offer the knowledge of our industry leaders through awesome video courses for a ridiculously low price.
More than 200.000 users have already joined us. You are welcome too!
© All rights reserved. Made with ❤️ by BitterBrains, Inc.