
Building a Multi-Step Form with Petite-Vue

Are you building an informational website with primarily static content? If so a lot of JavaScript frameworks are probably overkill. Vue on the other hand has always had the ability to be adopted incrementally. In other words, your whole site could be mostly static or server side rendered and you could just add in Vue here and there where some extra interactivity was needed.
Now Evan You (founder of Vue.js) has made an even lighter weight version of Vue made specifically for this use case. It's called Petite Vue.
What is Petite Vue?
Petite Vue is an alternative distribution of Vue.js made specifically for sprinkling in islands of interactivity on mostly content driven websites and boasts a number of benefits:
- It's small (Only ~5.8kb)
- It feels mostly like writing normal Vue
- It's DOM-based. In other words, it doesn't override existing DOM with markup from a template. Instead it mutates the already existing DOM.
In other words, it's very well suited to the specified task but still developer friendly for those of us accustomed to working with Vue!
Current Status
At the time I'm writing this article, August 6, 2021, Petite Vue is still very new. In fact, Evan just announced it on twitter last month.
This means it's probably not something you want to jump into using on a million dollar production project just yet but it's still worth getting familiar with. In the words of the README from the Petite Vue repo:
This is pretty new. There are probably bugs and there might still be API changes, so use at your own risk. Is it usable though? Very much.
Building a Multi-Step Form
So let's get our hands dirty and start playing around with Petite Vue! And what better way to practice than with a common real world scenario on mostly static sites: a multi-step form!
Here's a look at what we're going to build.
It's a typical multi-step form with:
- 3 steps
- a progress indicator at the top
- buttons to advance and go back
- a success page
- and validation

You can also checkout a live interactive version here on codesandbox.
Alright, let's get started!
Initializing and Mounting Vue
In order to work with Petite Vue all you need is an HTML file, no build step required.
Notice I've included Tailwind CSS and Daisy UI to provide us some nice looking styles for us, so I don't have to think about making it look good.
// index.html
<!DOCTYPE html>
<html lang="en">
  <head>
    <meta charset="UTF-8" />
    <meta name="viewport" content="width=device-width, initial-scale=1.0" />
    <meta http-equiv="X-UA-Compatible" content="ie=edge" />
    <title>Petite Vue Multi-Step Form</title>
    <link
      href="https://cdn.jsdelivr.net/npm/tailwindcss@2.1/dist/tailwind.min.css"
      rel="stylesheet"
      type="text/css"
    />
    <link
      href="https://cdn.jsdelivr.net/npm/daisyui@1.10.0/dist/full.css"
      rel="stylesheet"
      type="text/css"
    />
  </head>
  <body>
    <div id="multi-step-form">
            <form class="p-10"></form>
    </div>
  </body>
</html>
Then you can install it via a CDN with a script tag or you can install it via a CDN using the ES Module build, which is what I did.
//index.html
  ...
  <script type="module" src="app.js"></script>
</body>
You can check browser compatibility for ES Modules on CanIUse.com and if needed you can use one of the other installation methods described in the Petite Vue repo.
The reason I chose the ES Modules route, is so that I could load it directly into a dedicated JavaScript file where I'd be doing all the JS work. It just feels more natural that way coming from typical build environments.
//app.js
import { createApp } from "https://unpkg.com/petite-vue?module";
createApp().mount();
Then, just like with a typical Vue app, we need to mount it to a particular DOM element.
// app.js
createApp().mount("#multi-step-form")
The last thing we want to do is add the v-scope attribute to the multi-step-form.
//index.html
<div id="multi-step-form" v-scope>
This is a very important step that you should not miss. The docs state that the purpose of v-scope is "to mark regions on the page that should be controlled by Petite Vue". This is a more obvious need when you use an alternate installation approach where you don't have to mount Vue to a specific element.
However, even though we are mounting to a specific element we still need v-scope. I left it off while making this form and everything was working fine until I started using components, then things got weird and it took me a bit to figure out what the issue was. Moral of the story: use the v-scope.
The Form Details as a JavaScript Object
The next thing I want to do is to keep up with all the fields our form should contain in a JavaScript object. That way it's easy to add or remove more at will. And since each field will be responsible for keeping up with its own value it needs to be reactive. To make data reactive in Petite Vue we can just assign it as a property on the object passed to createApp.
//app.js
createApp({
  fields: {
    name: {
      label: "Name",
      value: "",
    },
    email: {
      label: "Email",
      value: "",
    },
    address: {
      label: "Address",
      value: "",
    },
    city: {
      label: "City",
      value: "",
    },
    state: {
      label: "State",
      value: "",
    },
    zip: {
      label: "Zip",
      value: "",
    },
    donationAmount: {
      label: "Donation Amount",
      value: "",
    }
  }
})
You can think of any data property defined here much like typical reactive data defined in Vue. The 2 key differences are:
- There is no need to nest it under a
datamethod - This data is available not just to the root level Vue application, but it's also available to all the child components. This is thanks to that handy v-scope directive. You can think of v-scope much as you think of scoping in JavaScript. Anything defined within the scope is not available outside of the scope but it is available in every new scope created within it.
Then to group all the fields into their respective steps, I'll add a steps property as well. Each step is just an array of the fields that the step should contain.
// app.js
createApp({
  //...
  steps: [
    ["name", "email"],
    ["address", "city", "state", "zip"],
    ["donationAmount"]
  ]
})
The reason I'm not grouping the actual fields themselves into the steps and just references to them (ie. the field keys), is because experience has told me it's easier to keep up with form fields all at a single level and handle grouping and sorting them as a separate thing (and trust me I've dealt with some pretty freakin long/complicated forms ?).
Looping Over Pages and Fields to Display Form
With the fields and steps in place we're ready to loop over them to create the markup of the form. In the html file we can use good 'ol v-for to loop over the steps.
// index.html
<div id="multi-step-form">
    <form class="p-10">
      <div v-for="(fieldKeys, step) in steps">
        <div>{{step}}</div>
      </div>
    </form>
</div>
This prints the number of each step to the page. (We're using zero based indexing for our steps just to make it easier to work with arrays.)

Printing the steps is just to demonstrate what's going on. Now, let's remove those and provide the markup for the fields instead, looping over each field in each step.
// index.html
<div v-for="(fieldKeys, step) in steps">
  <!--Form Field-->
  <div v-for="field in fieldKeys" class="relative">
    <div class="form-control">
      <label class="label">
        {{fields[field].label}}
        <input
          class="input input-bordered m-2 w-full"
          type="text"
          v-model="fields[field].value"
        />
      </label>
    </div>
  </div>
</div>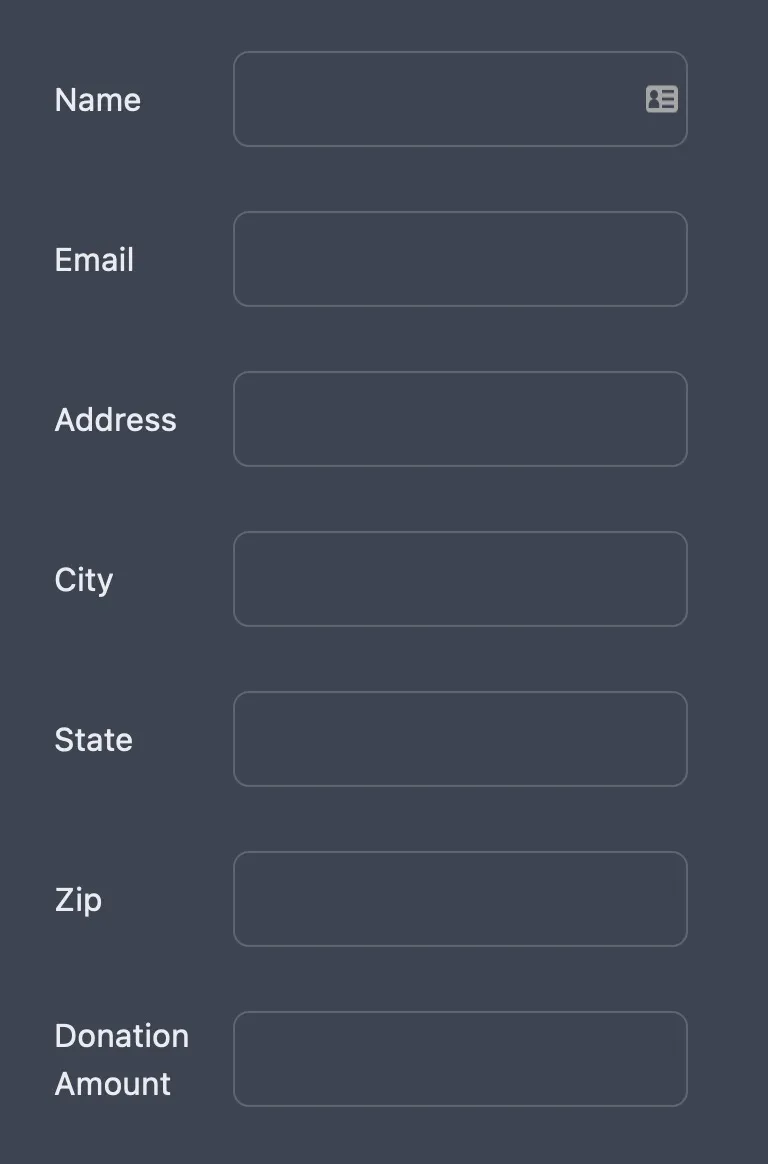
This gives us all the fields for every step showing at one time.
Navigating Between Steps
Next let's make it so that only one step shows at a time. In order to do that we'll need some data to keep up with what the current step is.
// app.js
createApp({
    currentStep: 0
  //...
})
Now in the markup we can show only the fields for the current step.
// index.html
<div v-if="currentStep === step">
    <!--Form Field-->
    <div v-for="field in fieldKeys" class="relative">...</div>
</div>
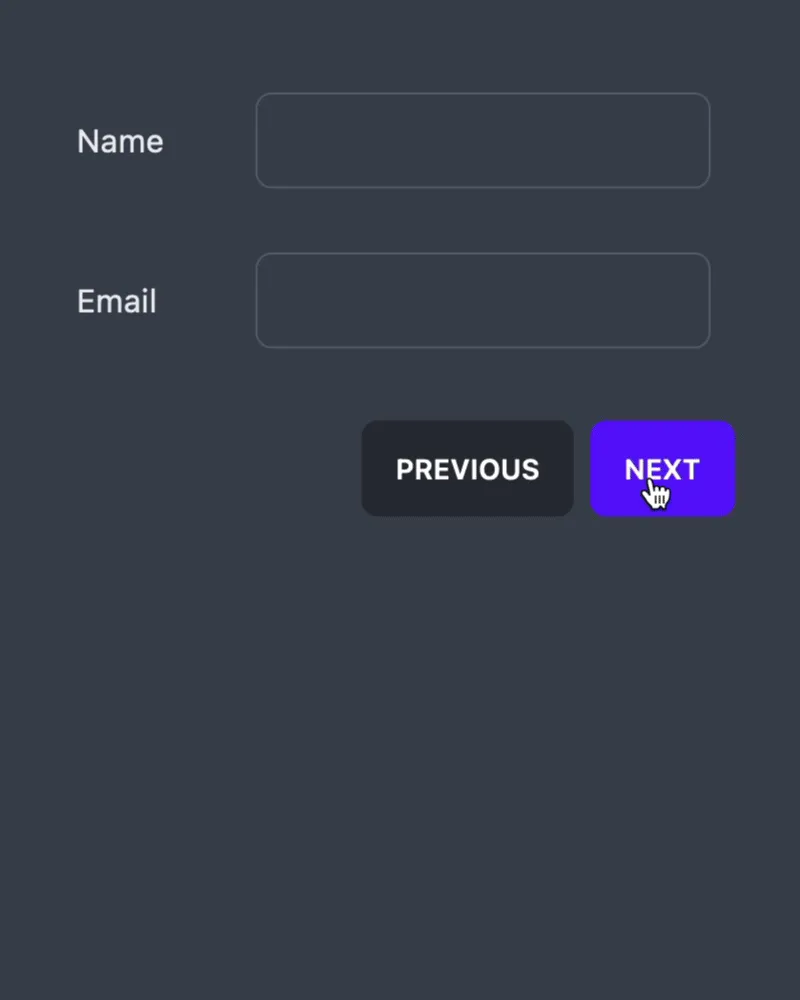
We can also provide buttons to advance to the next step or go back to the previous step using v-on just like we would with normal Vue.
// index.html
<form class="p-10">
  ...
    <!--Form Footer (Buttons)-->
  <footer class="flex flex-row-reverse gap-2 justify-start mt-5">
        <button class="btn btn-primary" @click="nextStep">
      Next
    </button>
    <button class="btn" @click.prevent="previousStep">
      Previous
    </button>
  </footer>
</form>
Event modifiers also work the same as well (and we need to use them here to keep the browser from submitting the form).
<form class="p-10" @submit.prevent="">Then we can define the methods on the object passed to createApp. There's no need to nest them under a methods key. Reactive data and methods are all defined on the root of the object.
//app.js
createApp({
  previousStep() {
    this.currentStep--;
  },
  nextStep() {
    this.currentStep++;
  }
})
Lastly, let's create some "computed properties" to help us only show the buttons at the appropriate time (ie. previous should not be available on the first step and next should not be available on the last step). We can do this by using getters on the object passed to createApp as Petite Vue doesn't support real computed props. Notice these too are at the root level of the object.
//app.js
createApp({
  //...
  previousStep() {
    if (this.isFirstStep) return;
    this.currentStep--;
  },
  nextStep() {
    if (this.isLastStep) return;
    this.currentStep++;
  },
  get totalSteps() {
    return this.steps.length;
  },
  get isFirstStep() {
    return this.currentStep === 0;
  },
  get isLastStep() {
    return this.currentStep === this.totalSteps - 1;
  },
})
And then we can use v-if to conditionally show/hide the buttons in the html.
<button ... v-if="!isLastStep">
  Next
</button>
<button ... v-if="!isFirstStep">
  Previous
</button>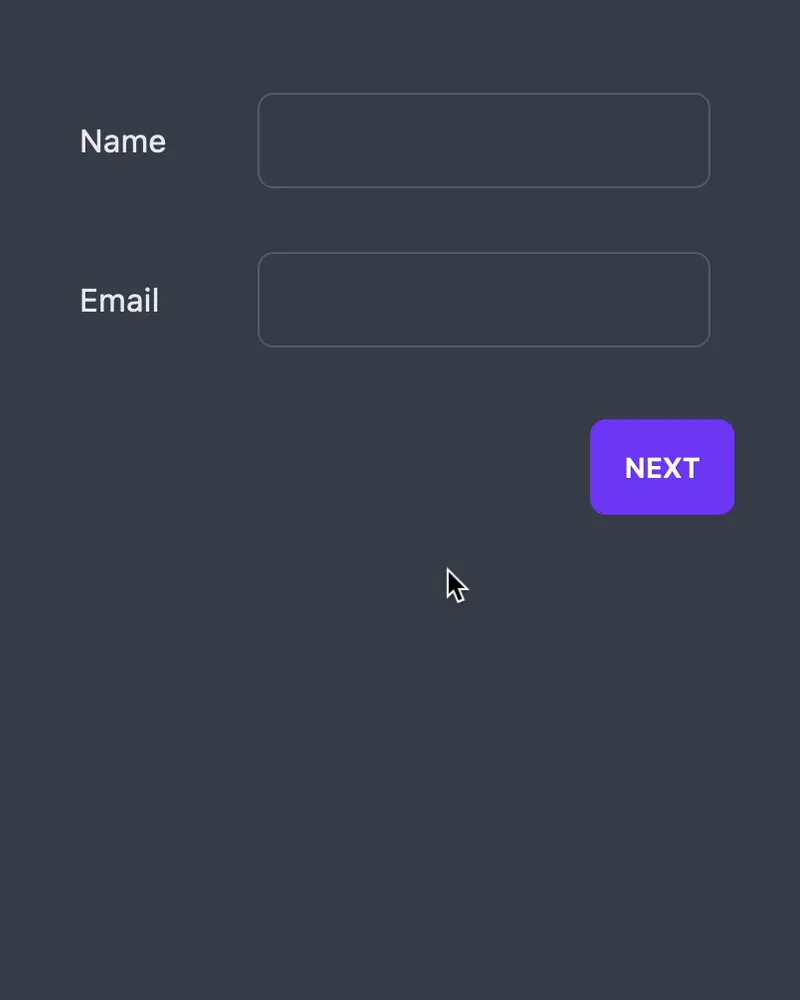
Adding a Progress Indicator
At this point, our form is looking pretty good! Let's add some step indicators to help our users know what step they are on and now many steps are left to go. Using Tailwind makes styling the indicators straightforward and doable directly in the markup. Also notice that class binding works just as you're accustomed to with regular Vue.
<form class="p-10" @submit.prevent="">
  <!--Step Indicators-->
  <div class="flex items-stretch gap-2">
    <div
      v-for="step in totalSteps"
      class="h-2 w-full rounded text-purple-500"
      style="border: 1px solid;"
      :class="{'bg-purple-500 ': step - 1 <= currentStep}"
    ></div>
  </div>
  ...
</form>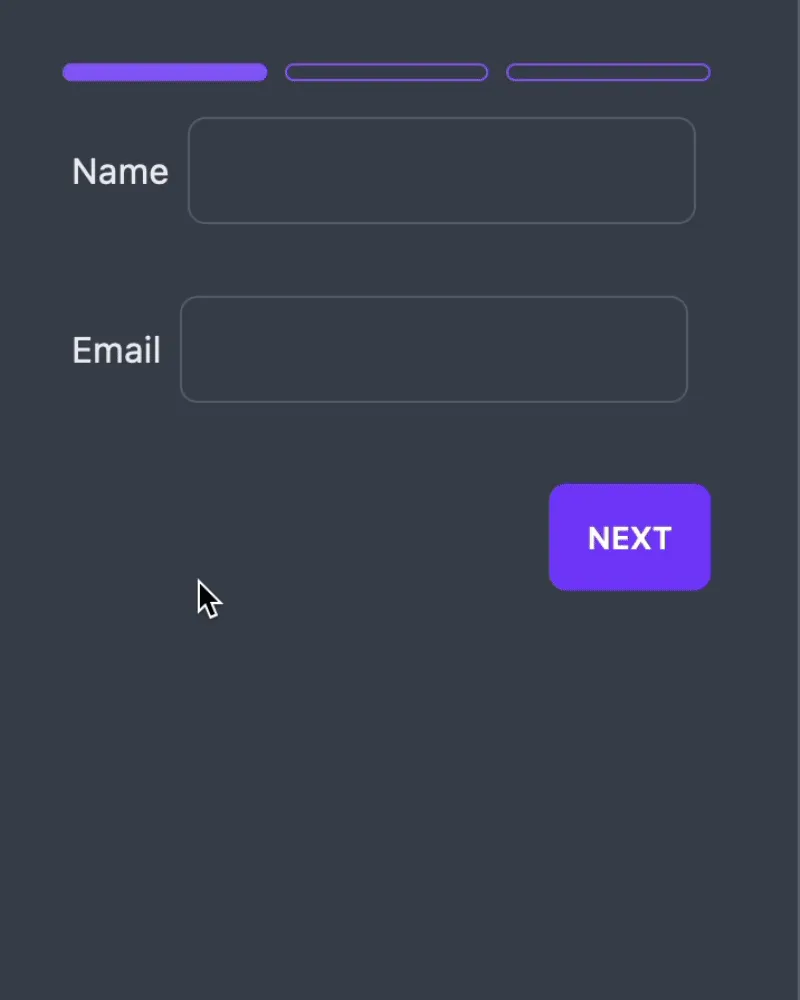
Extracting Markup into Components
Our markup is getting pretty verbose and more difficult to follow. Let's extract a couple elements to components to clean things up a bit and demonstrate how components work with Petite Vue.
First let's make a StepsIndicator component that will take a stepsCount prop. I'm choosing to take in stepsCount instead of using the steps in the state to calculate it because:
- We need to know the total steps to know how many indicators to display
- Our form has a static number of steps (steps don't need to be reactive. This is important because props in Petite Vue aren't reactive. See this discussion on Github for more info. While this might seem detrimental, really it's not since the parent scope is automatically available to all child components anyways, and for the sprinkling of interactivity this seems perfectly maintainable.)
- I need a good use case to demonstrate how props in Vue Petite work ?
Creating and using components in Petite Vue is where it differs the most from normal Vue. Defining a component starts with defining a function, with a single argument: the props.
function StepsIndicatorComponent(props) {
    return {}
}
And then registering the component with the Vue Application (once more at the root level of the object).
createApp({
  StepsIndicatorComponent
})
The function for our component returns an object that looks much like the object we pass to createApp. It can hold reactive data, getters, and methods all available only to the scope of the current component. In fact, scoping is the primary function of components in Petite Vue as they don't even have to have a template. We can just declare the scope on a particular element in the existing DOM to be that of the component. Let me show you that.
First I'll add some reactive data to the component.
function StepsIndicatorComponent(props) {
    return {
    stepsCount: props.stepsCount
  }
}
I'll also add a getter that adds one more step to account for the success page later on.
 function StepsIndicatorComponent(props) {
    return {
    stepsCount: props.stepsCount,
    get stepsCountWithSuccessPage(){
            return this.stepsCount + 1
    }
  }
}
Now in the html we'll add the v-scope attribute on the div element wrapping the indicators and assign it the StepsIndicatorComponent function passing it the appropriate props.
<!--Step Indicators-->
<div
  class="flex items-stretch gap-2"
  v-scope="StepsIndicatorComponent({ stepsCount: totalSteps })"
>
If you were to look at the output now there would be no change. But then let's change the totalSteps in the v-for to stepsCountWithSuccessPage.
<div
    v-for="step in stepsCountWithSuccessPage"
    class="h-2 w-full rounded text-purple-500"
    ...
  ></div>
Now we have one more indicator for the success page.
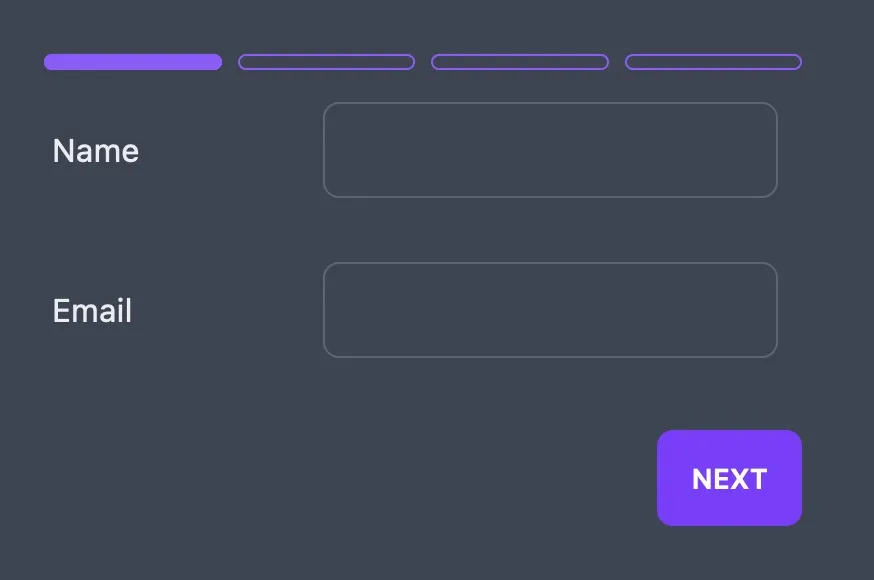
If we were to try and use stepsCountWithSuccessPage outside of that component scope though, things would break.

(Yeah, I know the errors for Petite Vue at this point are quite lacking... and are almost useless, except to tell you there's an error somewhere.)
So the point of using components in this capacity seems to be to allow certain parts of the DOM to work within their own scope.
This isn't the only way to use components in Petite Vue though. We can use components with templates. To do that first we can define the template in the HTML.
<!--Steps Indicator Component Template-->
<template id="step-indicator-component-template">
  <!--Step Indicators-->
  <div class="flex items-stretch gap-2">
    <div
      v-for="step in stepsCountWithSuccessPage"
      class="h-2 w-full rounded text-purple-500"
      style="border: 1px solid;"
      :class="{'bg-purple-500 ': step - 1 <= currentStep}"
    ></div>
  </div>
</template>
I just did it after the script tag where I included my app.js but I don't think it really matters where this goes. Probably the best practice would just be to group all your templates in one place.
And then we'll target this template in the component function by adding a $template property and giving it a css selector.
function StepsIndicatorComponent(props) {
  return {
    $template: '#step-indicator-component-template',
    //...
    }
  };
}
Finally, we'll replace the actual markup in the HTML that made up the step indicator before with the following:
<!--Step Indicators-->
<div v-scope="StepsIndicatorComponent({ stepsCount: totalSteps })"></div>
It doesn't look as pretty as <StepIndicator/> but it has cleaned up the markup of our form and encapsulated the indicator into it's own scope and template.
Let's do the same thing for the markup for the fields.
First, we define the component. It'll take the actual field objects from the fields in the data.
function FieldComponent(props) {
  return {
    $template: "#field-component-template",
    field: props.field
  };
}
Next, we'll register it with Vue.
createApp({
  FieldComponent,
    //...
})
Then, we'll move it's markup into a template and reference the field passed as a prop directly instead of having to reference it in the state.
<!--Field Component Template-->
<template id="field-component-template">
  <!--Form Field-->
  <div class="relative">
    <div class="form-control">
      <label class="label">
        {{field.label}}
        <input
          class="input input-bordered m-2 w-full"
          type="text"
          v-model="field.value"
        />
      </label>
    </div>
  </div>
</template>
Finally, where the markup lived directly in the form we'll use the component.
<div
  v-for="field in fieldKeys"
  v-scope="FieldComponent({field: fields[field]})"
></div>
Alight, that's Petite Vue components in a nutshell!
Making a Success Page
Lastly, let's make the success page. In order to submit the form and get to the success page, we'll add a submit button along with the other buttons that only shows on the last page.
<button
  v-if="isLastStep"
  class="btn btn-primary"
  @click.prevent="submit"
>
  Submit
</button>
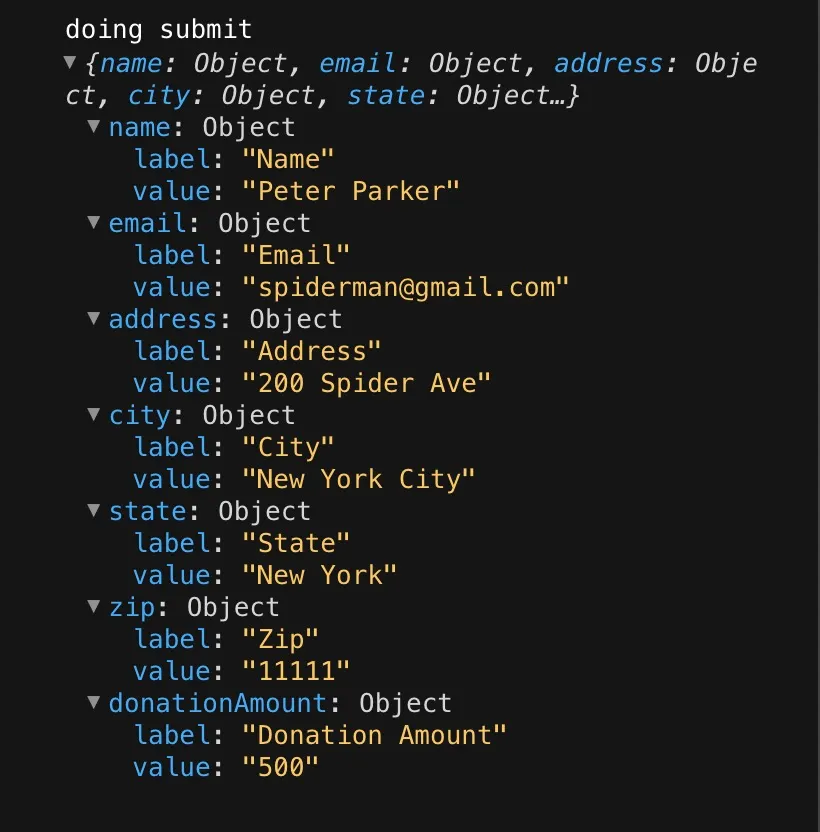
For the submit function that's called when submit is pressed, we'll just console log the form fields (which contains all the values) and set a data property submitted to true.
createApp({
    submitted: false,
  //...
  submit() {
    console.log("doing submit", this.fields);
    submitted = true;
  }
})
Then, we'll provide some markup for the success page that only shows when submitted is true.
<!--Success Page-->
<div v-if="submitted">
  <h3 class="p-5 text-lg">
    Hey {{fields.name.value}}, thanks for donating!
  </h3>
</div>
And actually let's hide the rest of the form on success.
<div v-if="!submitted">
  <!--move form steps/fields in here-->
    <!--move form buttons in here-->
</div>
<!--Success Page-->
<div v-else>
  <h3 class="p-5 text-lg">
    Hey {{fields.name.value}}, thanks for donating!
  </h3>
</div>
If we fill out the form now with the name "Peter Parker", we get the success page!
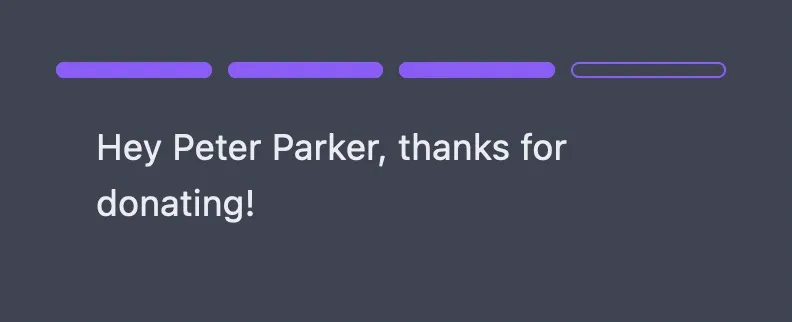
And our form data is logged in the console.
I do notice that our last indicator is not filled in, we can fix that.
:class="{'bg-purple-500 ': step - 1 <= currentStep || submitted}"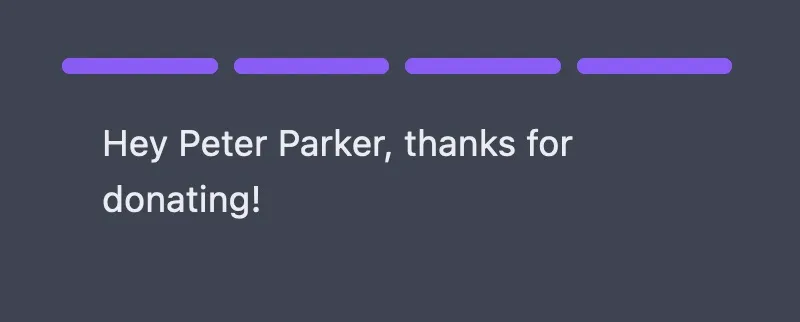
Validating the Form
Adding in form validation at this point is fairly straightforward but since I've gone on longer than I intended, I'll just leave you the codesandbox and let you take a look at the implementation yourself if you're interested ?. If you're not interested no worries, we've pretty much covered the basics of Petite Vue, this is just an implementation detail of our particular use case.
Hiding the Application Until Ready
If you are coding along with me, you'd notice that every time you refresh the page, you get a split second of what the form looks like before Vue takes over and works it's magic. While, the petite-vue repo says that v-cloak works I was not able to successfully use it. My work around was quite simple. I just added a hidden class to the #multi-step-form div and used Petite Vue's @mounted directive to remove it once Vue has mounted the application.
<div
  id="multi-step-form"
  class="hidden"
  v-scope
  @mounted="$el.classList.remove('hidden')"
>
Conclusion
While Petite Vue is still hot out of the oven and will probably take a little time to cool into a stable production ready solution, it's worth looking into now as it is surely the future of progressive enhancement with Vue.js.
Start learning Vue.js for free

Comments
Latest Vue School Articles

5 Component Design Patterns to Boost Your Vue.js Applications

Vibe Coding a Collaborative Editor with Comment Support with Nuxt UI and Jazz
Our goal is to be the number one source of Vue.js knowledge for all skill levels. We offer the knowledge of our industry leaders through awesome video courses for a ridiculously low price.
More than 200.000 users have already joined us. You are welcome too!
© All rights reserved. Made with ❤️ by BitterBrains, Inc.