
Infinite Scrolling in Vue with Apollo

Infinite scrolling is a slick feature to put in your app.
But how do you implement it with Apollo and GraphQL?
That’s exactly what you’ll learn in this article.
Here’s where we’re going:
- Setting up our project with Github’s GraphQL API
- Fetching data with
@vue/apollo-composable - One way to do infinite scrolling
- A better way to do infinite scrolling
By the end of this article you’ll learn about:
- Setting up custom HTTP middleware in Apollo
- Search queries in GraphQL
- Using Github’s GraphQL API
- Cursor-based pagination with GraphQL
- How to modify Apollo’s cache behaviour with type policies
And of course, you’ll learn how to implement infinite scrolling in your app.
You can also access the source code of the final demo. This can help you with troubleshooting your configuration, or if you want to follow along with the tutorial!
Here’s the source code: https://github.com/tesla3327/apollo-pagination
And a live demo to test it out (you’ll need to use a Github token).
Let’s get to it!
Getting set up with Github’s GraphQL API
For this tutorial we’ll be using Github’s GraphQL API.
Apollo has a fantastic playground that makes it easy to explore the schema and learn how the API works. You can find that here. I highly recommend spending some time in there to get a feel for how the API works.
In order to use the Github API, you’ll need to generate a personal access token for your app. You can do that by going here. Github also has documentation on doing that in case you need it.
We’ll get something basic set up so we can get the demo working. However, using an access token on the client isn’t very secure, but best practices around that is beyond the scope of this article.
Once you’ve grabbed your token, we’ll need to configure our ApolloClient to use it in the Authorization header:
// Must import from /core to avoid React import :/
import {
  ApolloClient,
  InMemoryCache,
  createHttpLink,
} from '@apollo/client/core';
import { setContext } from '@apollo/client/link/context';

// Replace with your own token
const token = '<your personal Github token here>';

// Set up the GraphQL endpoint for Github
const httpLink = createHttpLink({
  uri: 'https://api.github.com/graphql',
});

// Create a middleware to inject the authorization header
const authLink = setContext((_, { headers }) => ({
  headers: {
    ...headers,
    authorization: `Bearer ${token}`,
  },
}));

// Use our middleware with Apollo
const apolloClient = new ApolloClient({
  link: authLink.concat(httpLink),
  cache: new InMemoryCache(),
});
Now that we’ve got our ApolloClient set up, let’s start querying data!
Fetching some data
We’ll begin by writing a query to search for repositories:
query StarWarsRepos {
  search(
    query: "Star Wars"
    type: REPOSITORY
    first: 5
  ) {
    nodes {
      ... on Repository {
        id
        name
        description
      }
    }
  }
}
To actually use this query, we have the useQuery composable from @vue/apollo-composable:
import { useQuery } from '@vue/apollo-composable';
const { result } = useQuery(
  gql`
    query StarWarsRepos {
          search(
            query: "Star Wars"
            type: REPOSITORY
            first: 5
          ) {
            nodes {
              ... on Repository {
                id
                name
                description
              }
            }
          }
        }
  `
);
There are a few things going on here, so we’ll take a moment to explain what’s happening.
First, the search query does exactly what it says — it allows us to perform a search operation. We pass in 3 arguments to our search: a search query, the type of object we are searching for, and the first argument, which tells the query how many items to return.
search(
  query: "Star Wars"
  type: REPOSITORY
  first: 5
)
Here, we’re just searching for repositories, but Github has a few other types.
We want access to the array of items the search returns, and we access that through the nodes field. Then, on each node, we want to access the id, name, and description.
nodes {
  ... on Repository {
    id
    name
    description
  }
}
But this search can return multiple different types, and each type has a slightly different set of fields. Because of this, we need to use the ... on Repository syntax. This tells Apollo that we’re only interested in REPOSITORY objects in this party of the query.
If you’re familiar with types then here is some further explanation. The search type is a union type of several different search types. The ... on syntax is what let’s us “cast” to a specific member of the union.
We need the name and description fields to display in our UI. The id field is there for two reasons:
- It’s helpful to be able to reference a unique
idper item in our code - Apollo needs an
idon each object in order to normalize the objects in the cache, which helps Apollo to know when and how to update the cache.
Now that we have our data, let’s render it to the page!
Add in a computed prop to access the nodes more easily:
const repos = computed(() => {
return result.value?.search.nodes;
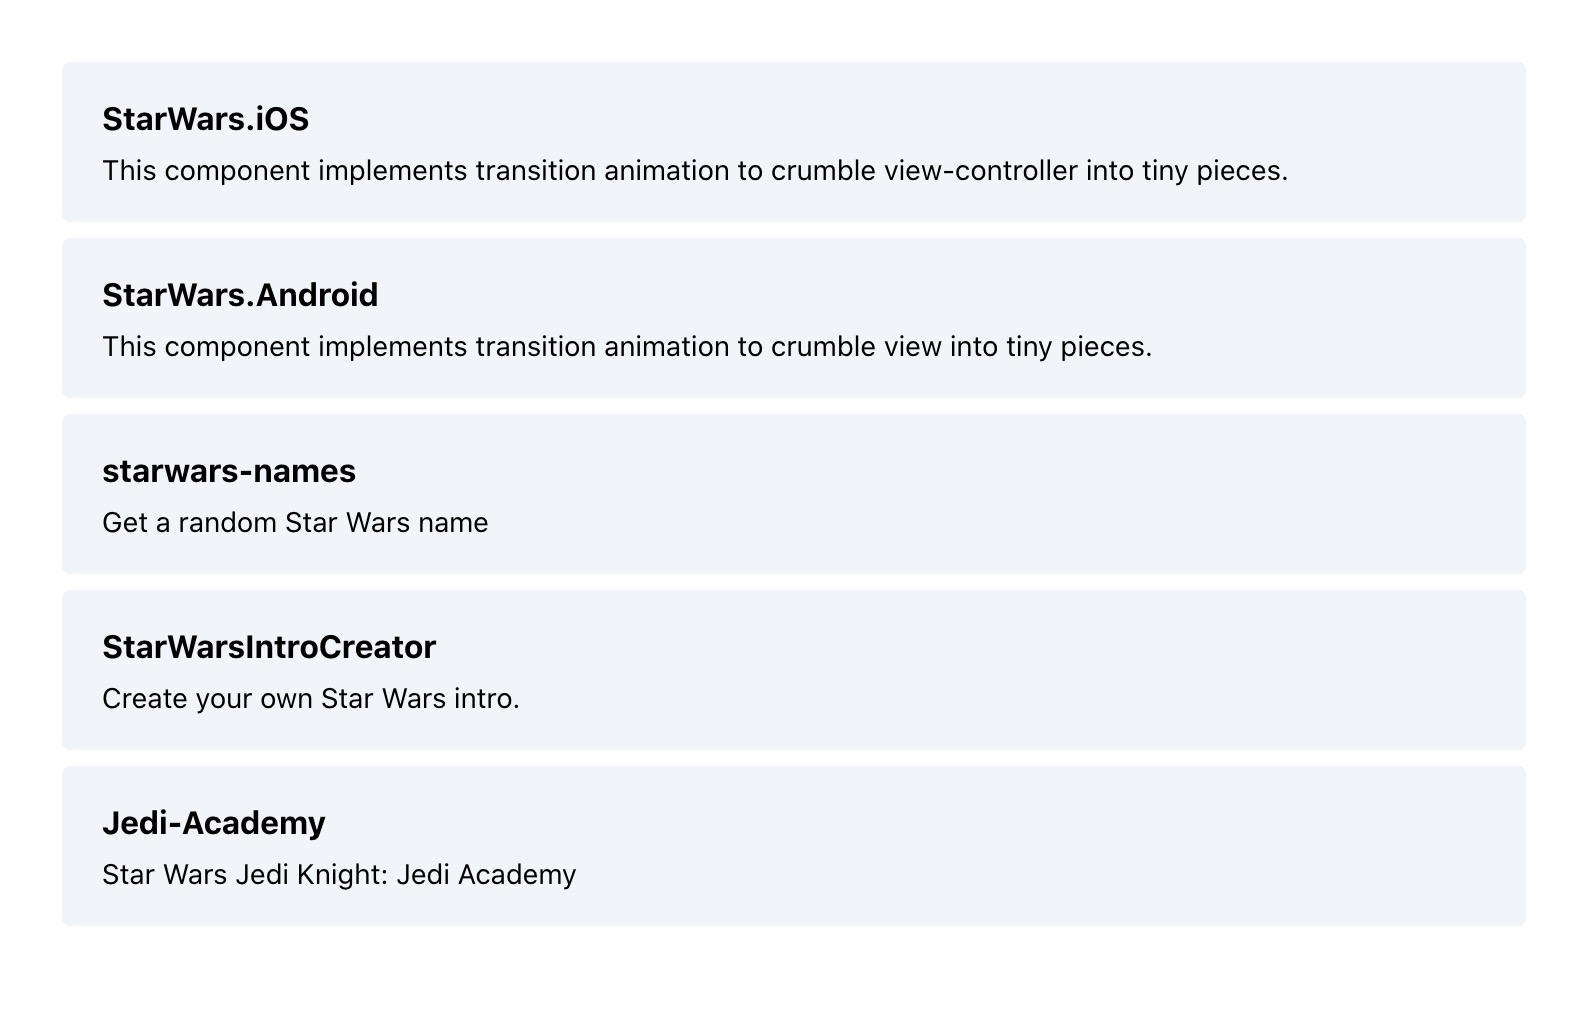
});And then we’ll use this template with some TailwindCSS classes for styling:
<template>
  <div class="p-8 flex flex-col space-y-2">
    <div
      class="rounded py-4 px-5 bg-slate-100"
      v-for="repo in repos"
      :key="repo.id"
    >
      <h2 class="font-bold">{{ repo.name }}</h2>
      <p class="mt-1 text-sm">{{ repo.description }}</p>
    </div>
  </div>
</template>
This is what it will look like:
To infinity, but not beyond
On to the interesting part — actually adding the infinite scrolling.
For this article we’ll use a button to trigger the data fetching, but you can replace this with a scrolling mechanism if you want.
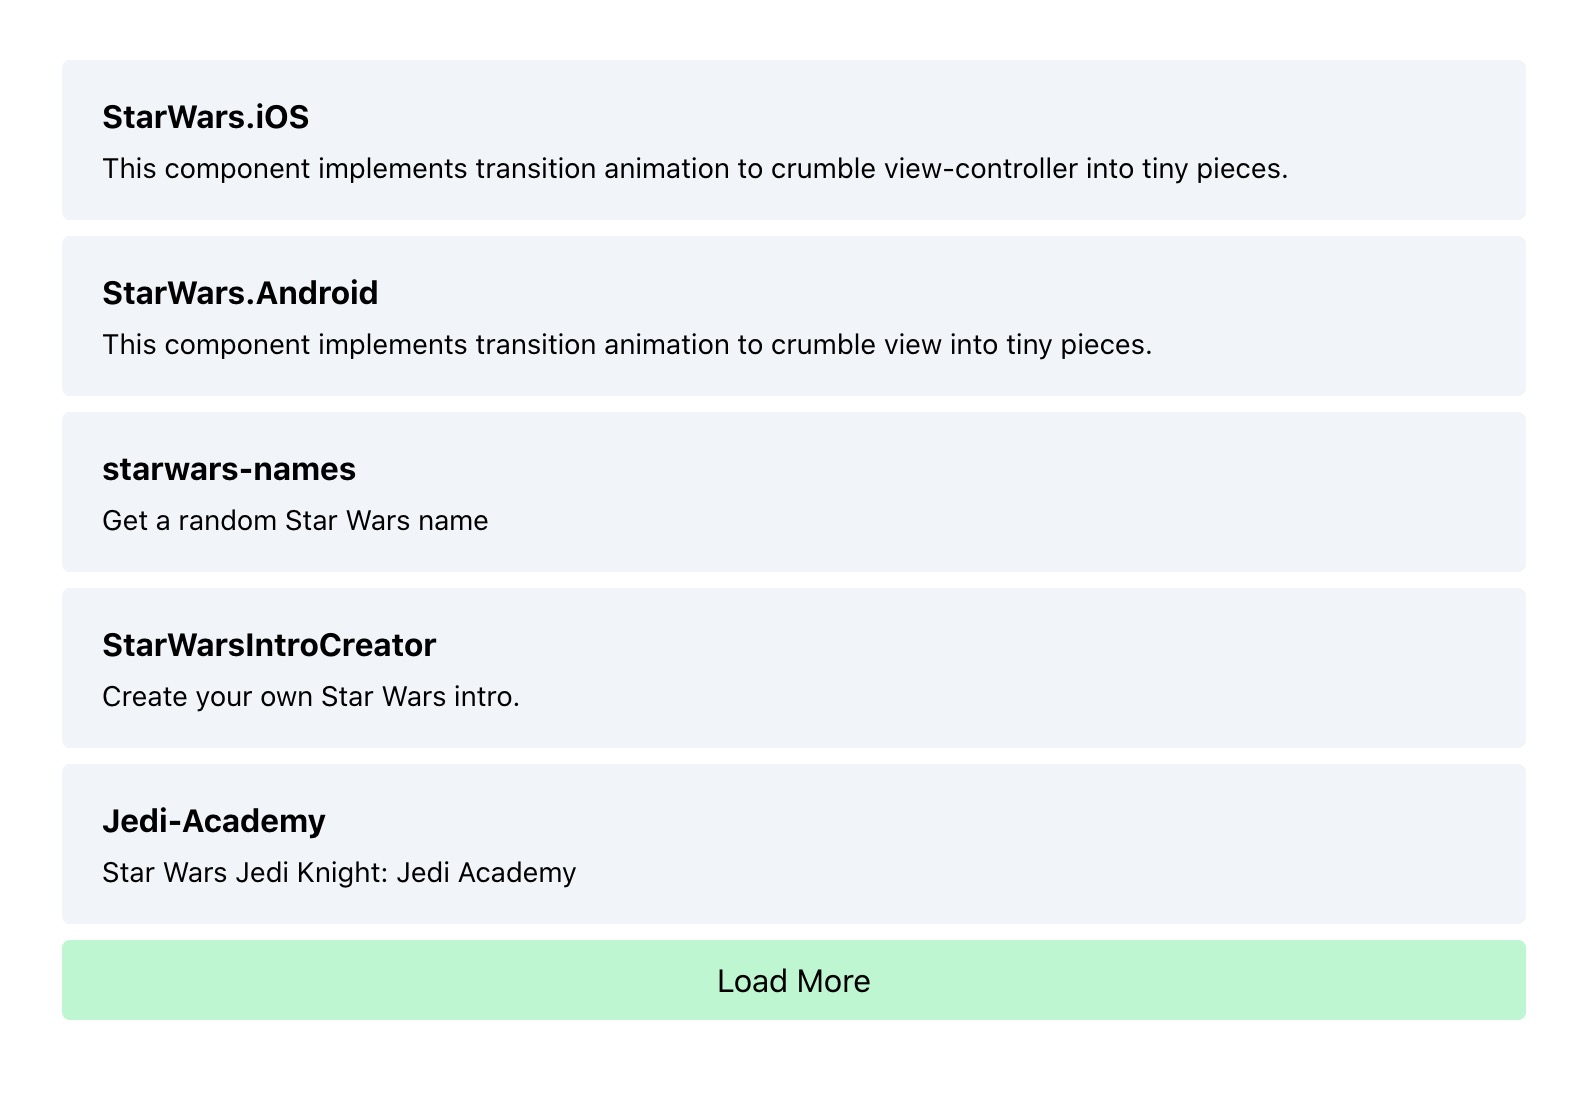
Let’s add in a loadMore method and the button that will trigger the infinite scrolling:
const loadMore = () => {
    // Fetch more data somehow
};
<template>
<div class="p-8 flex flex-col space-y-2">
<div
class="rounded py-4 px-5 bg-slate-100"
v-for="repo in repos"
:key="repo.id"
>
<h2 class="font-bold">{{ repo.name }}</h2>
<p class="mt-1 text-sm">{{ repo.description }}</p>
</div>
<button
class="bg-green-200 hover:bg-green-300 p-2 rounded"
@click="loadMore"
>
Load More
</button>
</div>
</template>With those changes, our UI looks like this now:
So how do we actually fetch more data?
Well, Apollo gives us the perfectly named fetchMore method!
But to use this method, we’ll also need to modify our query to use cursor-based pagination.
I won’t get into too many details here, but cursor-based pagination is better than the more basic offset-based pagination in many ways. You can read more about their differences in this great article.
The main thing to know is that when using cursor-based pagination, the GraphQL endpoint will send back an endCursor which we need to use in the next request to grab the next page of data.
Here’s our updated query, now with the endCursor:
query ExampleQuery($endCursor: String) {
  search(
    query: "Star Wars"
    type: REPOSITORY
    first: 5
    after: $endCursor
  ) {
    nodes {
      ... on Repository {
        id
        name
        description
      }
    }
    pageInfo {
      endCursor
    }
  }
}
We update our search query to pass in the endCursor as the after argument. Here we’re saying, “get the first 5 repositories after this end cursor”. You’ll notice the $endCursor is now a variable on this query, so we’ll need to make sure to pass that in later on.
Then we grab the new endCursor from the pageInfo. This will let us grab the next page of 5 items, and so on.
The fields used for cursor-based pagination here are based on Apollo’s standards. Any Apollo GraphQL API that implements cursor-based pagination will behave in this way.
Note: The pageInfo field also gives us a hasNextPage field, so we know when we’ve hit the end of the data. It’s also possible to paginate the data from the end, going backwards, using the before, startCursor, and hasPreviousPage fields.
We also want to access the fetchMore method for this query:
const { result, fetchMore } = useQuery(
  gql`
    query ExampleQuery($endCursor: String) {
      search(
        query: "Star Wars"
        type: REPOSITORY
        first: 5
        after: $endCursor
      ) {
        nodes {
          ... on Repository {
            id
            name
            description
          }
        }
        pageInfo {
          endCursor
        }
      }
    }
  `
);
We’ll add a computed prop to grab the endCursor:
const endCursor = computed(() => {
  return result.value?.search.pageInfo.endCursor;
});
Now we need to update our loadMore method to actually use fetchMore:
const loadMore = () => {
fetchMore({
variables: {
// Update the endCursor
endCursor: endCursor.value,
},
updateQuery(prev, { fetchMoreResult }) {
console.log(fetchMoreResult);
},
});
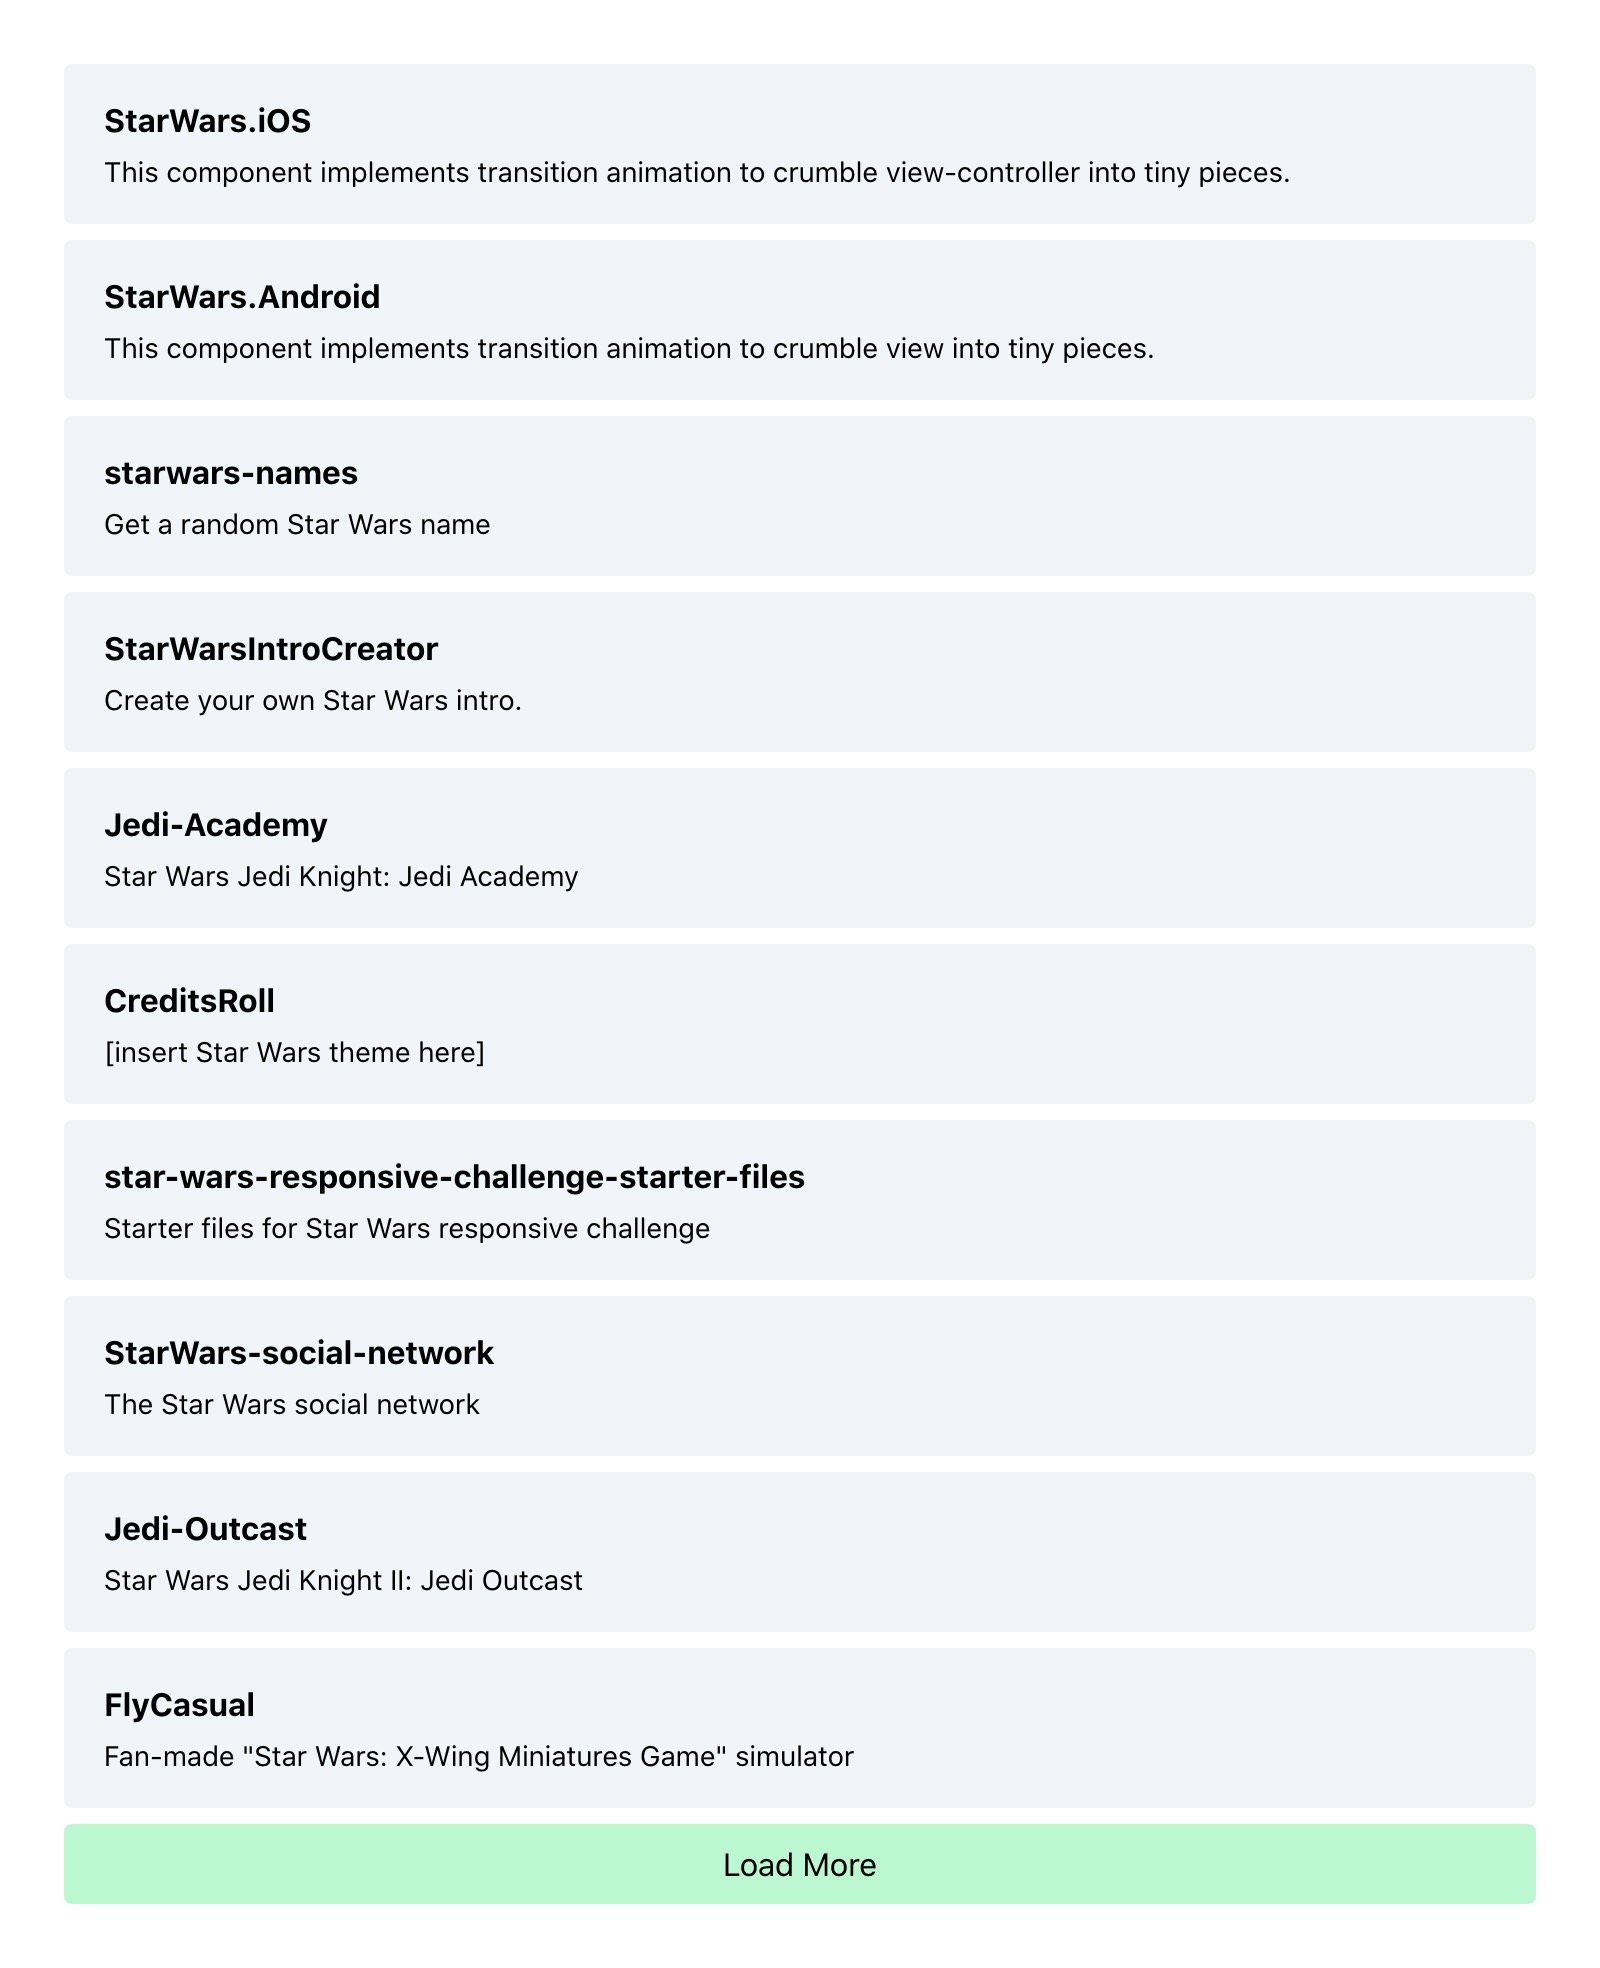
};Here we re-run the query with an updated endCursor value. When the query returns, we’ll just log out the result to see what’s going on:

We have our next page of data!
(You can see that the name CreditsRoll is not part of the first 5 repos we initially loaded.)
Now, we need to merge this incoming data with our existing data. Then the page will render both pages of data.
We also need to update our endCursor value for when we want to fetch the 3rd page and beyond.
This is how we could re-write the updateQuery method to merge our incoming fetchMoreResult with our existing prev data:
const loadMore = () => {
  fetchMore({
    variables: {
      endCursor: endCursor.value,
    },
    updateQuery(prev, { fetchMoreResult }) {
            // Make a copy of existing data
      const mergedData = {
        ...prev,
      };

            // Merge nodes
      mergedData.search = {
        ...prev.search,
        nodes: [
          ...prev.search.nodes,
          ...fetchMoreResult.search.nodes,
        ],
      };

            // Update endCursor
      mergedData.search.pageInfo = fetchMoreResult.search.pageInfo;

      return mergedData;
    },
  });
};
We can also write one big object spread if you prefer this style:
updateQuery(prev, { fetchMoreResult }) {
    return {
          ...prev,
          search: {
            ...prev.search,
            pageInfo: {
              ...prev.search.pageInfo,
              endCursor: fetchMoreResult.search.pageInfo.endCursor,
            },
            nodes: [
          ...prev.search.nodes,
          ...fetchMoreResult.search.nodes,
        ],
          },
        };
  }
}
Now when we hit the button, new data is fetched, then merged, and our UI updates.
We have infinite scrolling!
There’s just one issue.
Using updateQuery is not the best way to do this.
We have all this loading and merging logic inside of our component. Sure, we could refactor this into a separate composable. But it makes more sense for this to be handled at the data layer, not the rendering layer.
Apollo gives us a better way, by using type policies.
Modifying Cache Behaviour with Type Policies
A type policy is a way of stating how Apollo’s cache should behave.
This happens before the data ever touches Vue, so it decouples all of the data merging logic from our components entirely.
It’s also quite expressive, allowing us to write our own methods for how the cache is updated and read, on a per type basis.
To see how this works, let’s go to where we initialize our ApolloClient. That’s in main.js in this example repo, and in most other projects as well.
We’ll add in a typePolicies object:
const typePolicies = {
  Query: {
    fields: {
      search: {
        merge(existing = {}, incoming) {
          console.log(incoming);
          return existing;
        },
      },
    },
  },
};
Then we’ll add that to our InMemoryCache configuration:
const apolloClient = new ApolloClient({
  link: authLink.concat(httpLink),
  cache: new InMemoryCache({
    typePolicies,
  }),
});
We can specify a unique policy for each type, and for each field on each type.
But here we’re just defining one. On the Query type, on the search field, we are defining our own merge method. This method will log out all incoming data, but it won’t merge anything.
If we remove the updateQuery method from our fetchMore call, we can see how this type policy works;
const loadMore = () => {
  fetchMore({
    variables: {
      endCursor: endCursor.value,
    },
  });
};
Hit the Load More button, and we’ll see all the new data being logged out. But the UI will not update yet.
We need to update the merge method to actually merge in the data:
{
  keyArgs: false,
  merge(existing = {}, incoming) {
    const toCache = {
      ...existing,
      ...incoming,
      nodes: [
        ...(existing?.nodes || []),
        ...incoming.nodes,
      ],
    };

    return toCache;
  },
}
We also set the keyArgs property to false. By default, Apollo will treat each query with different variables as distinct sets of data. But for us, each query is just a piece of a larger set.
Now as we hit the Load More button, new data will be fetched, merged into the cache, and displayed on the page.
And because the Apollo cache is global, whenever we query for more repositories, they will get added into this cache and rendered out.
Conclusion
Now we’ve seen how to use cursor-based pagination and type policies in Apollo to implement infinite scrolling.
We’ve also seen some other GraphQL tricks along the way such as: using a search query, querying with union types, and multiple methods of merging data.
Start learning Vue.js for free

Comments
Latest Vue School Articles

5 Component Design Patterns to Boost Your Vue.js Applications


Vibe Coding a Collaborative Editor with Comment Support with Nuxt UI and Jazz
Our goal is to be the number one source of Vue.js knowledge for all skill levels. We offer the knowledge of our industry leaders through awesome video courses for a ridiculously low price.
More than 200.000 users have already joined us. You are welcome too!
© All rights reserved. Made with ❤️ by BitterBrains, Inc.